
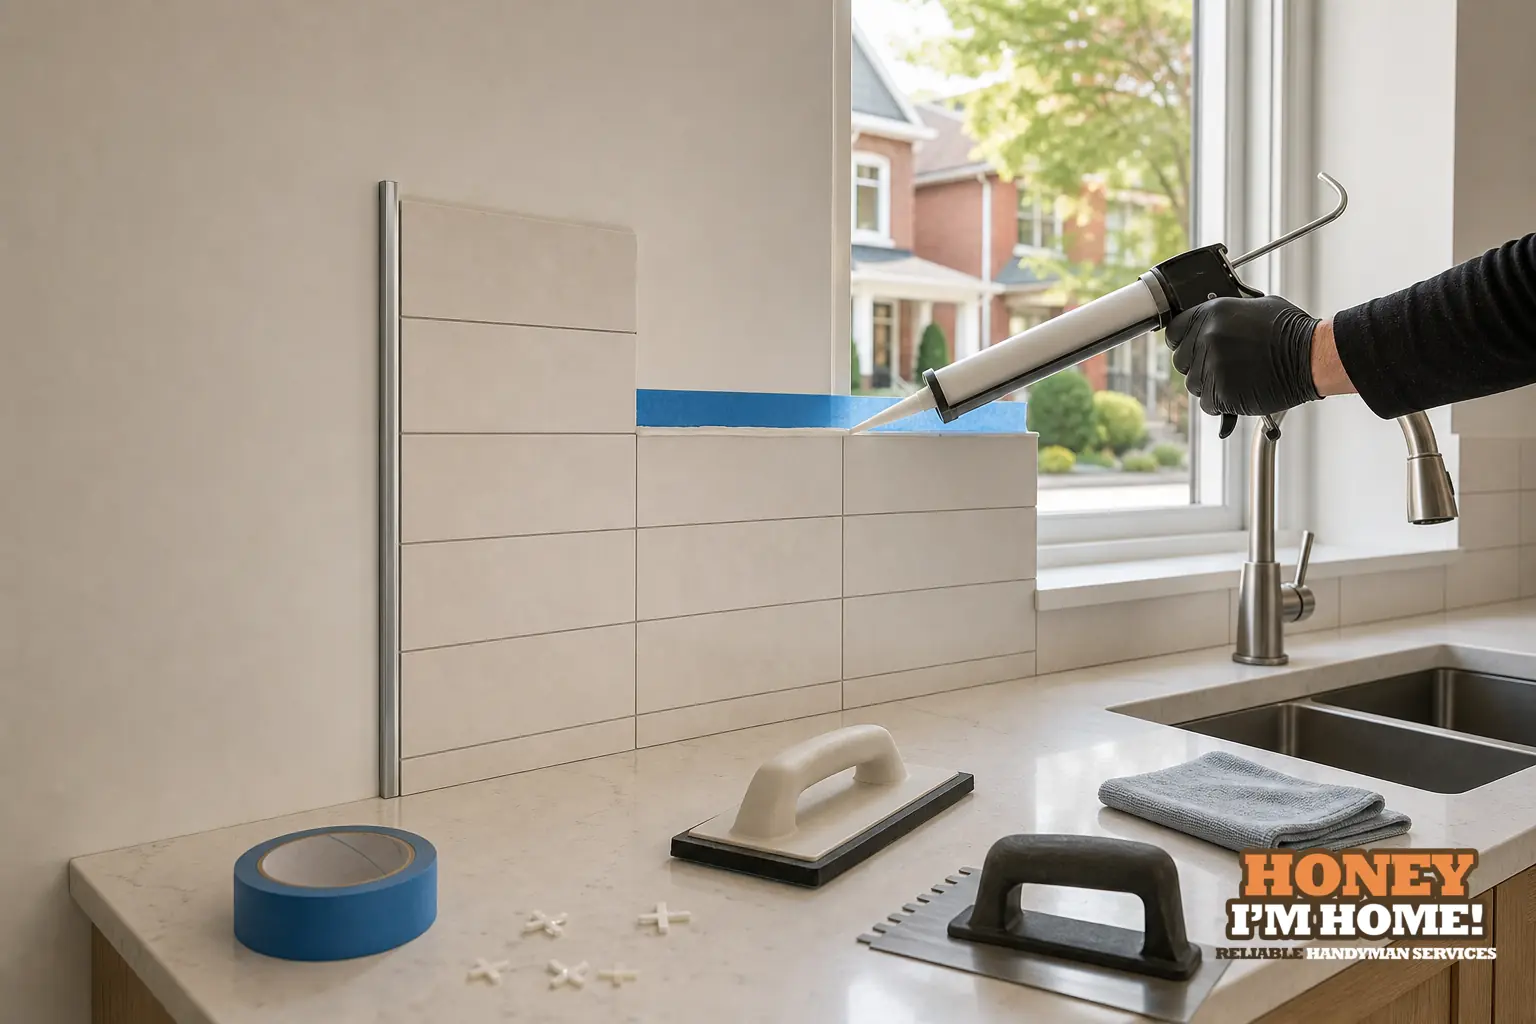
Pick the visible termination up front — a narrow sealant bead, a slim trim profile, or a short tile return — then confirm the wall assembly, protect the painted surface while you work, control tile cuts and grout, and finish with a well‑tooled seal or seated profile so the edge reads intentional and wipes clean.
Choose the visible termination before you order tile
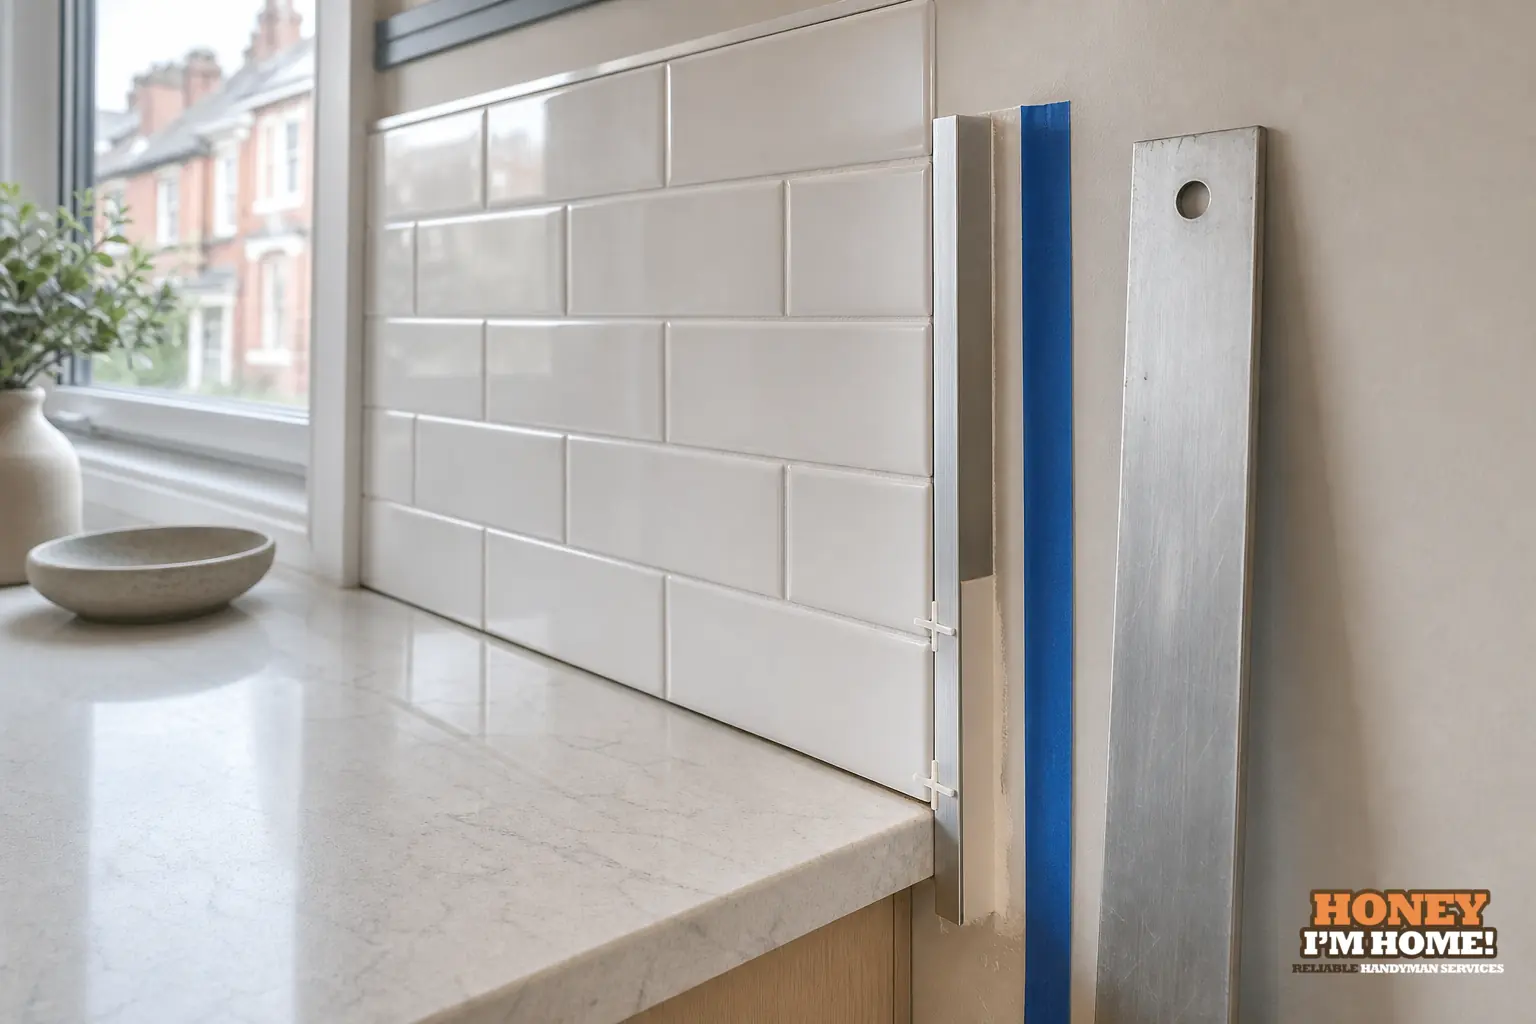
The single decision that shapes the day of installation is the visible finish at the tile/paint junction. I explain three straightforward options to homeowners and show how each behaves in daily life: a flexible sealant bead that barely reads against the paint, a slim metal or PVC profile that creates a crisp architectural line, or a tile return that carries the tile a short distance so the exposed edge is tile instead of paint. Each option responds differently to knocks, cleaning and small surface irregularities, so I pick the detail that matches how the kitchen is used and how the cabinets and fixtures read visually.
Inspect the wall assembly so the detail actually works
I always start by opening my eyes to what’s behind the paint. The City’s High Park profile notes a high share of older dwellings alongside substantial apartment and condominium stock. That mix shows up in finish work: some jobs sit on plaster and original trims, others on modern drywall with constrained mounting behind it. I treat that as practical intelligence, not an abstract point. If I find plaster I plan for different anchoring and I won’t rely on a skinny screw into thin paint. If it’s drywall I check for solid backing behind the tile zone and decide whether a profile that seats into the substrate is realistic. The edge you want has to match the substrate under the paint, not just the look above it.
Layout and tile cuts that make the termination predictable
Good layout gives you predictability at the edge. I snap a reference for the tile face and mark the intended termination line before any adhesive goes down. That line governs the first row, the tile cuts at the edge, and where the grout or sealant will sit. I cut tiles square for exposed ends and hold the face plane consistent across the run; if tile thickness varies I bring pieces into plane with shims rather than letting the termination step. When the plan calls for grout to meet paint I leave a narrow, consistent gap reserved for a sealant or profile — overfilled grout is the leading cause of ragged paint edges.
Protect the painted wall while I work
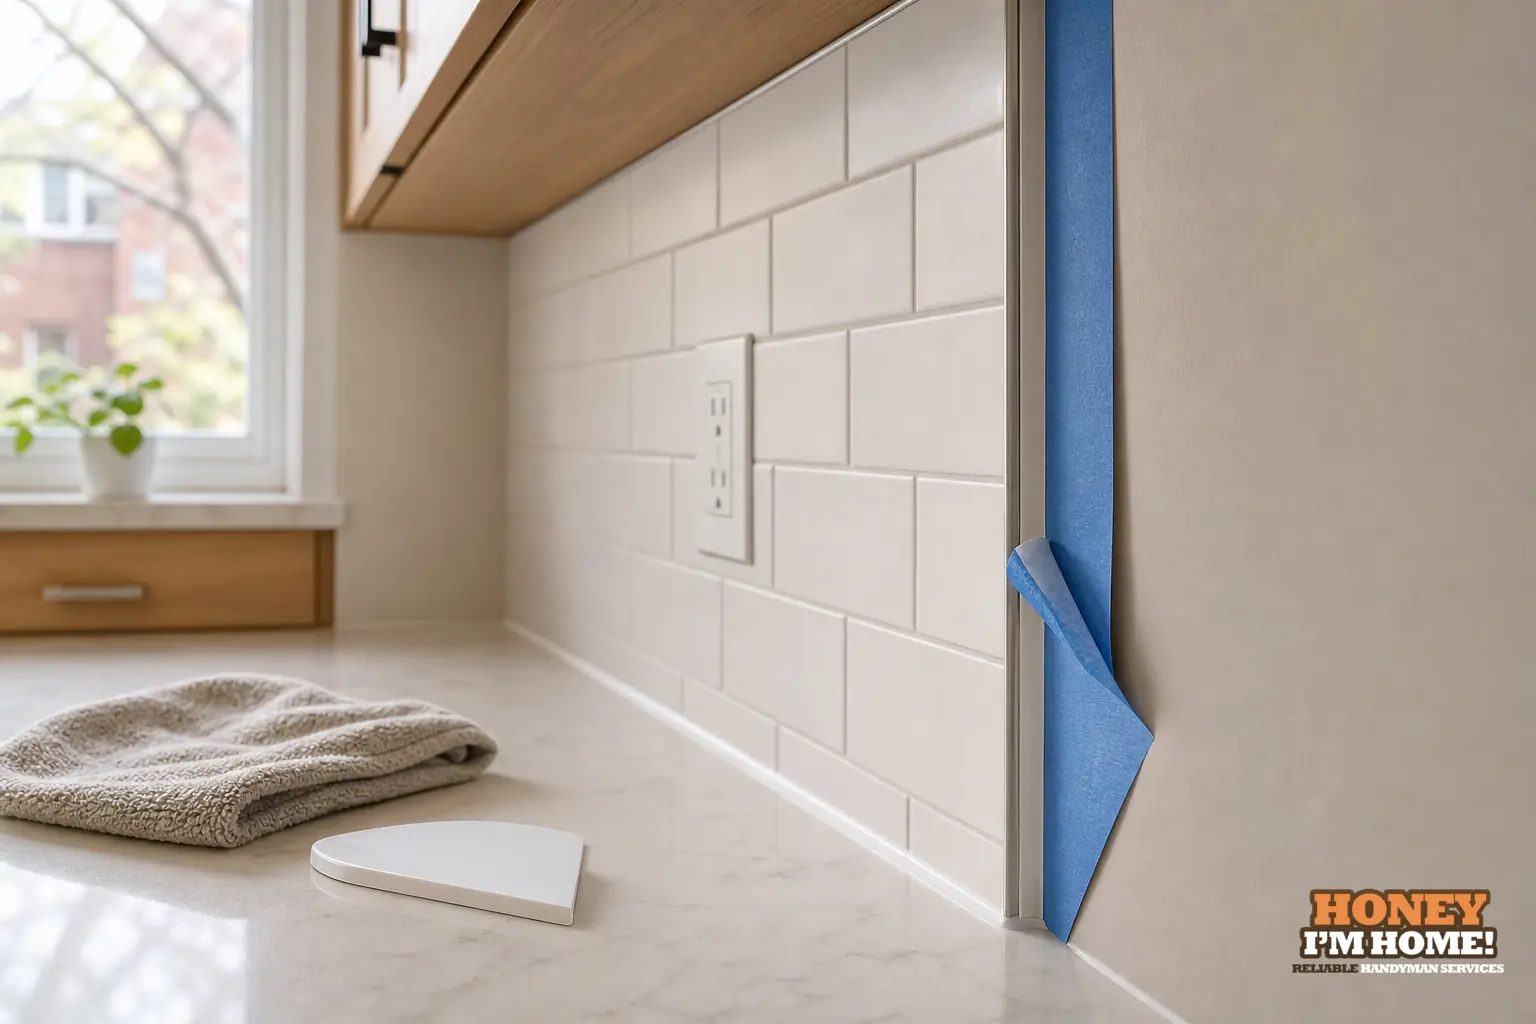
Tape is simple but decisive. I mask the painted area just outside the termination line before I start tiling and keep the tape in place until the grout is set and cleaned. That prevents thin‑set, adhesive or grout smears from sticking to the paint. I also remove any smears immediately; dried residue is the thing that forces repainting. After grout cleanup and before applying any sealant or fitting a profile, I peel the tape and do a focused cleanup so the paint edge is already tidy when the joint is finished.
Selecting sealant or profile — practical criteria I use
Choice depends on use and the substrate. If the homeowner wants the cleanest, lowest‑maintenance exposed finish I lean to a slim profile that protects the paint and takes knocks better than caulk. If they want the joint to fade visually I choose a narrow, well‑tooled flexible sealant matched to the paint and tile tones. I select sealants that accept routine cleaning, have decent stain resistance, and match the paint’s sheen so the bead reads intentional rather than patched. Installation discipline matters: a neatly tooled narrow bead and consistent gap will look deliberate; a poorly tooled bead looks like an afterthought.
How I handle corners, returns and exposed ends
Exposed ends and returns are where decisions either reward you or create extra work later. If there’s room and the substrate accepts it, a short tile return is the most durable look — the visible edge is tile and the paint doesn’t get scuffed. When a tile return is impractical because of backing or weight, I use a profile or a sealed gap. I cut and miter profiles so the termination reads clean; where adhesives cure I hold the line with a block or spacer to prevent the tile from creeping and to keep the reveal even.
What I check on the day: a short field checklist
On site I confirm the wall is flat where the tile starts, check that paint is firm and not peeling where I’ll seat profiles, verify that my termination line aligns with cabinet reveal and countertop edges, and confirm the gap I left for sealant or profile is uniform. I also mock up a small sample so homeowners can see how a profile or narrow bead will look next to their cabinets and fixtures. If anything on that mock‑up reads wrong, we change the detail before the main run starts.
Vignette from a completed kitchen project
On a completed kitchen we show on the homepage I worked with white cabinets, a herringbone backsplash and matte‑black fixtures. For that install I focused on keeping the tile faces aligned at the exposed terminations and protecting the painted walls while adhesive and grout were handled. The pattern needed exact face alignment so the termination read tidy; tape and careful grout cleanup let the motif resolve cleanly into the surrounding paint. That job is a good example of how layout, protection and a tidy joint finish the look.
Final tidy, touch-up and what I tell clients about upkeep
After the sealant cures I do a touch‑up pass on the paint where needed so the junction looks intentional. I show homeowners how to clean the joint — mild detergent and a soft cloth — and what to watch for: abrasion on a bead, grout stains near the joint, or a profile that has loosened. A seated profile reduces the number of touch‑ups; a properly tooled sealant bead will only need attention if it becomes stained or shows abrasion from heavy use. If you want me to walk through edge options in your kitchen I’ll bring mock‑ups so you can see how each detail pairs with your cabinets and fixtures.
If you’re planning a backsplash update and want to talk through edge choices, start with the Kitchen & Bathroom Updates parent page at /services/kitchen-and-bathroom-updates/ or reach out directly to set an on‑site conversation via /contactruss/.
Short client feedback we keep on file: "This is a person whose number is worth saving." — Google review. See that and other notes at /#awards.
What edge detail do you pick for older plaster walls?
I inspect the plaster and backing before deciding; plaster often needs different anchoring or a built-up substrate and a profile can hide minor surface irregularities.
Will sealant keep paint from staining near the tile?
A narrow, well‑tooled flexible sealant helps protect the paint and makes routine cleaning simpler than letting grout meet painted surfaces directly.
Can a slim metal profile suit a traditional kitchen?
Yes. I match the profile finish to nearby fixtures so it reads as a considered architectural line rather than a modern intrusion.