
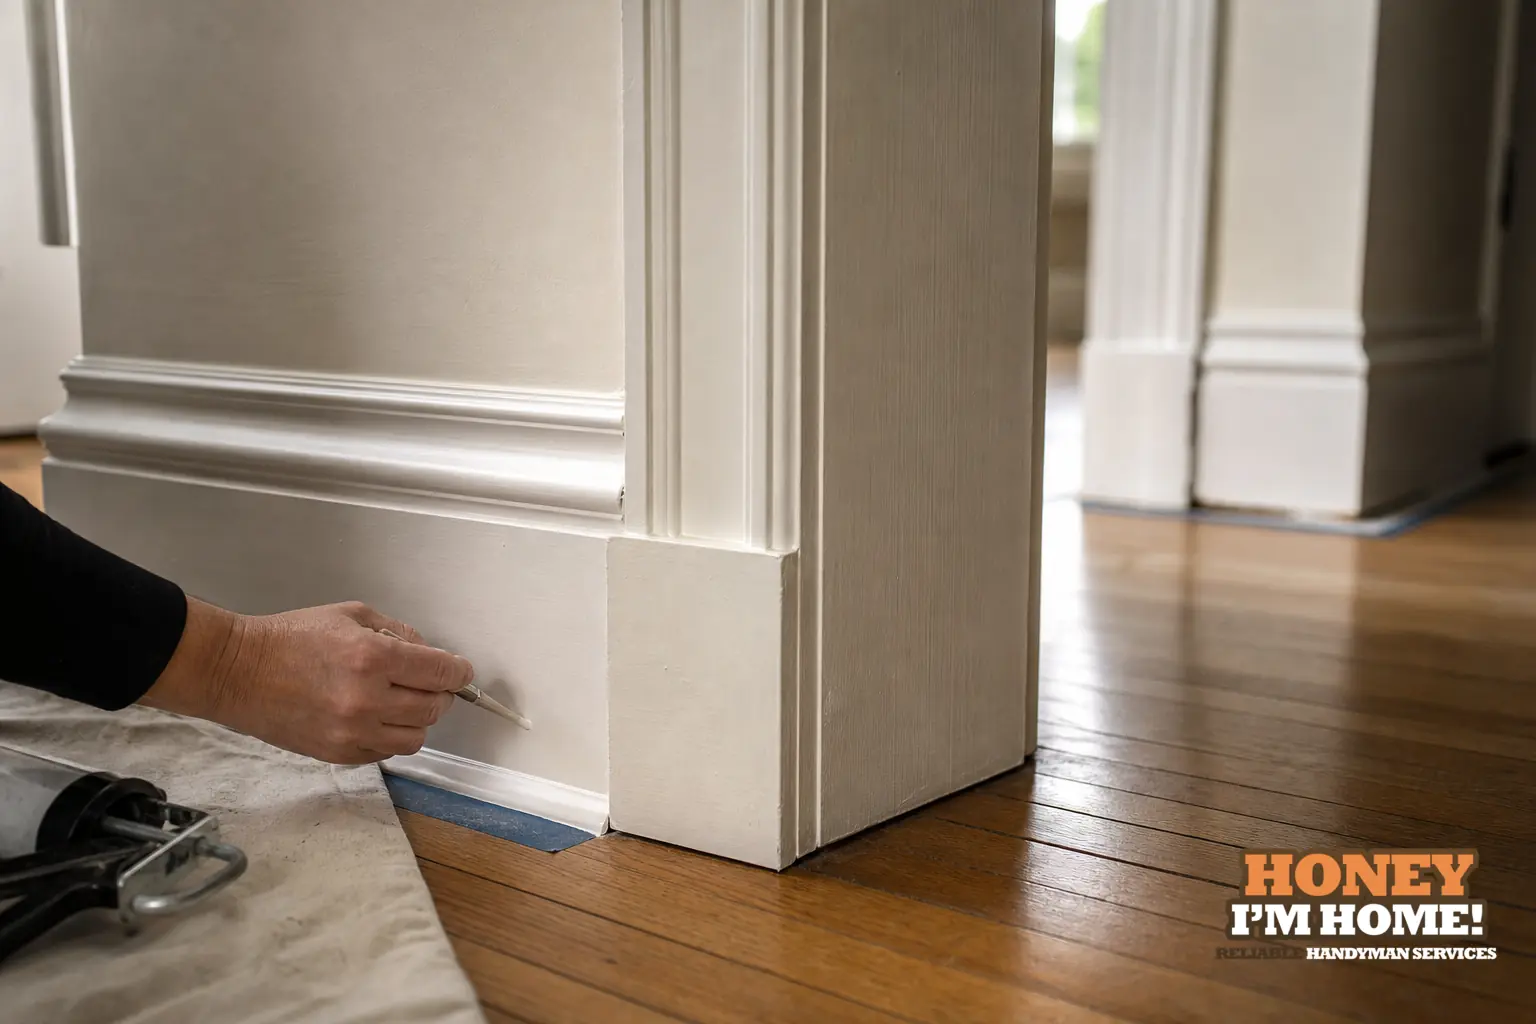
That seam tells you more than aesthetics: it reveals how the house has moved, what was replaced and where moisture or paint stress will show first. I check it early on because a good mechanical fit, sensible fastenings and finish strategy prevent repeated cracking, paint failure and awkward reveals after a floor or door change.
What I inspect on the first walk-through
When I arrive I look at the joint from three viewpoints: how the casing meets the wall, how the baseboard terminates at the casing, and how the flooring intersects the baseboard. Those relationships show whether pieces are original, later additions, or hacked together after a floor replacement. I lift corners where paint fillets hide the seam, feel for movement, and note whether nails hold in solid wood or fail in decayed substrate.
I check for paint build-up that masks gaps, layered putty in mitres, and whether the baseboard has been notched or undercut for flooring. Each of those clues changes the repair plan. If the casing is original and solid, I plan to fit the baseboard to it; if the baseboard is newer and the casing shows historic value, I preserve the casing and adapt the baseboard.
Common failure modes and what they mean
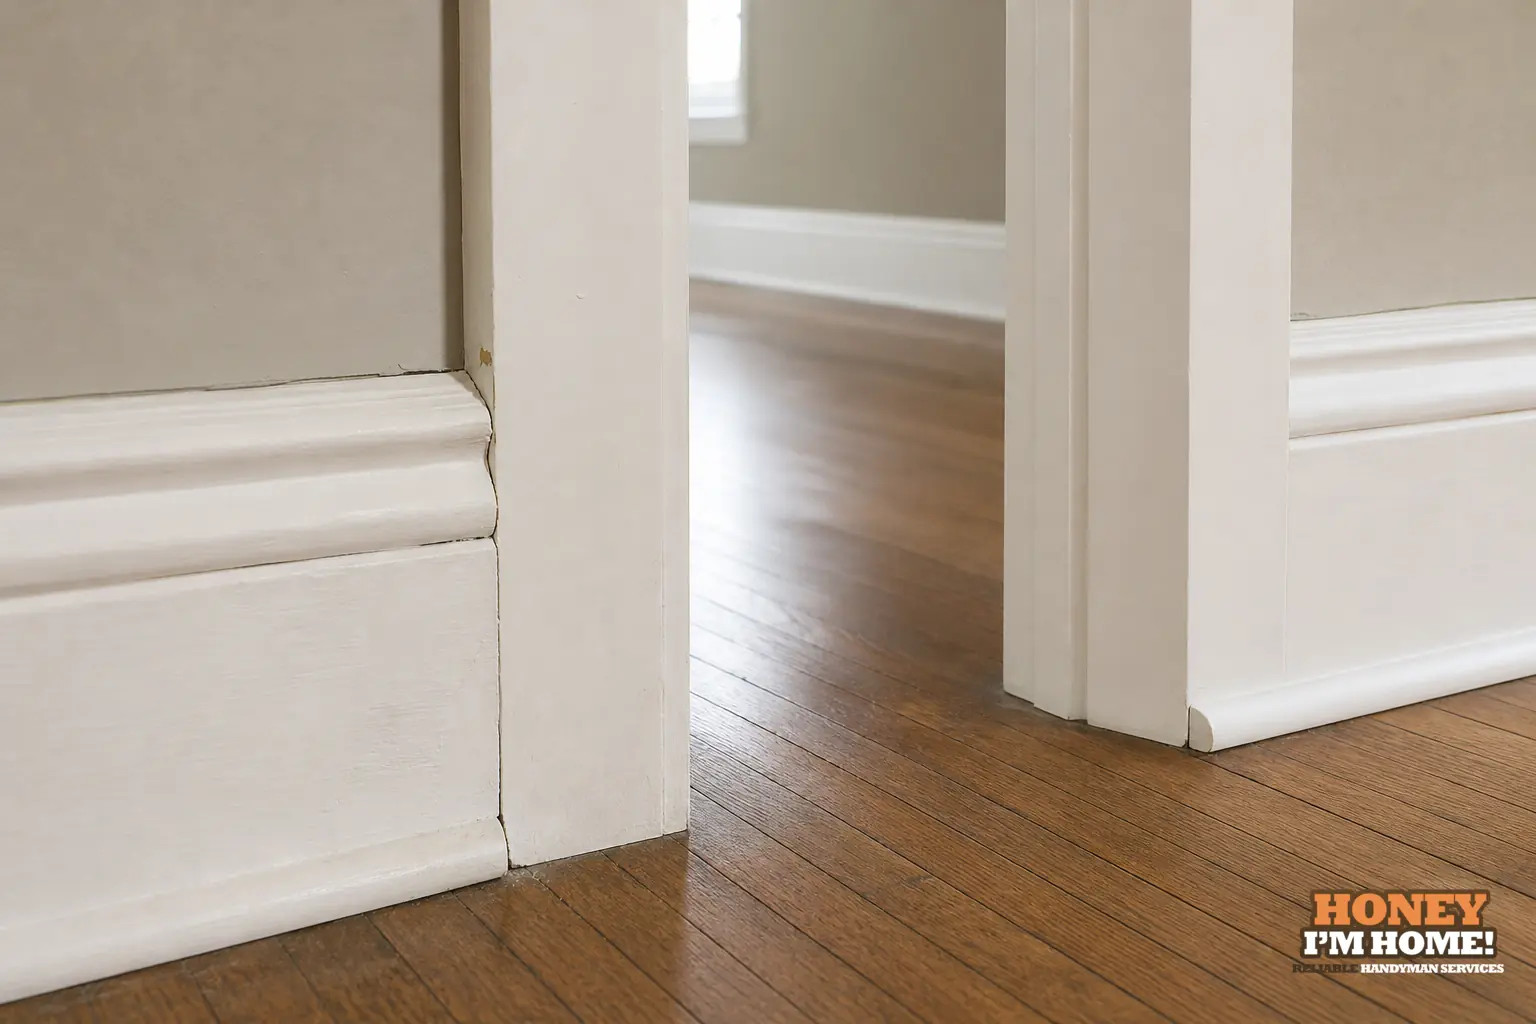
Paint fillets and heavy caulking that bridge a gap are the most common shortcuts I see. They hold for a while, then split along movement lines — the paint transfers the stress and then you get visible cracking. That’s a sign the underlying joinery or fastening strategy needs addressing, not more paint.
Open mitres, stuffed gaps and sloppy returns usually point to imprecise cuts or to flooring changes done after trim was installed. If a baseboard was cut back to fit new flooring, the transition at the casing often looks tacked-on. In those cases I decide whether to restore the original reveal with joinery or to make a deliberate return that reads as intentional.
Profile mismatches happen when elements come from different eras. They’re a visual problem and a diagnostic tool — mismatched profiles tell me which piece was added later, so I can choose which piece to refit or preserve rather than guessing at original intent.
Practical repair approaches I use
I prioritise preserving sound period material when a targeted repair can do the job. If the casing is original and in good condition, I cope the baseboard to the casing where possible so the face mitre is invisible and the joint allows seasonal movement. Coping gives a cleaner visual line and prevents paint from being the only thing holding the joint together.
Where both pieces have been modified or show wear, I remove just enough finish to reveal the nail pattern and substrate, then re-scribe or re-cut the joint so it seats correctly. I fasten into solid backing where I can, and I use selective adhesive on non-visible bonding surfaces (backs and returns) only when it improves the mechanical hold without relying on glue across a finished face.
After the joinery is solid I use a paintable flexible caulk sparingly at the final hairline where movement is expected and follow with proper primer and finish coats so the repaired trim blends in. I avoid hiding a poor joint with paint build-up — that only postpones the next failure.
How movement, humidity and flooring choices affect the junction
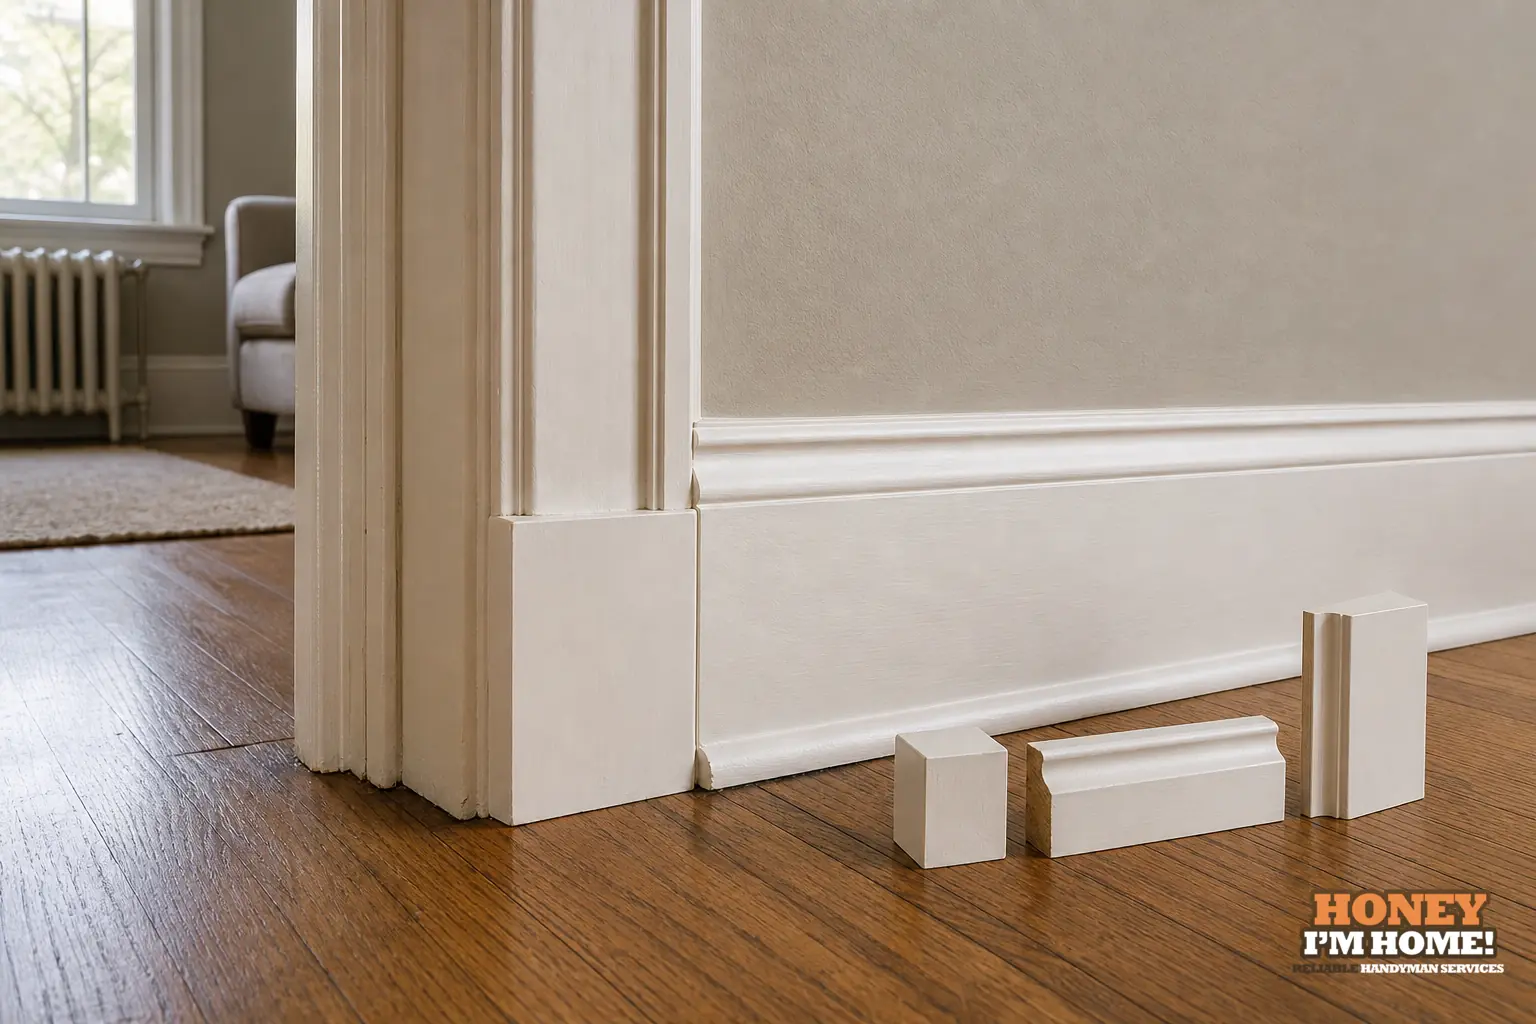
Wood moves with humidity and seasons, and different trim materials behave differently. When a floor is replaced or layered, the baseboard is often the sacrificial element that gets shaved, notched or removed. If the wall substrate is uneven behind the trim — for example in older plaster-and-lath walls — a mitre that once fit snugly can open later as the house dries or settles.
For those reasons I favour joinery that permits a small amount of movement: coping, clipped returns or a narrow reveal rather than a rigid, glued face joint. In rooms with notable seasonal humidity swings I make the joint mechanically sound first, then use a flexible, paintable bead only at the visible hairline so paint doesn’t bridge and crack repeatedly.
Working with the actual character of the neighbourhood
Swansea’s housing stock grew across distinct building waves, so I don’t assume uniformity from house to house. The area includes workers’ cottages and row housing from the 1880s, many two‑storey houses, bungalows and semis built between 1905 and 1935, and pockets of Tudor Revival Home Smith subdivisions with later infill. Because repair conditions can vary significantly from street to street, I look for which elements are original and which are later additions before I cut or remove trim.
That background changes my decisions at the joint. On a narrow late‑19th‑century cottage I often expect simpler, narrower casing that I’ll preserve when sound. In a 1920s semi I usually find taller baseboards and more elaborate profiles that merit conservative repair rather than replacement. If I discover the casing is original and the baseboard was added after a floor change, I’ll generally refit the baseboard to the casing rather than replacing the casing to match the baseboard.
Details I use to make the junction last and look right
Fit before finish is my rule. I strip paint fillets back to the true joint, align the profiles mechanically, and secure the pieces so they don’t rely on caulk or paint to stay together. Coping the baseboard to the casing is a repeatable technique I return to because it accommodates movement and keeps a crisp visual line.
My fastening approach is practical: where I can, I anchor into solid backing or framing; where glue helps, I apply it to non-visible bonding surfaces like backs and returns so finished faces aren’t glued in tension. I clean out old soft caulk and broken beads, then sparingly apply a paintable flexible caulk only at the visible hairline where movement is expected. Finally, I prime new or raw wood and apply proper primer and finish coats so the repair ages consistently with the surrounding trim.
If a floor replacement is the cause of the awkward reveal, I’ll present options: reinstalling a portion of baseboard, adding a complementary shoe mould that reads like a deliberate detail, or coping the baseboard so it sits to the casing. I won’t cover over decay; any soft wood is cut back and repaired before cosmetic work proceeds.
When to call me in
Call me when the junction is causing repeated paint cracking, when a baseboard feels loose near the casing, or when a recent floor change has left an awkward or unstable reveal. I’ll inspect attachment, detect any underlying rot or substrate issues that need repair, and show you options that preserve original detail where practicable.
If you want a walk-through or a staged restoration plan, get in touch through /contactruss/. For broader restoration work I follow the approach described on our parent page at /services/trim-moulding-and-old-home-finish-restoration/ and tailor the work to the house in front of me.
How will you decide whether to preserve original casing or replace it?
I inspect the attachment, check for decay and evaluate the historical value before recommending preservation. If the casing is sound and original, I usually preserve it and adapt the baseboard; replacement is only on the table when the casing is unstable or missing important detail.
Can a new floor installation be fixed at the baseboard-to-casing junction?
Often yes. Typical fixes include refitting a portion of the baseboard, coping the baseboard to the casing, or adding a complementary shoe to restore a neat reveal. I’ll show you which option preserves the original look while solving the fit issue.
Will repainting alone stop the gap or cracking?
Repainting alone usually only hides the symptom and not the cause. Expect recurring cracking unless the mechanical fit and fastening are addressed first, after which proper primer and finish coats will hold up better.