
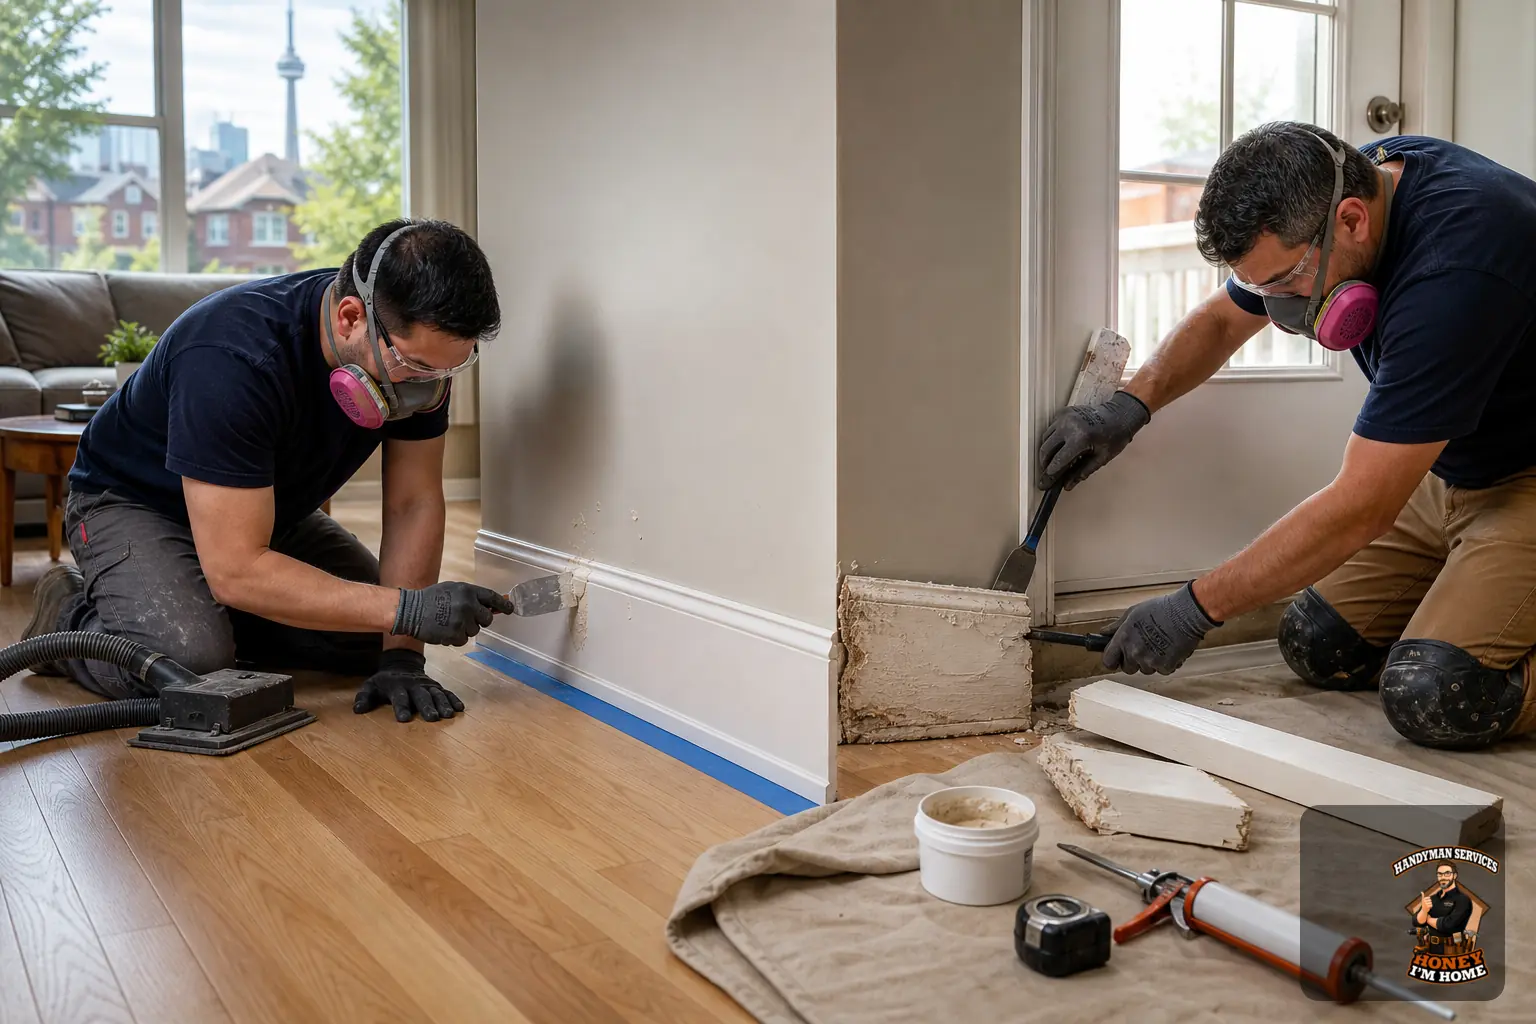
Baseboards protect the lower edge of walls, conceal expansion gaps and complete the look of a room. Over time they can acquire dents, paint failure, swelling or repeated impact. The right choice—repairing a damaged section or replacing whole runs—depends on the type and extent of the damage, the underlying material, and your long-term goals for appearance and durability. This guide helps homeowners in Toronto, Etobicoke and Mississauga inspect trim, understand safe repair materials and methods, and decide when to DIY or call a professional.
Start with a careful inspection
Inspect systematically, room by room. Record locations and take photos so you can compare areas and communicate clearly with a carpenter if needed.
- Visual scan: Note dents, gouges, flaking paint, stains, bulging or visible soft sections along the baseboard.
- Continuity: Look for patterns—repeated damage across multiple runs can indicate recurring impact or moisture exposure rather than isolated incidents.
- Gentle tapping: Test adhesion by gently tapping with a knuckle or the plastic handle of a tool. Avoid using a hammer or hard metal tool that can leave marks; if the material sounds hollow or feels soft, there may be delamination or rot.
- Joint and gap check: Look at mitres and butt joints. Note where caulking has failed or where gaps have opened at corners and the floor.
- Finish condition: Peeling paint can be superficial, but repeated paint failure after refinishing suggests a compromised substrate.
Keep a note of baseboard height, profile photos, and any nearby flooring transitions—these details matter if you seek a profile match or full replacement.
Health and safety first: sanding and dust precautions
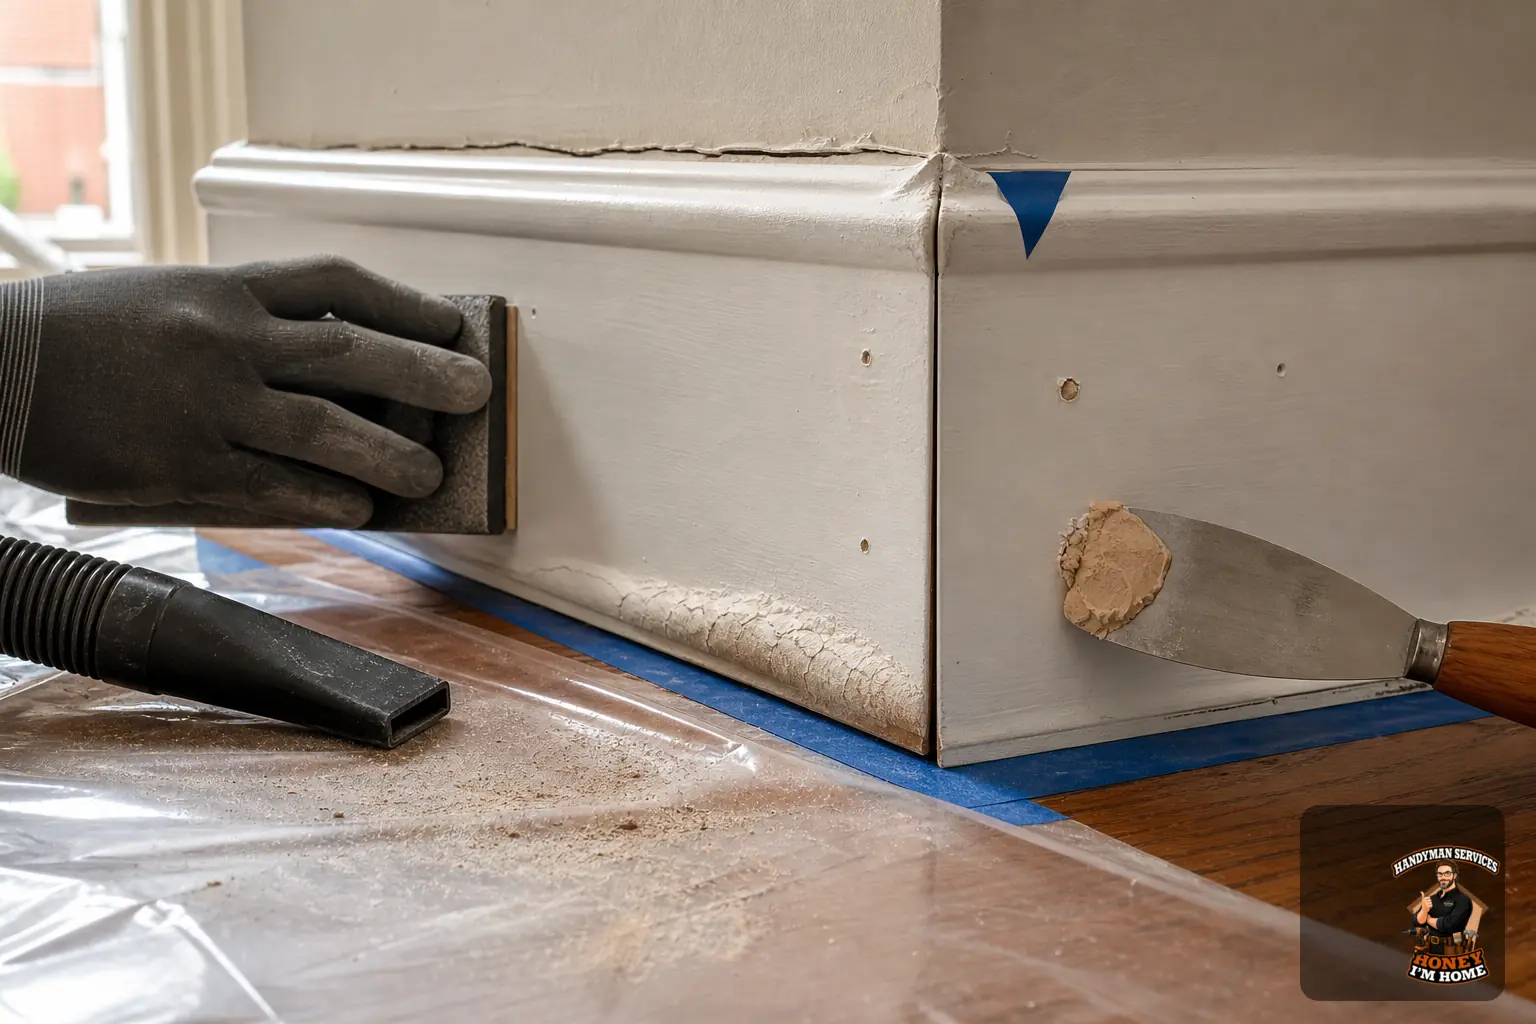
When sanding or disturbing older trim, be aware of potential lead-based paint. For trim installed before 1990, test for lead or assume paint may contain lead and follow lead-safe work practices. Avoid dry sanding of suspect finishes. Instead, use containment, wet-sanding techniques where appropriate, or tools that collect dust at source. Use a suitable respirator—such as a P100 cartridge respirator—rather than a basic dust mask, and use eye protection.
If you suspect lead paint or are unsure how to contain dust safely, consider hiring a contractor experienced in lead-safe renovation methods. For non-lead projects, still use a vacuum with a HEPA filter and wear a P100 respirator when sanding older finishes to minimise airborne dust.
Common types of damage and how repairable they are
Knowing the cause helps decide whether to patch or replace.
- Surface dents and scuffs: Small dents and shallow gouges are usually repairable with a suitable filler, sanding and repainting.
- Paint failure: If paint flakes without underlying softness, stripping, priming and repainting can solve the issue provided the substrate is sound.
- Minor joint separation: Open mitres or small gaps can often be corrected by removing old caulk, tightening mitres or re-adhesing sections and re-caulking.
- Localized swelling: Swelling from a single spill or occasional moisture can sometimes be trimmed and spliced with a new section if the remaining material is firm.
- Extensive material breakdown: Where baseboard runs are soft, delaminated or degraded across many metres, replacement of the affected runs is generally the more durable solution.
- Profile mismatch or renovation aesthetics: When you plan a larger renovation and want consistent trim profiles or higher trim heights, replacement provides a cohesive outcome.
Appropriate fillers and sealants: what to use and when
One key correction to common DIY advice: do not use paintable caulking as a primary filler for dents or gouges. Caulk is formulated to bridge seams and accommodate small movements, not to create a durable, sandable repair surface.
Recommended practices:
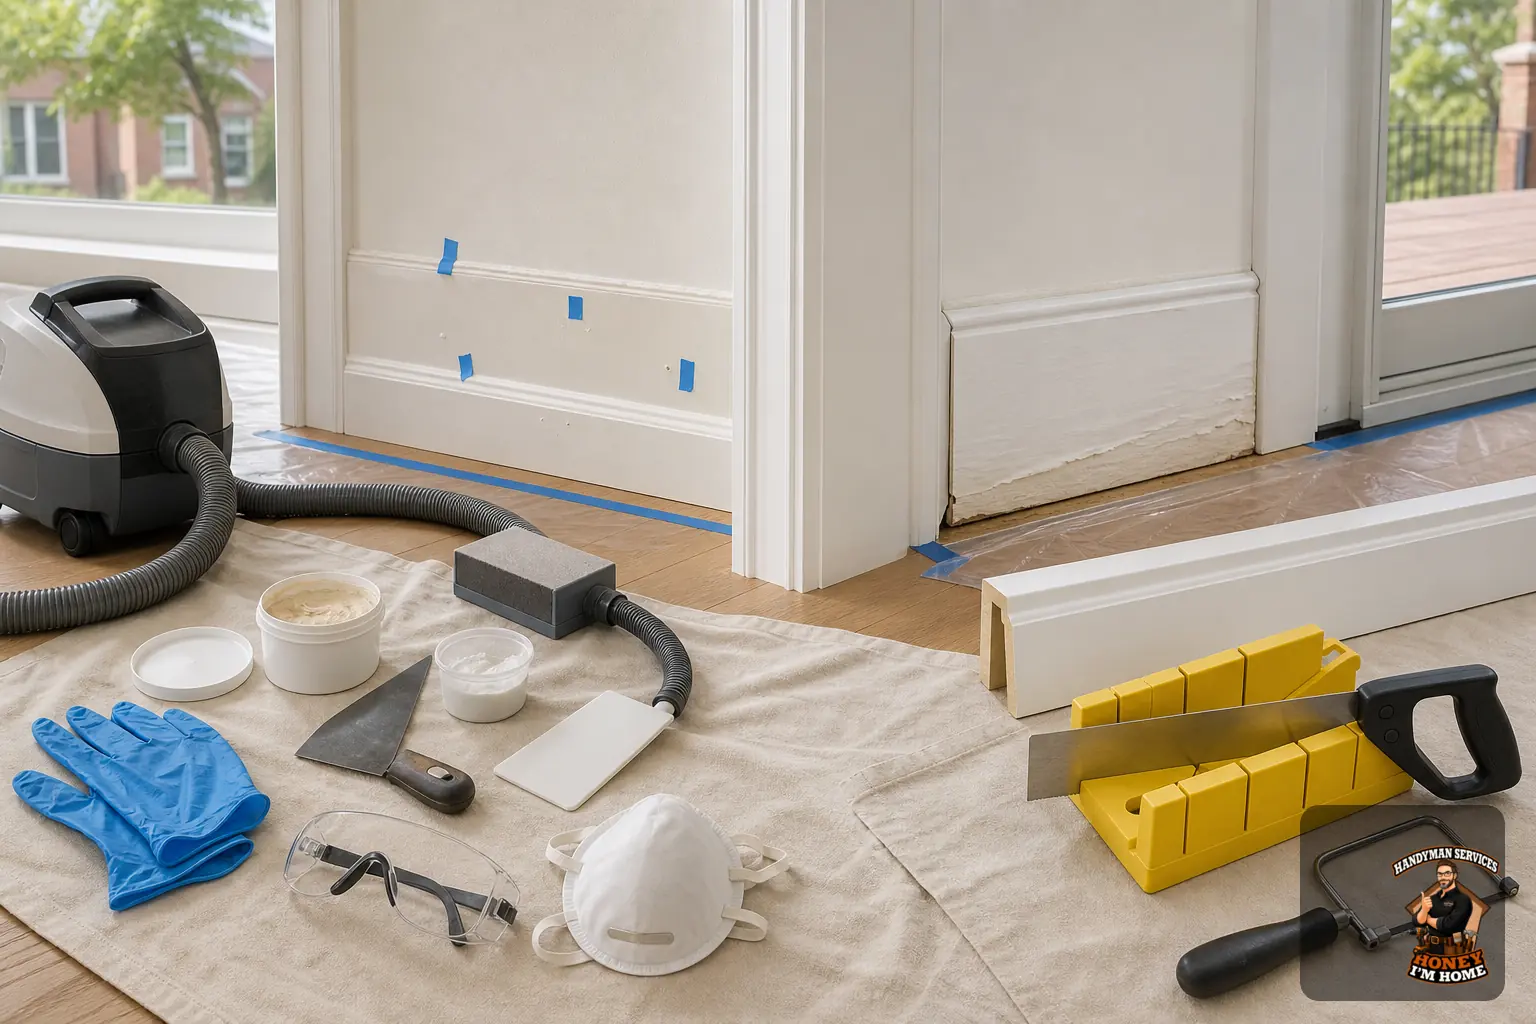
- Wood filler or two-part epoxy/polyester filler: Use these products for repairing dents, gouges and small missing sections in solid wood and in MDF where a durable, sandable patch is required. Two-part fillers cure hard and can be sanded to a smooth finish; choose a filler compatible with the substrate and finish you plan to apply.
- MDF considerations: MDF edges can absorb moisture and swell. For repairs, use a filler rated for MDF—some polyester fillers and two-part products adhere well. After repair, seal and prime MDF thoroughly before painting.
- Caulking: Reserve paintable caulking for sealing joints, seams, and small gaps where movement is expected (e.g., between baseboard and wall). Caulk should not be used as the structural or primary cosmetic filler for gouges.
- Priming and finishing: After sanding filler smooth, prime with a compatible primer before topcoat to ensure adhesion and consistent sheen.
When repair is the practical choice
Repair is sensible when damage is local, the substrate is still sound, and you want to retain the existing profile. Examples include isolated dents, short runs of paint adhesion failure, small gaps at joints, or a single swollen section that can be spliced out.
Benefits of repair include less demolition, faster completion and the ability to preserve character trim where that matters. A well-executed repair using the correct filler and finishing steps can last many years.
When replacement makes more sense
Replace baseboards when damage is extensive, when the material is failing across long runs, or when you want to change the profile or height for a renovation. Replacement also makes sense when repeated repairs have not addressed recurring problems such as ongoing moisture exposure or repeated impact damage.
Replacement allows selection of a material better suited to the room: solid wood for stained finishes, primed MDF for painted surfaces in dry rooms, or PVC for areas prone to moisture. Bring photos or a scrap to a millwork supplier to help match profiles—if an exact match isn’t available, choosing an intentional new profile for entire runs often looks cleaner than patching mismatched sections.
Simple, correct repair workflow (overview)
Follow these steps for a basic repair or use them to brief a contractor. This is a homeowner-level overview rather than an exhaustive trade procedure.
- Clean the area and remove loose paint or debris. If the paint is old and potentially lead-based, do not dry-sand; test or assume lead and use lead-safe practices.
- Protect the surrounding floor and wall surfaces with drop cloths and masking tape. Contain dust where possible using a vacuum with HEPA filtration.
- Prepare the damaged area by removing loose material and shaping edges to accept filler. For small dents, a light depression is often sufficient to hold filler.
- Apply a suitable wood or two-part filler to gouges or missing sections; overfill slightly to allow sanding. For MDF, use a filler rated for engineered wood products and seal edges afterward.
- Once cured, sand smooth with appropriate protective equipment (P100 respirator, eye protection). Consider wet-sanding or vacuum-attached sanders where dust is a concern.
- Prime the repair area, re-caulk joints as needed, and repaint the baseboard. Repaint an entire run or full wall length if sheen and colour matching across touch-ups is a concern.
DIY vs hiring a professional
Experienced DIYers can handle small repairs—filling, sanding and repainting—if they follow material-specific guidance and safety precautions. Hire a carpenter or trim specialist when you need accurate profile matching, precise mitres and coped joints, multiple room consistency, or when lead-based paint and dust containment are concerns.
A custom trim or interior finishing specialist can advise on profile matching and full-run replacement options. For information about professional services in this area, see the parent page on Custom Carpentry & Interior Finishing. When you’re ready to request an estimate or ask specific questions, use the contact page at /contactruss/.
Preparing for a contractor visit
- Take photos of all damaged runs and any adjoining trim you want to match.
- Measure baseboard height and approximate linear metres requiring attention.
- Note the desired finish (painted, stained) and whether moisture resistance is a priority.
- Mention any concerns about lead paint so the contractor can propose appropriate containment and testing procedures.
Maintenance and prevention tips
- Use doorstops to prevent repeated impact damage.
- Touch up small chips before they grow; regular small maintenance extends life.
- Seal and prime bottom edges in areas with occasional moisture and inspect annually for early signs of swelling.
FAQ: How do I know if paint on my trim contains lead?
Trim installed before 1990 may contain lead-based paint. To be certain, test a small sample with a home test kit or hire a professional to perform a laboratory test. If you suspect lead, avoid dry sanding, use containment and a P100 respirator, or hire a professional trained in lead-safe practices.
FAQ: What filler should I use on MDF versus solid wood?
For both solid wood and MDF, use a wood-specific filler or a two-part epoxy/polyester filler that cures hard and sands well. For MDF, select a filler rated for engineered wood and seal edges with primer before painting. Reserve paintable caulk only for sealing joints and small movement gaps.
FAQ: When should I call a carpenter instead of doing a DIY repair?
Call a carpenter when you need profile matching across multiple rooms, precise mitres or coping for tight corners, long runs removed and reinstalled for floor transitions, or when lead paint or dust containment makes the work more complex. A professional can also advise on material choices for long-term durability.
Choosing repair or replacement hinges on damage extent, substrate condition and aesthetic goals. Use careful inspection, the correct fillers and safe sanding practices to extend the life of trim. For help coordinating larger replacement runs or custom trim work, a specialist in custom carpentry and interior finishing can provide guidance—see /services/custom-carpentry-and-interior-finishing/ and request an estimate via /contactruss/.