
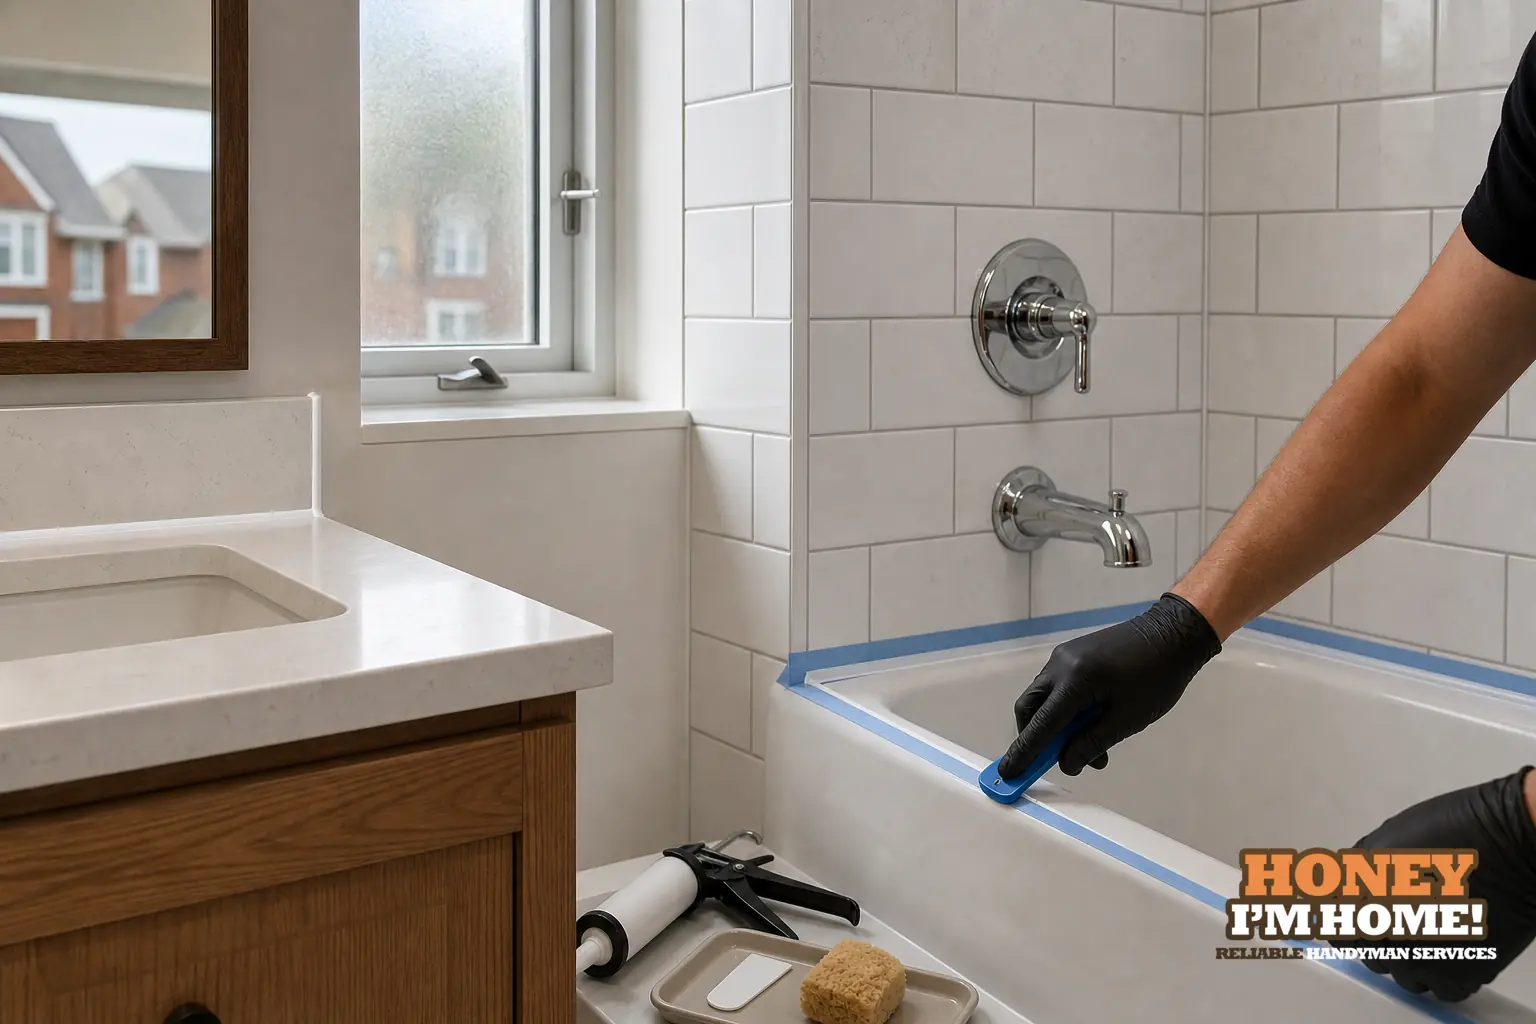
Clean caulk lines do two jobs: they keep moisture from running into joints and they make the whole room read as finished. In a small bathroom a neat bead repairs visible edges, reduces staining and makes future touch-ups local and simple. My focus is on sound preparation, the right sealant for the location, disciplined tooling and matching the finish so the seam looks intentional.
What a tidy caulk line actually fixes
I treat the caulk bead as a visible finish, not a quick patch. In compact bathrooms every seam is at eye level: shower corners, tub-to-wall junctions, vanity backstops and floor transitions are seen from a few steps away. A messy bead highlights small misalignments and makes new tile or trim look unfinished. A crisp bead hides minor edge variations and gives the room a calm, continuous look that reads as completed work.
Functionally, a continuous, well-adhered bead limits water tracking into porous substrates. When moisture follows a degraded joint it reaches behind trim and tiles where stains, softening and bond failure begin. Caulk also bridges small movement between dissimilar materials; if the bead is too thin or applied over a weak layer it will separate where the materials flex. My first check on any re-caulk is adhesion—if it won’t stick to the material the appearance won’t last.
How I inspect and prepare the joint before re-caulking
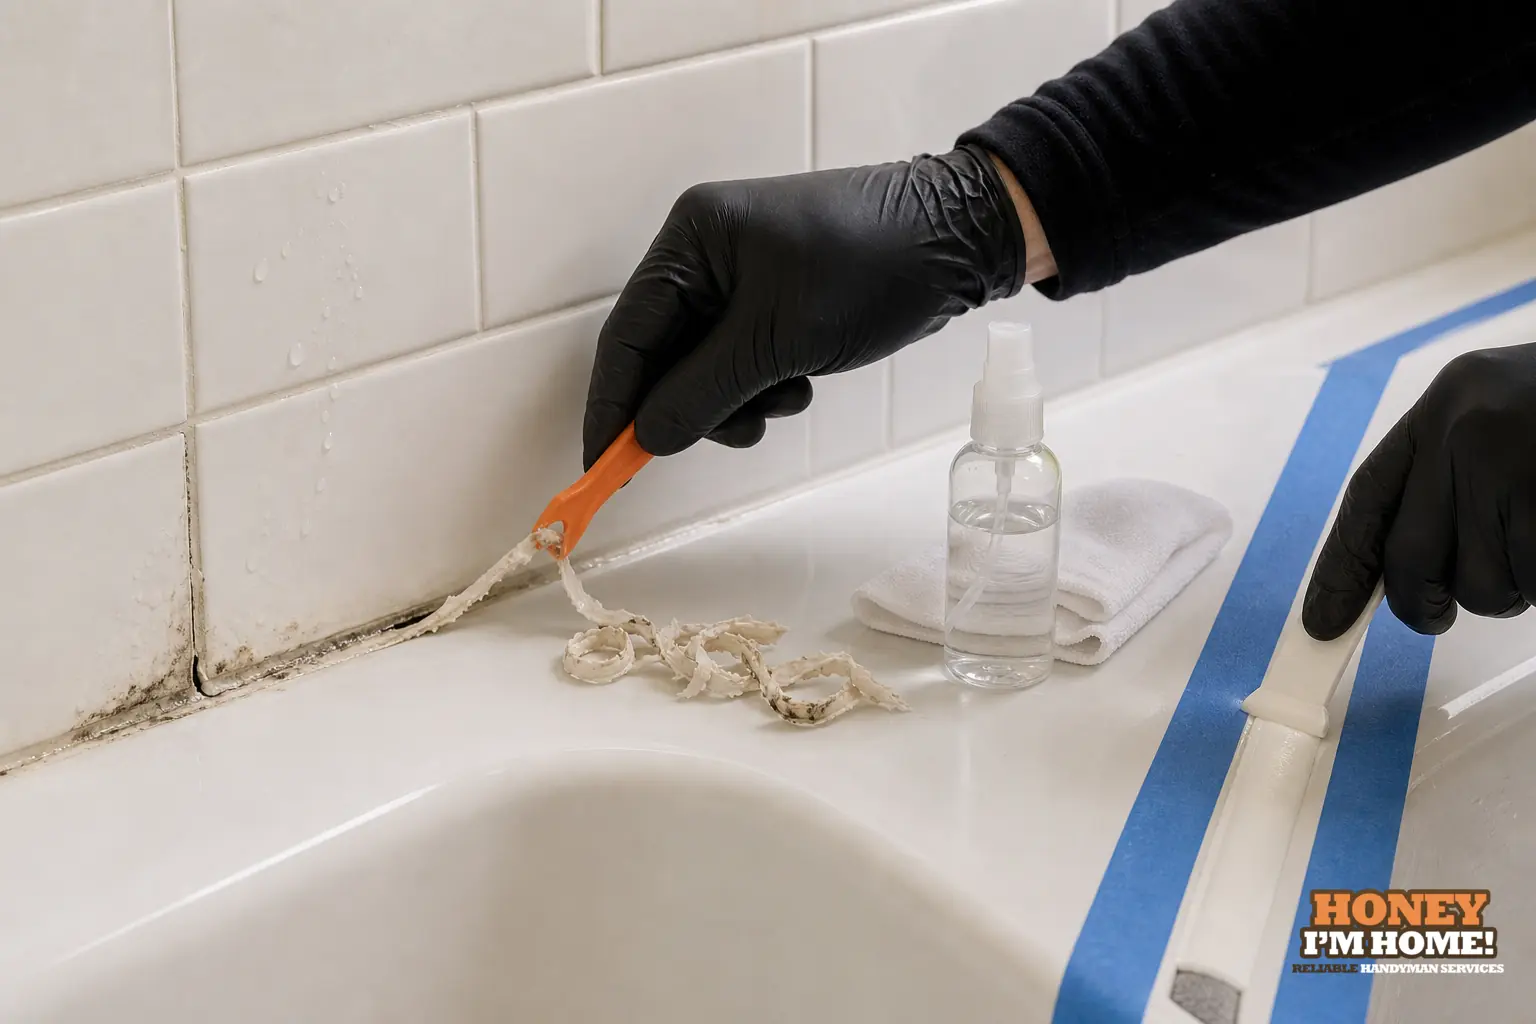
Inspection is the job that decides how far the repair goes. I look for soft substrate, loose tile, old sealant with staining, soap residue and any finish contamination. If the old bead is failing I remove it back to sound material; feathering over degraded sealant is a common mistake that leads to an early redo.
Removal is mechanical and methodical. I cut and peel the old bead, then scrape to clean, taking care not to damage tile edges or original trim. After that I clean with a mild detergent and use isopropyl alcohol where grease or stubborn residue remains. For joints that need controlled depth I install a backing—backer rod gives the new sealant a consistent cross-section so it can stretch and compress as designed. On jobs with tight access I stage my workspace so I can tool the bead cleanly without bumping it while it’s tacky.
Product selection and finish choices I prefer
I match product to the task and the expected exposure. For continuously damp joints around a shower or tub I use a sealant specified for constant dampness and mildew resistance. For trim-to-drywall joints I pick a paintable, flexible product so the bead can be finished with surrounding paint. Colour choice is practical: I usually match grout or trim for seams that are viewed up close; a contrast can work but only if the bead is flawless.
Beyond product chemistry, the shape and depth of the bead matter. I set backing depth so the sealant forms a domed profile that compresses against both sides. A too-shallow bead takes more movement and is more likely to peel. If the surface is glossy I scuff it lightly so the sealant gets a mechanical grip. These choices reduce the chance of the bead failing prematurely and keep the visible finish tidy.
Tools and on-site techniques that deliver straight, even lines
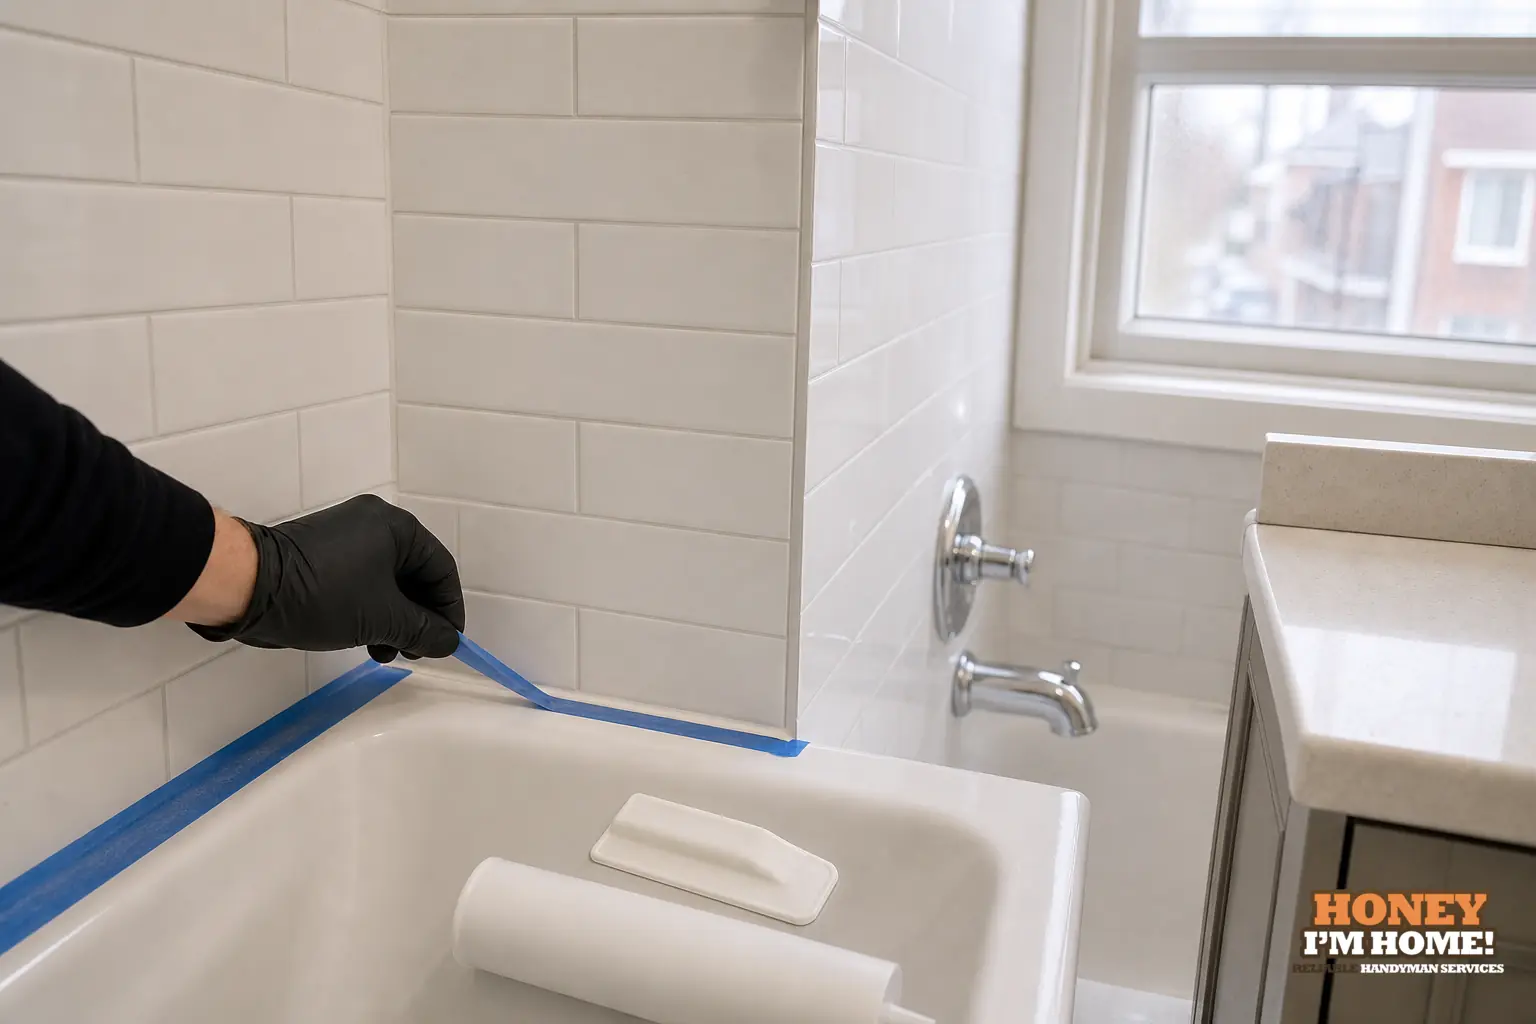
Good caulk work comes from simple tools used correctly: a smooth-feed caulking gun, sharp scrapers, masking tape for clean edges, a straight or rounded tooling stick, and clean rags. I always run a test bead on scrap before starting on tile or delicate trim. Masking tape along both edges is the fastest way to get a factory appearance in a tight space—tool the bead, wait the brief moment the product needs to skin slightly, then pull the tape back at an angle for a crisp edge.
On metal trim or glazed tile I scuff the contact area and ensure surfaces are dry before applying sealant. I maintain a steady hand speed and constant pressure on the gun to avoid the start-stop thickening that shows up as lumps. If a joint was previously failing I remove the old material entirely—leaving a weak layer beneath a new bead is the most common cause of recurrence.
How the buildings in High Park affect the repair decision
The City’s 2016 High Park–Swansea profile notes that 55 per cent of dwellings were built before 1960 and that the area contains both older houses and a substantial apartment and condominium stock. That mix means wall and floor assemblies vary widely between nearby projects, so I make the repair approach fit the actual building assembly I find.
In older detached homes I often meet plaster, original trim and compact framing; aggressive chiselling can enlarge an otherwise small repair, so I pare out failed sealant carefully and protect original finishes. In apartment or condominium units I frequently encounter drywall and modern tile assemblies but tighter access or stacked-unit constraints. Because of that variety I carry multiple sealant types, backing sizes and tools so I can match the fix to the substrate in front of me rather than forcing one technique on every job.
A concise workmanship vignette and how clients notice small details
To show the finish level I aim for I point to the portfolio on the homepage. A completed Honey, I am home kitchen project shown there includes white cabinets, a herringbone backsplash and matte-black fixtures; the same attention to neat lines and careful transitions applies to my bathroom finishing. Clean edges and consistent seams make new finishes read as complete rather than patched.
Clients often comment on those small things. One Google review said, "This is a person whose number is worth saving." See the recognition on the site’s awards section at /#awards. For project planning and the scope of small bathroom updates visit /services/kitchen-and-bathroom-updates/ or contact me directly at /contactruss/ to go over a specific joint or finish detail.
Maintenance checks I recommend after re-caulking
After the bead cures I advise homeowners to check the joint visually on a schedule that fits use and exposure. Look for shrinkage, staining or small gaps and deal with defects while they’re local. When cleaning, avoid abrasive tools directly on the bead; a soft brush and mild detergent keep it clean without abrading the surface. If a seam sees heavy splashing, check it more frequently so any failure is repaired before the substrate behind it is affected.
Minor touch-ups are normal in wet rooms; the goal of proper preparation and tooling is to reduce how often those touch-ups are needed and to keep them small. Good adhesion and a correctly shaped bead resist staining and peeling better than a rushed application.
How do I tell if the old caulk needs full removal or just a re-bead?
Test the bond and inspect the substrate thoroughly. If the old caulk peels off in strips, the surface under it is stained or soft, or tile edges are loose, remove the sealant back to sound material. If the bead remains well-adhered and the substrate is solid, you can often tool and re-finish the visible face.
When should a professional handle the caulking?
Call a pro if the joint is behind original trim, the substrate looks delaminated or soft, or access is highly restricted. A professional will match backing and sealant to the actual wall or floor assembly and avoid enlarging the repair through aggressive removal.
Can I use any household cleaner on sealed joints?
Avoid strong solvents on sealant. Use mild detergent and a soft brush, test cleaners in an inconspicuous area first, and follow the sealant manufacturer's compatibility notes for ongoing maintenance.