
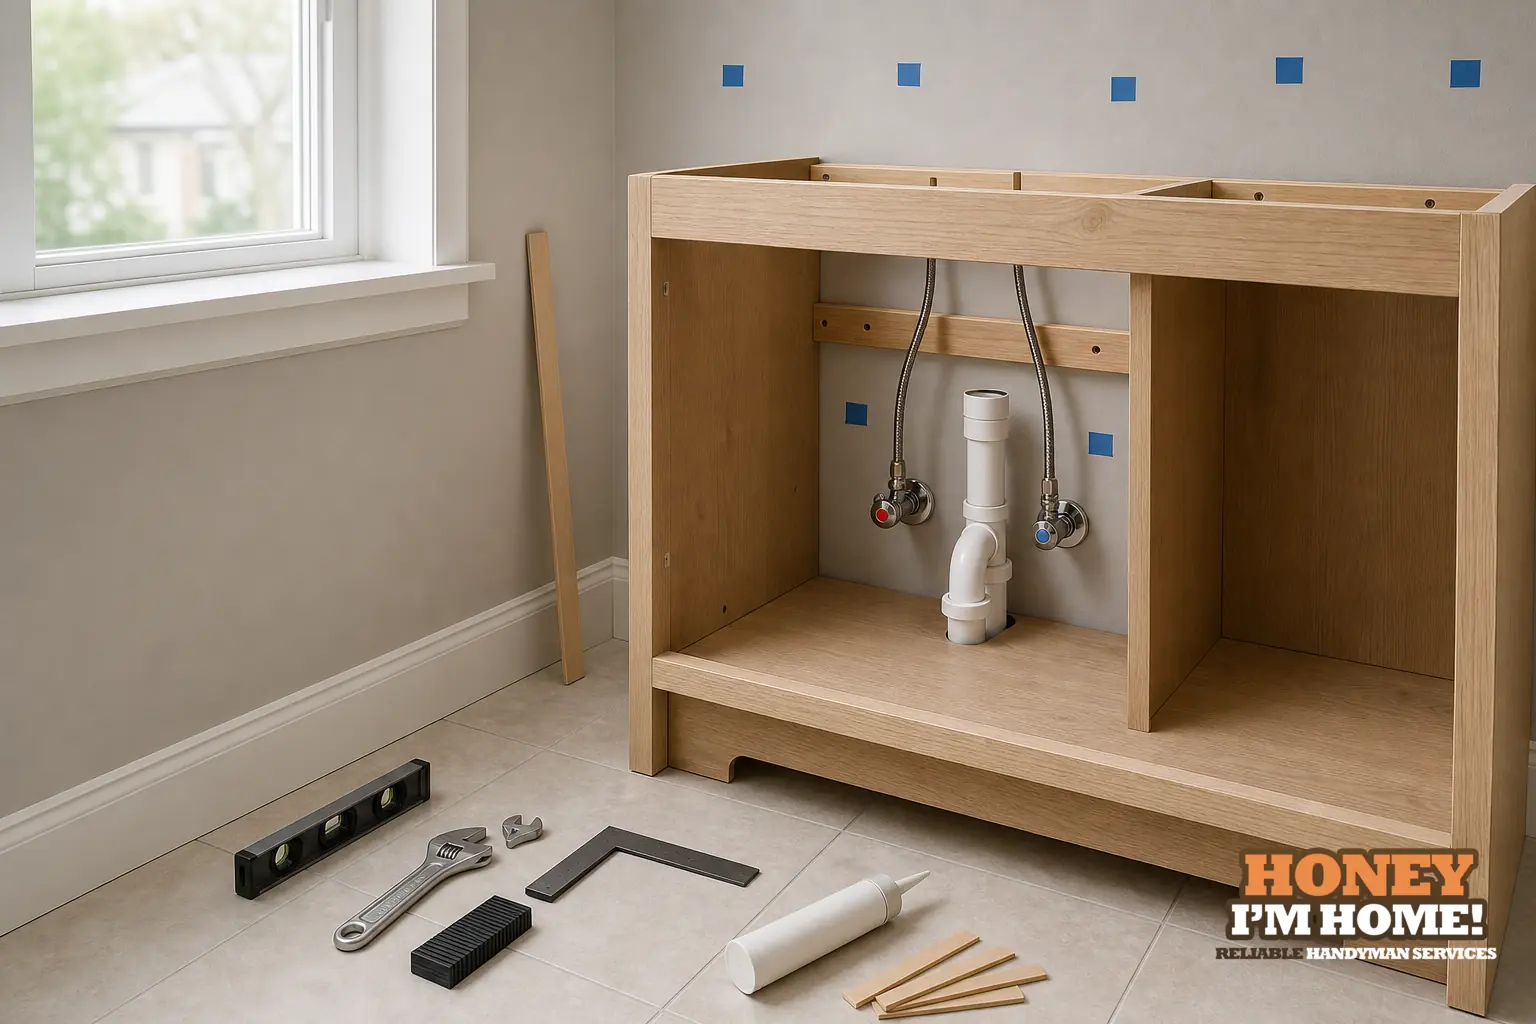
Before I pull an old vanity I verify the shut-off valves, trace supply and drain routing, check how the drain lines align with the new cabinet, examine the wall and floor finishes behind and beneath the unit, and locate studs or blocking for secure attachment. Those checks tell me if a straight swap is feasible.
First walk-through: what I look for right away
I start with a quick visual and a hands-on probe. I open the vanity doors, feel the underside of the countertop and the cabinet base, and look for signs of active leaks or water staining. Soft wood at the cabinet floor or discoloured back panels changes what I recommend: sometimes cosmetic repair is all that’s needed, other times I flag the substrate for replacement before the new unit goes in.
I also check how accessible the shut-offs and service valves are. If a valve is easy to reach under the sink I can operate and pressure-test it during the swap. If it’s tucked behind trim or in another room, I note that so you and I can plan for testing and future access.
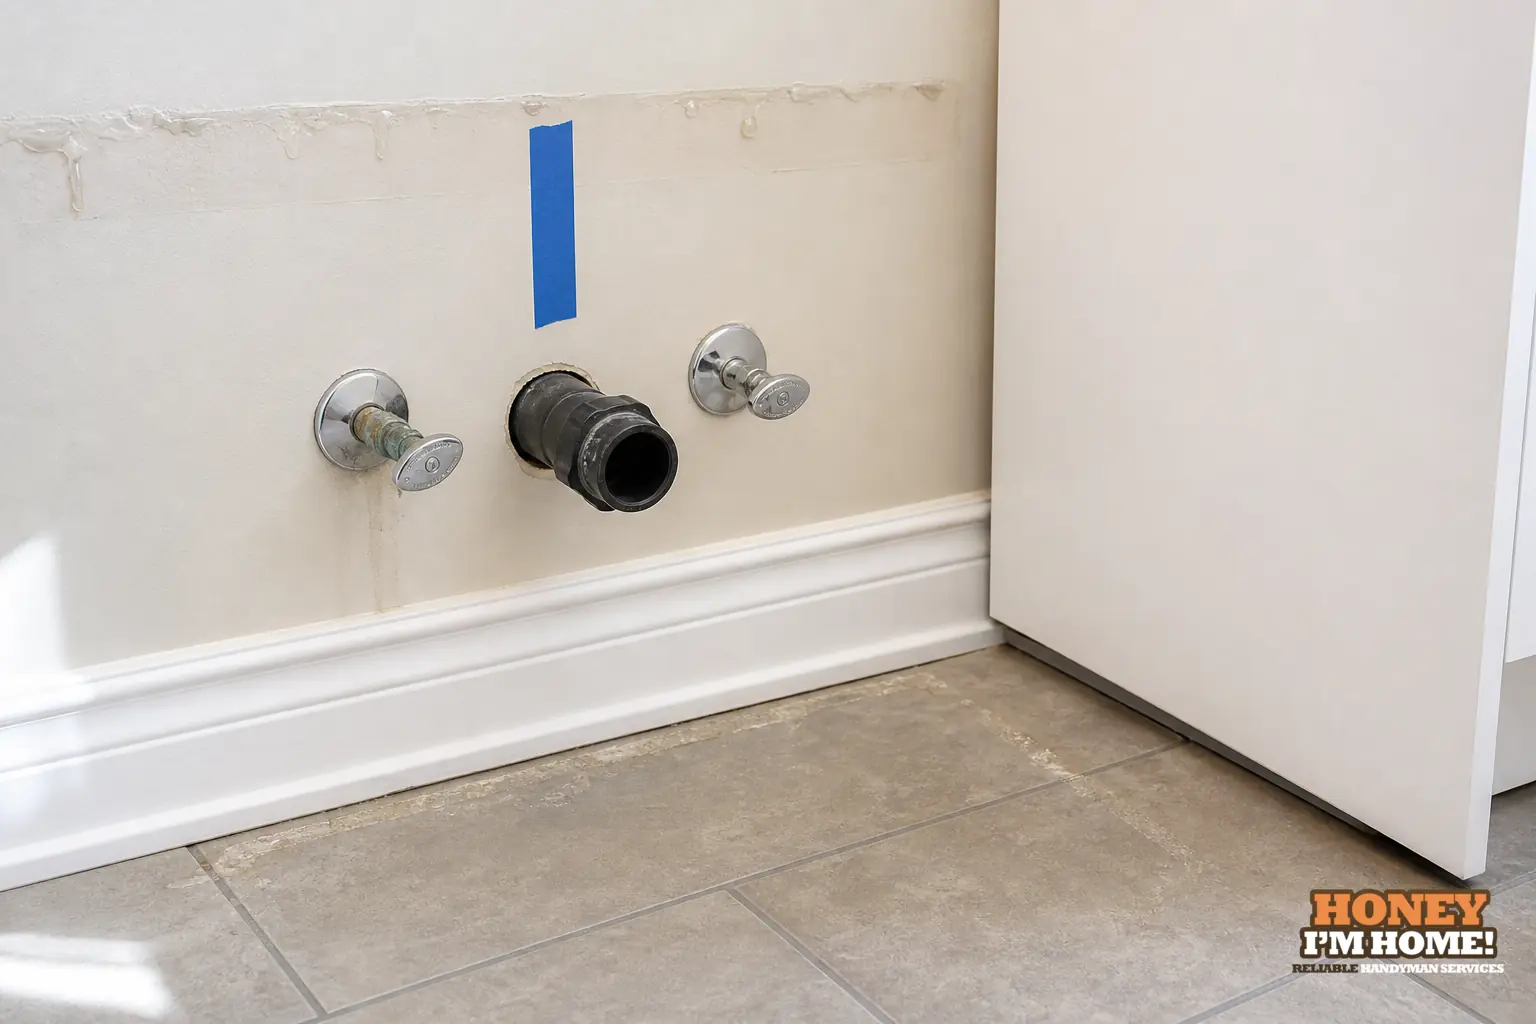
Plumbing and fixture details I confirm before ordering or demo
The way the waste and supply lines come into the cabinet makes the biggest difference to whether a new vanity is a simple like-for-like swap. I map the drain relative to the back of the existing cabinet and confirm whether the waste goes out through the wall or down through the floor. I also check the routing and flexibility of the supply lines; flexible hoses give me more tolerance for small position changes.
I count the faucet holes and note the sink type — integrated countertop, undermount, drop-in or vessel — because the sink style determines how the top and faucet will sit. If you plan to keep an existing faucet, I verify hole spacing and clearance. If you're replacing the faucet, I discuss preferred layouts before anything is ordered so the cutouts and mounting match.
Wall and floor assemblies: what I inspect and why it matters
Behind and beneath the vanity I examine finish materials and substrate condition. Is the wall finished in tile, modern drywall or older plaster? Is there original trim or baseboard that abuts the cabinet? I don’t assume the wall is uniform — the finish determines how I fasten, patch and make the finished edge look neat.
I also check the floor under and around the vanity for signs of movement or soft spots. Even a freestanding vanity sits on a floor that must be level enough to let doors and drawers operate correctly. If the substrate shows deterioration I point that out and describe repair options so the new cabinet sits on a reliable base.
Mounting, blocking and attachment practicalities
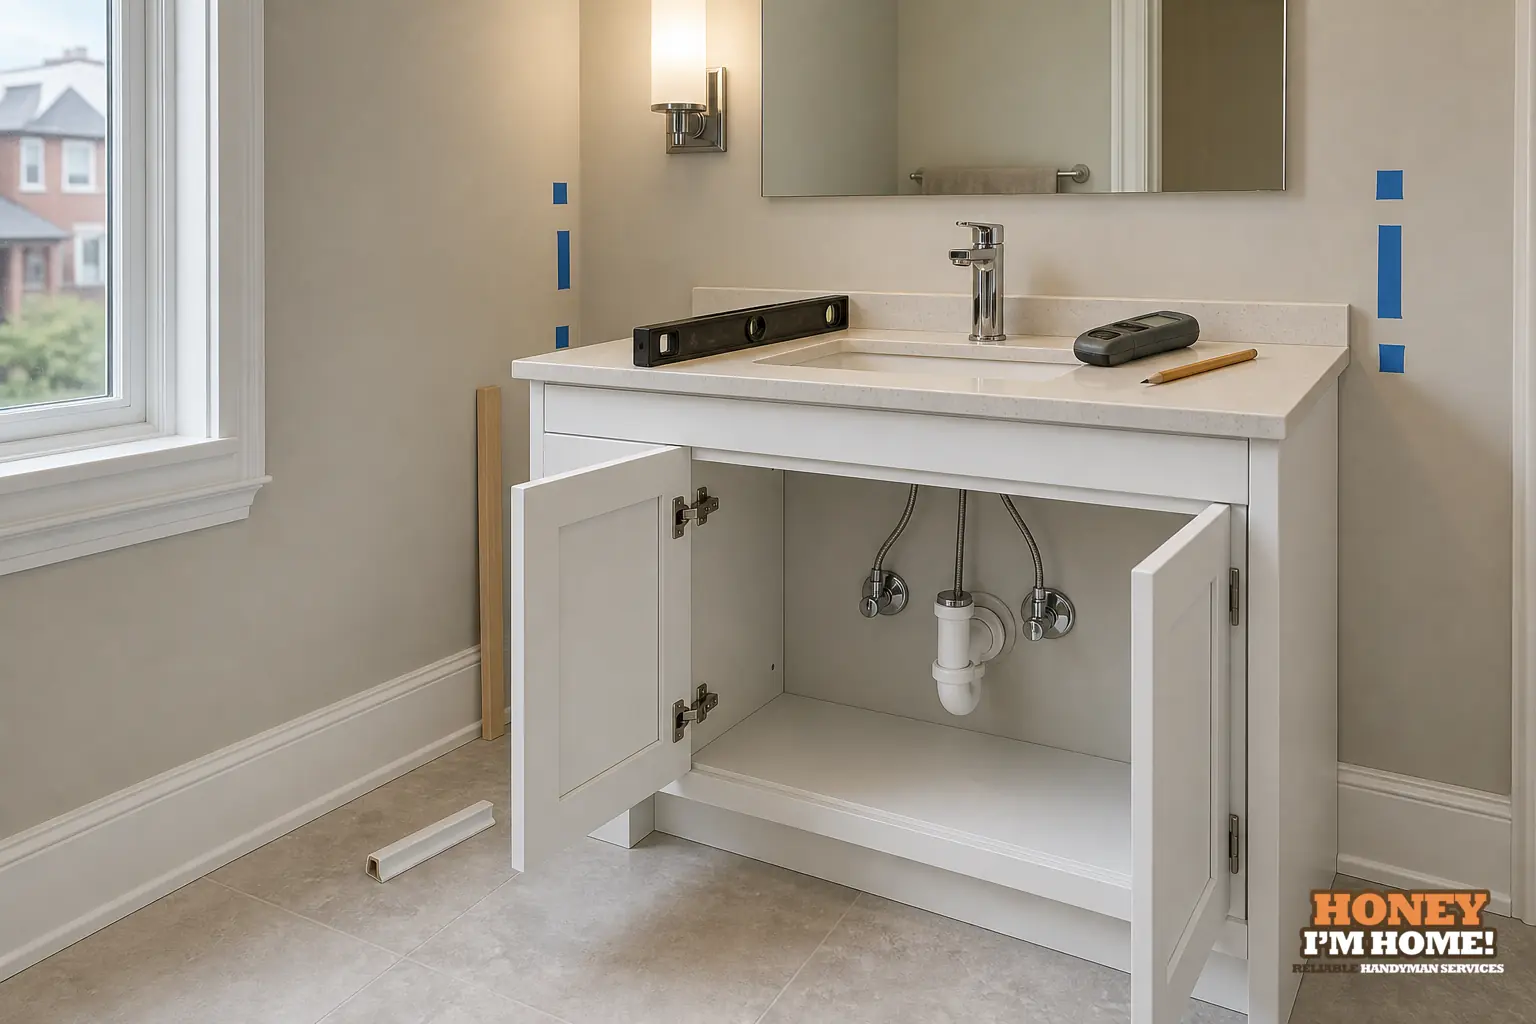
Whether a vanity is wall-hung or freestanding changes attachment needs. I locate studs and look for existing blocking where the vanity will be fixed. Many vanities need solid backing at the rail height so screws bite where they can hold. If blocking isn’t present, I plan how to add a horizontal cleat or use other methods that distribute load safely across the wall.
On freestanding units I check floor level and reveal gaps around base mouldings. Uneven floors are handled with shims and careful adjustment so doors close square and drawers slide true. I also note how visible trim and splash details meet the cabinet: that affects how much trim removal or reinstallation the job requires to look finished.
How the neighbourhood’s housing mix changes what I bring to the inspection
I use the local housing character to shape my checklist. The City's 2016 High Park–Swansea profile reports that more than half of dwellings were built before 1960, and the area also contains a substantial apartment and condominium stock. That combination means I encounter older detached homes with original finishes as well as multi-unit buildings with different wall and service layouts.
Practically, that translates into two things I do every time: I verify the actual wall and floor assembly on-site, and I tailor my fastening and patch approach to that assembly. An older house with original plaster and moulding needs a different removal and finish technique than a unit where the wall finish and service access follow newer renovation patterns. I don’t guess — I let the construction I find determine the repair method.
Trim, tile and finish-work decisions I raise up front
If the vanity meets tile, baseboard or decorative trim I point out how those finishes will be affected. Sometimes removing an old vanity lifts a length of baseboard or disturbs a tile edge. In those cases I plan whether to protect the finish, remove and carefully reinstall it, or provide a trim solution that hides the transition and keeps the finish line crisp.
I also discuss sequencing. If a backsplash, countertop or floor tile will be replaced at the same time I coordinate the demo so new finishes align and there are clean reveals. That avoids a patched look where new meets old.
Decisions I make after the inspection
At the end of my check I make two practical calls: can the new unit drop into the existing rough-in with only connection adaptors, or will the work need partial access behind the wall, added blocking, or visible trim work? If plumbing lines and substrate line up and look sound, the job is largely removal, set and seal. If not, I list the exact follow-up actions so you know what to expect.
I also confirm whether the existing sink and faucet are coming with the new vanity or staying. Keeping the existing sink can avoid extra cuttings and hole layouts, but only if the geometry and mounting agree with the new top.
A concise project vignette and a practical reminder
For perspective I point to a portfolio piece on our homepage: A completed Honey, I am home kitchen project shown on the homepage includes white cabinets, a herringbone backsplash and matte-black fixtures. That job shows how alignments and finish details lift the whole outcome — the same attention to reveal and edge work matters on vanities so the bathroom reads as intentional and finished.
How I help next and how to book a check
If you’d like a focused pre-replacement visit I’ll confirm shut-offs, trace the supply and waste geometry, test accessible valves, inspect wall and floor finishes, and locate blocking or attachment points. After the visit I give you the specific actions I recommend so you can decide on a like-for-like swap or a small scope of adjustments. For broader updates I link details back to my Kitchen & Bathroom Updates services at /services/kitchen-and-bathroom-updates/. When you’re ready to schedule, reach me at /contactruss/.
As one Google review put it, "This is a person whose number is worth saving." See the proof at /#awards.
Do I need to shut off water before you arrive?
I prefer to find shut-offs accessible so I can operate them during the inspection, but you don’t need to turn anything off ahead of my arrival; I’ll verify and use the valves if needed.
Can a new vanity use the old sink and faucet locations?
Sometimes yes — I check drain alignment, faucet hole spacing and sink type to tell you whether the old plumbing fits the new unit or if adaptors are needed.
Will replacing a vanity disturb tile or trim?
It can. I identify visible trim and tile edges during the inspection and plan protection, removal, or tidy reinstallation so the final finish looks intentional and clean.