
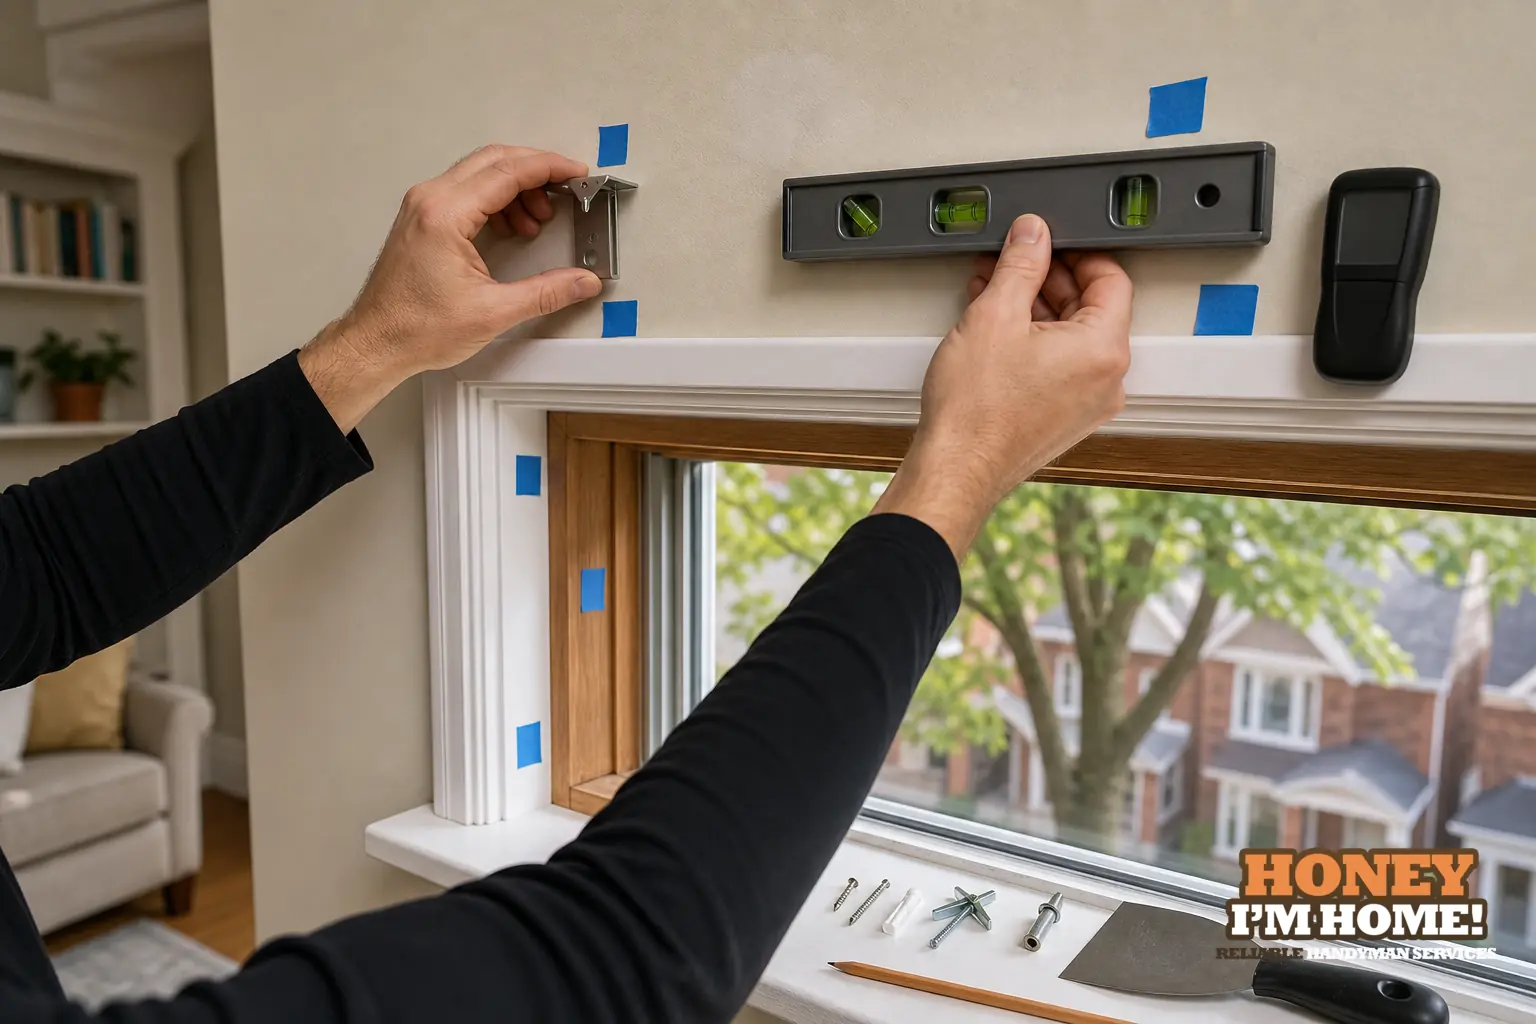
The mounting surface decides whether the brackets hold, how the blind will track and whether the paint or trim will be damaged. I check the substrate, backing and trim before any measurement or purchase so I can pick the right fixings, protect finishes and avoid sagging, stripped fasteners or visible gaps once the blind is in place.
What I look for in a mounting surface
When I arrive I treat the surface as the job’s foundation. I look for what’s directly behind the finish: solid timber, a masonry wall, plaster over lath, drywall over timber studs, or drywall over metal studs. I also inspect the window jamb and surrounding trim—sometimes the jamb is thin or the trim is decorative only, which changes where I place brackets.
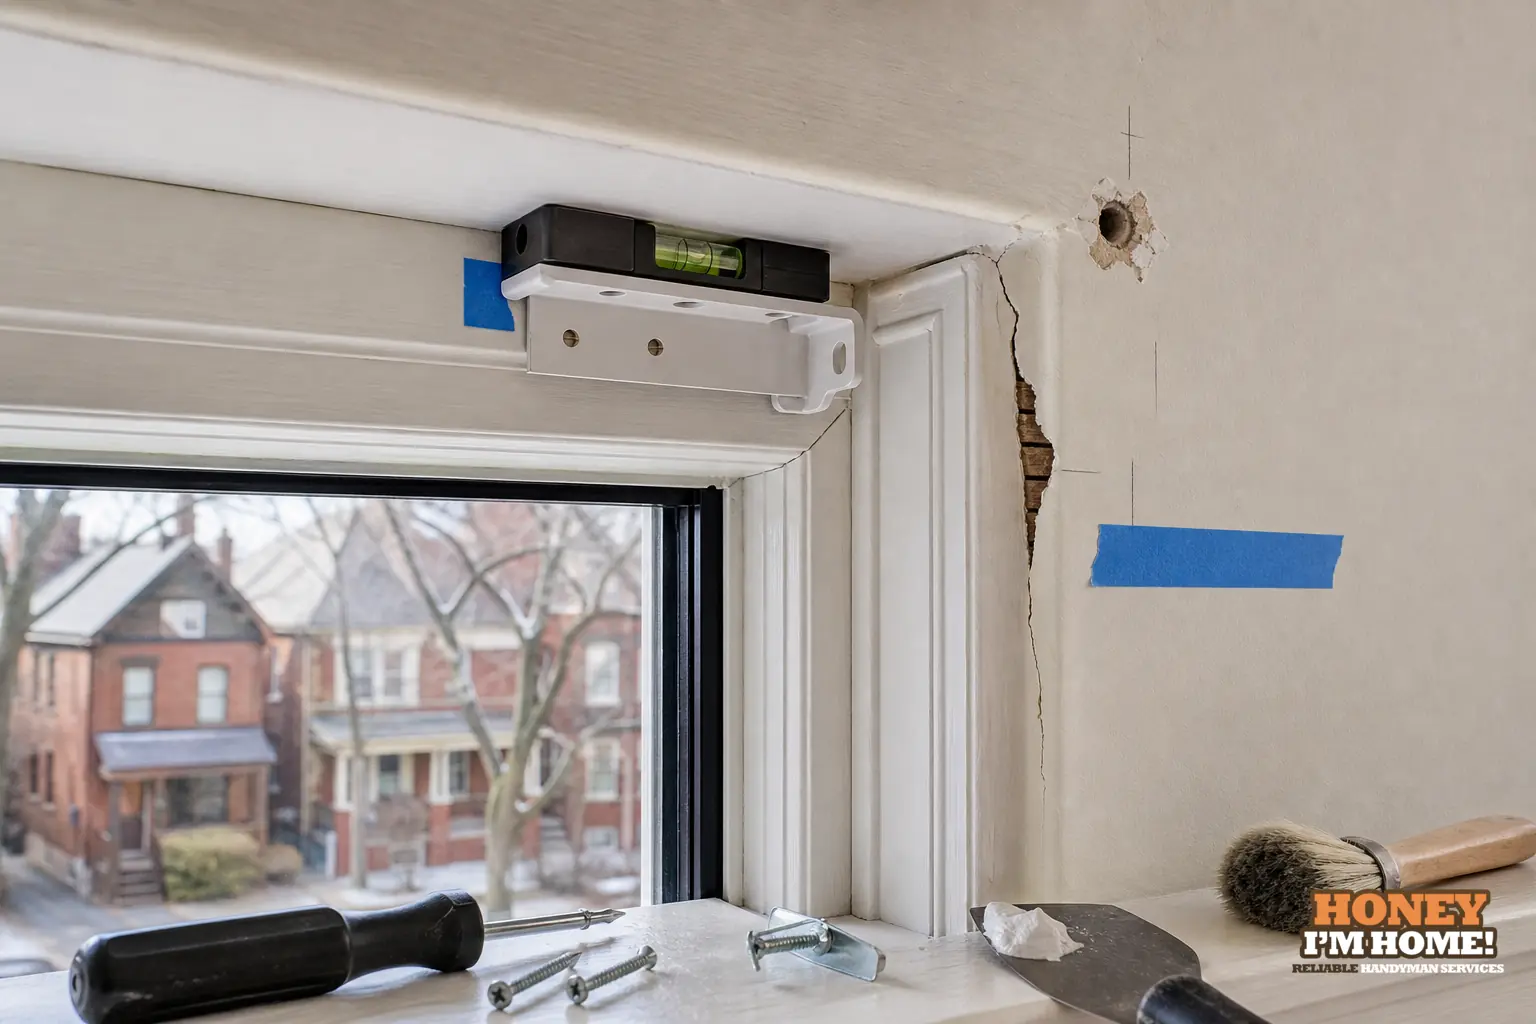
I check for previous fixes: filled holes, soft or crumbling patches, peeling paint and any signs of water staining. Those tell me whether the surface will take a fastener cleanly or whether I need to repair the finish before installing. I also consider access; in stacked apartment units or multi-storey buildings, exterior access or heavy tools may be restricted and that affects the method I choose.
Common problems caused by a poor mounting surface
Loose or inappropriate fixings are the usual culprit for failures. If a blind is anchored into a thin jamb, the screw can pull through. Fasteners in weak plaster or hollow drywall can strip over time. On brick or concrete, the wrong anchor will move and the bracket will work loose. And even where a mounting will hold, an unsuitable location can create visible damage: cracked paint, split trim or patchy filler work that stands out.
I also see functional problems: blinds that don’t run smoothly because their headrail is twisted by uneven mounting points, or blinds that leave light gaps because the bracket sits proud of the trim. Those are often preventable if the mounting surface is assessed ahead of ordering and installation.
How I prepare common surfaces for a reliable install
Preparation varies with the surface. For painted drywall I test for solid backing and repair any soft spots before I fix the brackets; where studs are present I position mounts to engage them. With plaster I probe for lath and check for hairline cracking that will need consolidation. On exposed brick or concrete I look for friable mortar joints and work to place fixings in sound material, cleaning dust and soot out of holes to get good contact.
When trim is the intended mounting point I check its thickness and how it’s attached to the jamb. If trim is purely decorative or thin, mounting there risks splitting or pulling out the trim later. In those cases I prefer to transfer the load to a backing or to the jamb itself, and I discuss the finish repair with the homeowner so the touch‑up blends into the existing paint or stain.
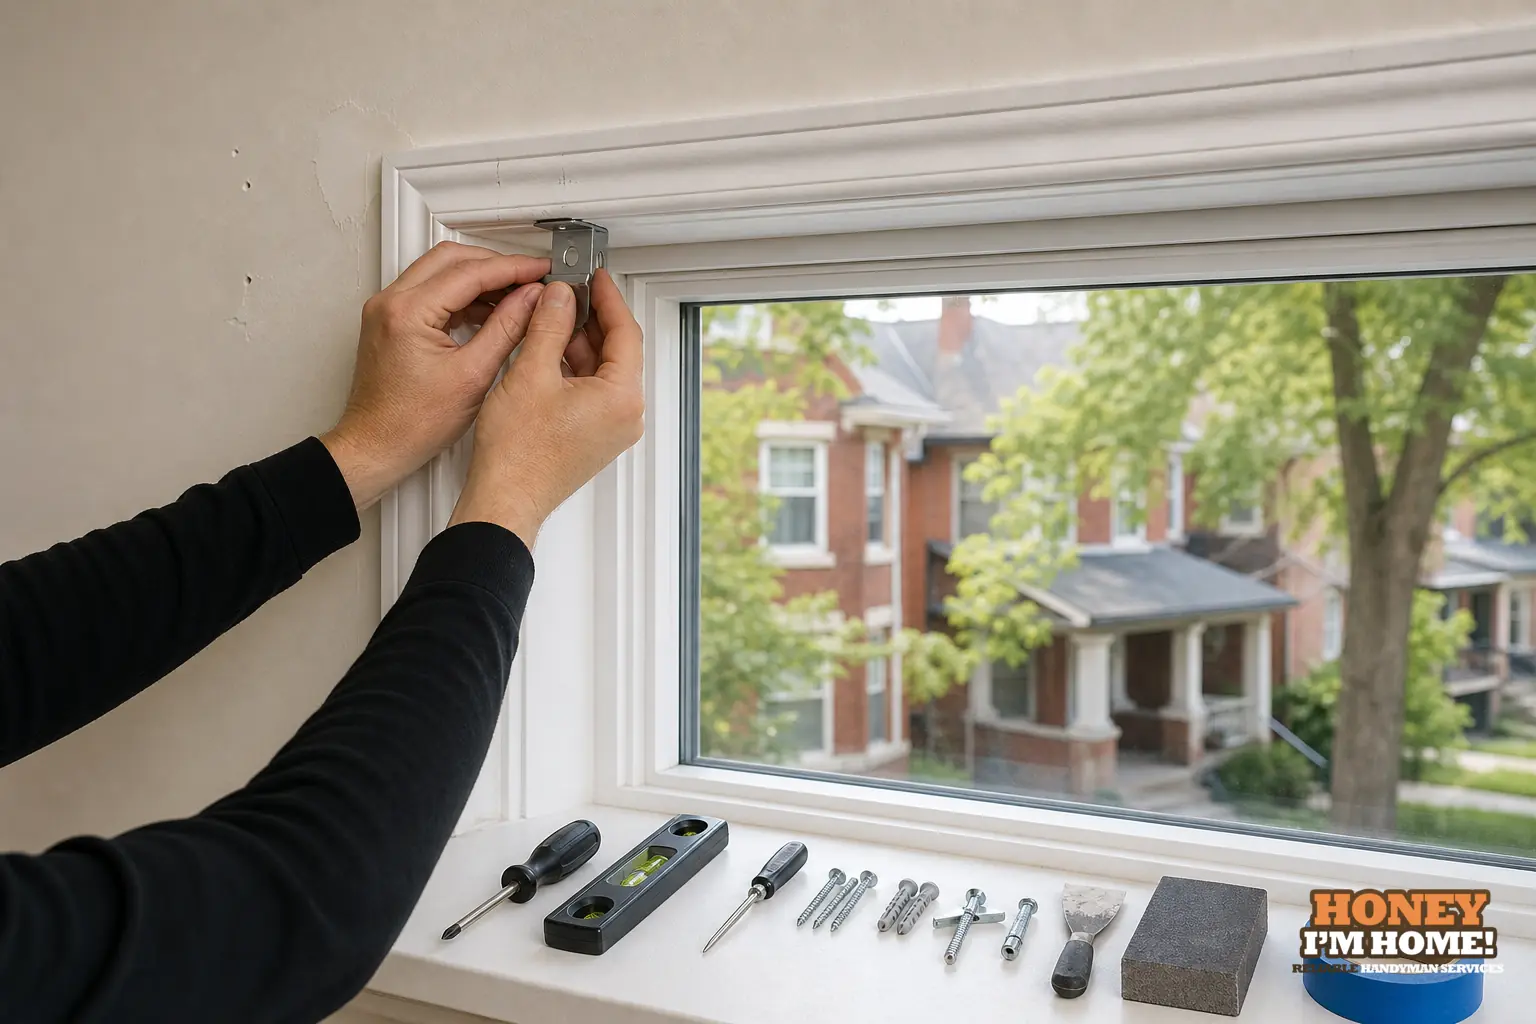
How the surface affects your choice of blind and mount
The available surface influences whether an inside‑mount or an outside‑mount is the better option, whether I recommend a fascia or an exposed headrail, and where the brackets should sit to keep the headrail level. A slim jamb or shallow recess may make an outside‑mount the only sensible choice. Thick historic mouldings or an exposed brick reveal often lend themselves to a different bracket placement and occasionally to a custom mounting strip so the headrail sits true.
If you’re browsing styles on a retailer’s site, pause before ordering. I often advise clients to wait until I’ve inspected the window so I can confirm the right mounting method and avoid returns or retrofit drilling that harms the finish.
Liberty Village building character and how it changes the install
In Liberty Village you’ll find a mix of converted industrial lofts, late‑19th to mid‑20th‑century industrial buildings that have been adaptively reused, alongside newer townhouses and residential towers created from former industrial lands. Those differences matter on the job.
In a converted industrial loft you commonly encounter exposed brick, timber posts or heavy timber blocking behind finishes—these can be ideal solid anchors, but they also mean I plan for different bracket clearances and cosmetic touch‑ups so the finished work looks intentional. In newer towers the walls are frequently framed as partition assemblies with drywall over metal studs and service cavities; that alters where I can place fixings and how I protect adjacent finishes. Building rules, loading access and shared‑building constraints in multi‑unit developments also influence the route I take: I discuss those constraints with clients before drilling, because they change the logistics as much as the technical choice. Don’t treat a Liberty Village condo the same way you’d approach an old standalone house—my approach changes to match the actual construction and building constraints I encounter.
Practical checks I perform on every install
I don’t guess. I feel for solid backing, I look behind trims where feasible, and I test the local finish so the repair blends. I check the frame for rot or movement, I note paint sheen so touch‑ups match, and I confirm that the chosen blind will clear handles or window fittings. Where there’s any doubt about the substrate’s ability to hold the load, I discuss options: move the brackets to solid material, add a mounting strip, or adjust the blind style.
For multi‑unit work I also flag building access issues up front. Heavy ladders, work in common corridors, and haul‑in restrictions are all practical considerations that affect time and approach; I advise owners on those as part of planning the job.
When to call a pro (and what I can do)
If the wall shows signs of previous failure, if the jamb is too thin, if you see mould, or if the finish is a heritage plaster I recommend a professional inspection before buying heads or fittings. I can inspect, recommend the correct fixing strategy, perform the necessary small repairs to make the surface sound, protect and match finishes, and then complete the install so the blind functions and the room looks right. If you want a clear next step, reach out through /contactruss/ and I’ll schedule a site check.
For general information about the types of blinds and coverings that work with different mounting methods, I also keep background resources under /services/curtains-blinds-and-window-coverings/ so you can match style and function before we measure.
Can I drill into the window trim myself?
Drilling into trim is possible, but only when the trim has solid backing and enough thickness to hold a fastener without splitting. I recommend inspecting or testing before you drill so you don’t damage decorative moulding.
What if my wall is plaster or old lath?
Plaster and lath require a gentler approach and sometimes reinforcement. I inspect the plaster’s condition and choose mounting points to avoid cracked or hollow areas; repairs may be necessary before a secure install.
How do shared‑building constraints affect installation timing?
Shared‑building rules, loading access and corridor restrictions can change how and when an install happens, so I always review those constraints early and plan logistics with the homeowner.