
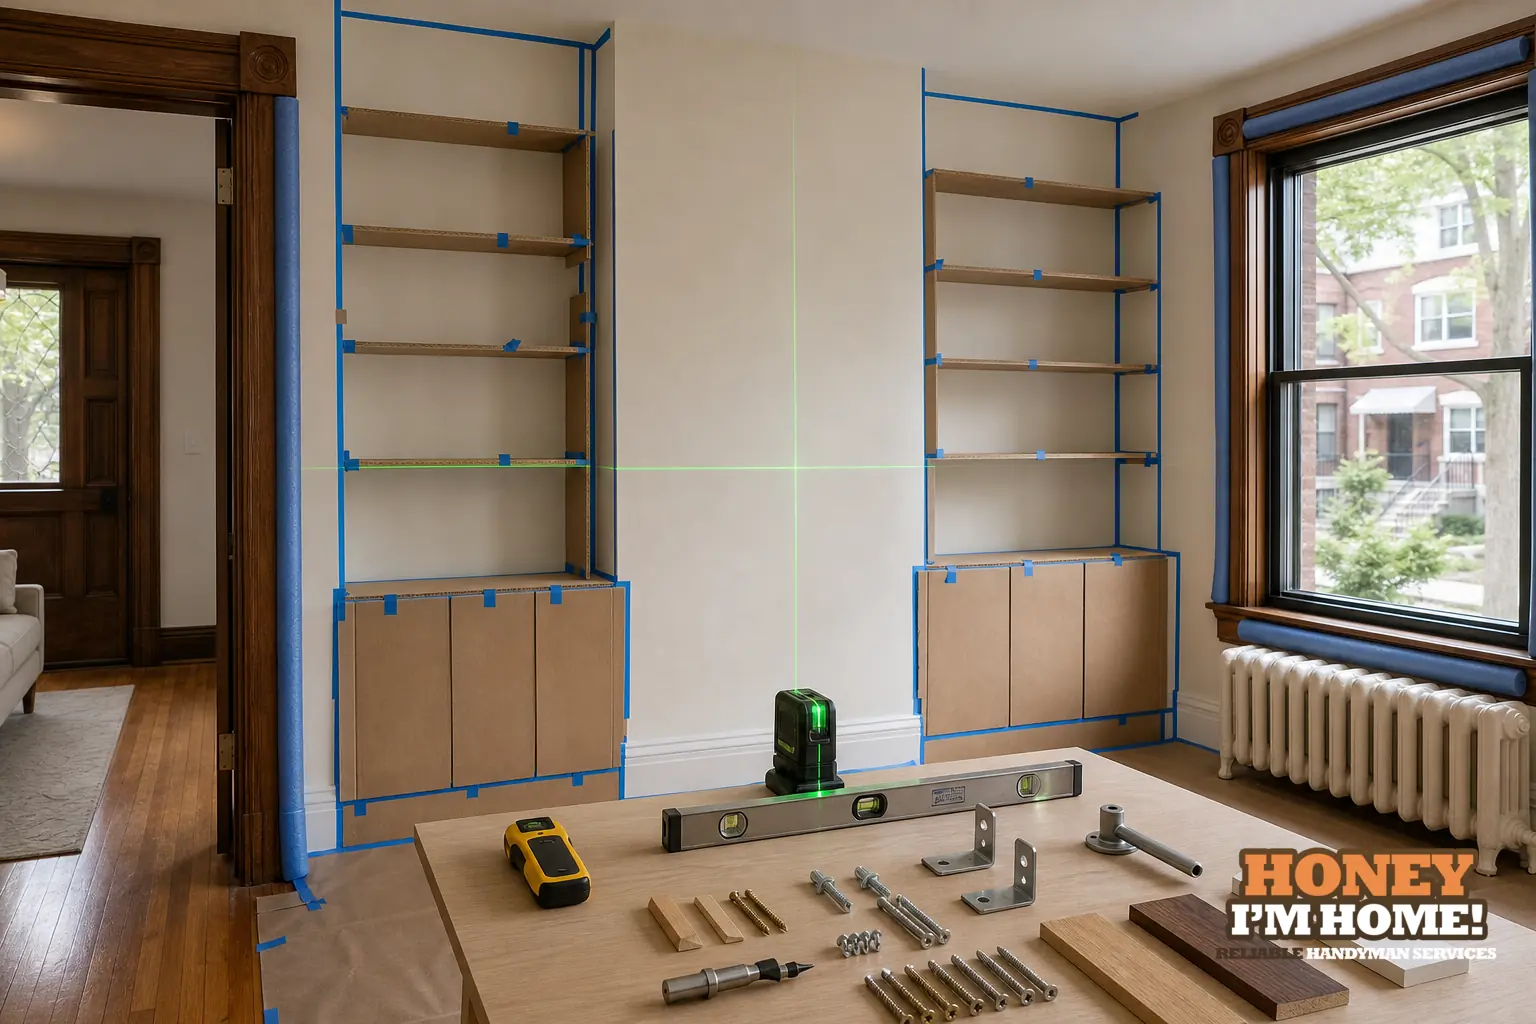
Start by mapping what cannot move: trim profiles, window sills, vents and where the wall is actually solid behind the finish. I mock up shelf heights, check anchorage options against the wall build-up, and design the trim returns so the new work preserves sound period material. If you want me to review your walls, contact me and I’ll bring samples and a clear install plan.
What I mark first on site and why it matters
On arrival I make a quick measured sketch and mark key lines on the surface. Those marks tell me where studs or other backing are likely, where baseboards and casings run, and where a shelf would clash with a sill, radiator or vent. I’m looking for sections of wall that are flat and continuous, and spots where the finish or trim forces me to step the shelf or use a return.
That mapping is a practical decision tool. It answers whether I can anchor directly to structure, whether the shelf must clip around existing mouldings, and whether a built-in look is realistic without opening the wall. I test edges with sample boards rather than guess from measurements alone; sightline and proportion matter as much as load path.
Why I always mock up before I cut wood
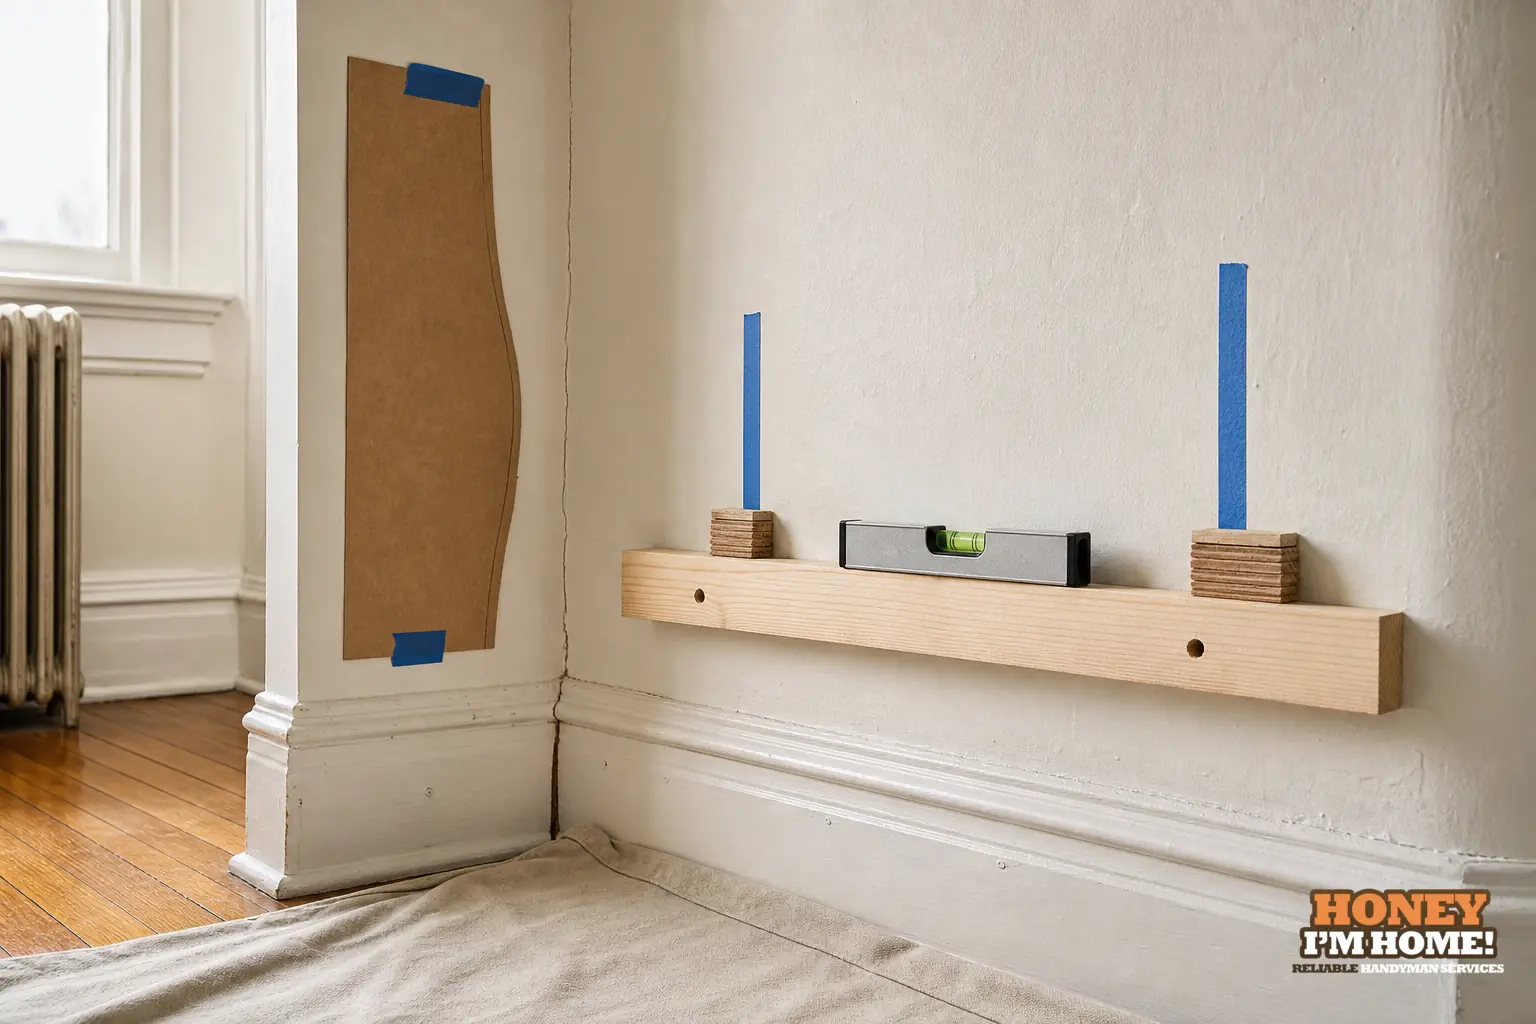
A temporary board is the single most useful thing I bring. Clamped at the chosen height it shows reach, how the shelf reads against tall baseboard or picture rails, and whether a chosen depth will obscure an existing trim line or window sill. I set mock-ups at standing and seated eye heights so the family can live with the line for a few minutes and tell me what feels right.
Mock-ups also reveal hidden problems: an out-of-plumb wall that needs a scribed return, a protruding plaster bead, or a difference in floor level that would make a continuous run look off. Fixing those issues with trim returns or stepped shelves keeps the finished work tidy without heavy demolition.
Anchorage and mounting choices I actually use
I pick the least invasive anchorage that still gives a reliable bearing for your intended use. Common field solutions I rely on in older homes are plain cleats fixed to several backing points to distribute load, face-mounted brackets tucked under a shelf for a minimal visible fix, and inset shelving shaped to sit between studs and finished with returns so the run looks like built-in joinery rather than an add-on.
On fragile plaster or layered finishes I favour ledger or back-to-back cleat arrangements that move load to a stable element and avoid opening the whole wall. The method always depends on what the wall will tolerate: if the finish is sound I plan to preserve it and adapt the mounting to the condition in front of me.
Working around trim, mouldings and period details
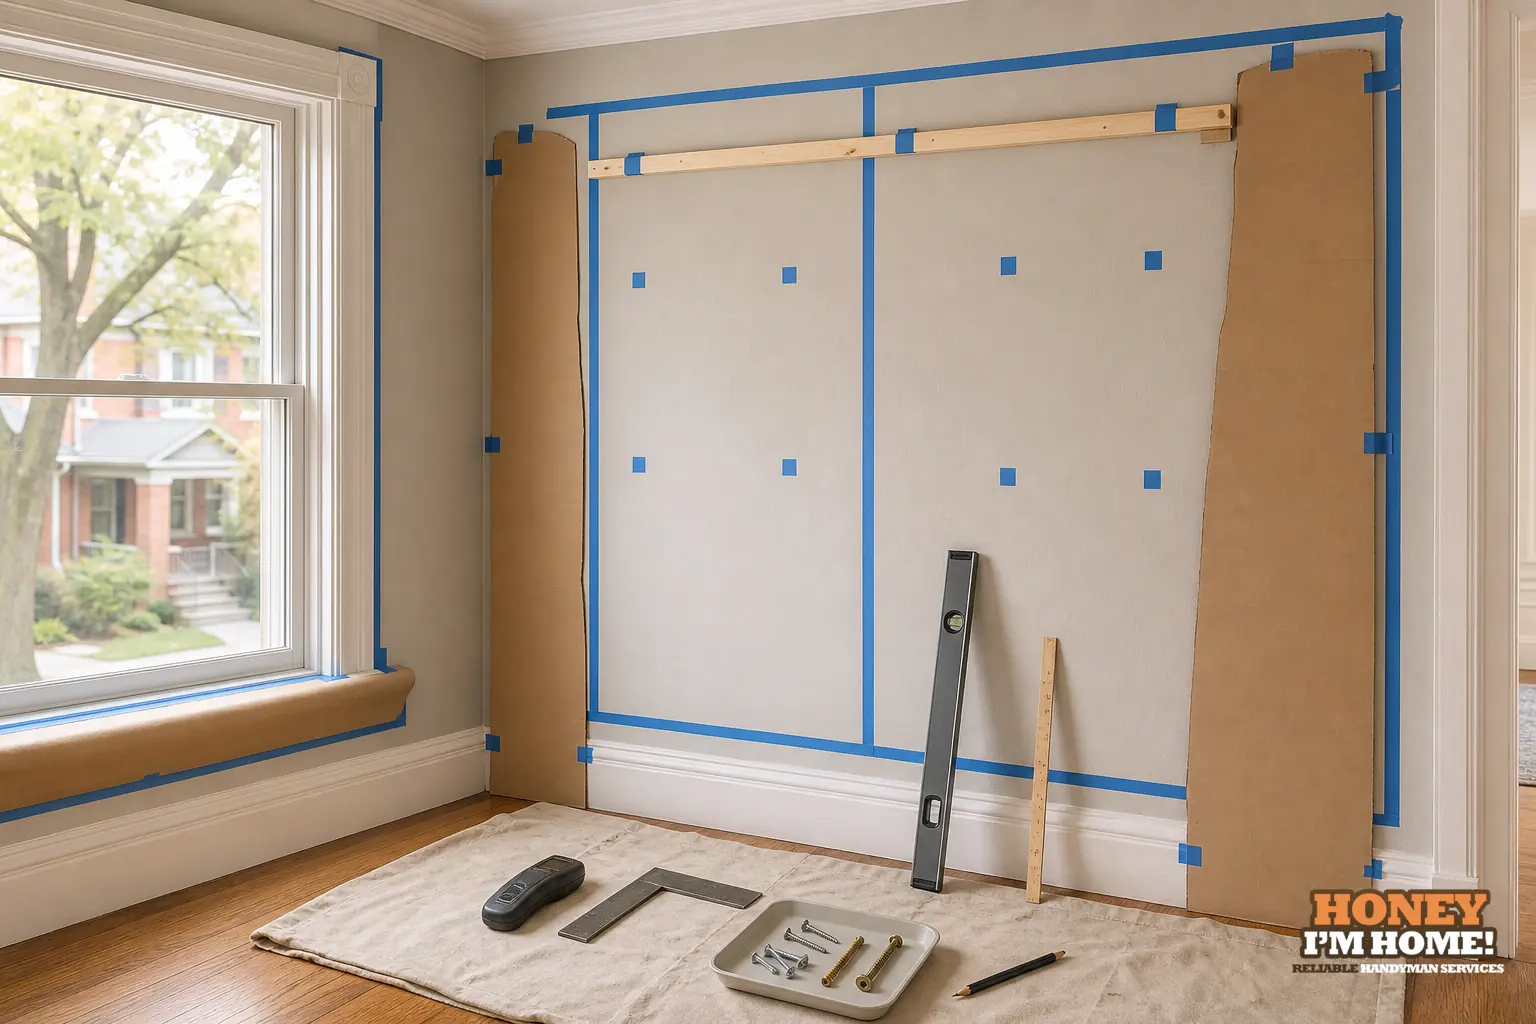
Trim and mouldings decide whether shelving reads as an addition or as part of the original room. I check whether casings and baseboards are original or later replacements, and whether they’re in good condition. When original material is sound I design the shelving to preserve it: a narrow reveal, a stepped shelf or a trim return can let the new work sit comfortably next to existing profiles.
If the nearby wood is stained I bring matched samples to check grain direction and tone. For painted woodwork I tend toward painted faces on the shelf and crisp closed-pore priming so edges clean up nicely. Where a shelf meets a tall baseboard I prefer a physical step or a small return rather than relying on caulking to hide gaps; that detail holds up under use.
How local housing character changes my plan
The Swansea area developed across several decades, so you’ll find original workers' cottages and row housing from the 1880s alongside many two-storey houses, bungalows and semis built between 1905 and 1935, and a Tudor Revival Home Smith subdivision and later infill. Those differences affect wall assemblies, trim profiles and floor relationships in real ways. I don’t assume a single solution will work across these types.
On a Swansea job I verify whether the wall is original plaster, a later drywall overlay, or a renovation assembly before I decide how to mount. If the trim is original and sound I preserve it and design the shelving to step or tuck around it. If a previous renovation introduced modern finish details, I adapt anchorage and return profiles to match the actual condition rather than the expectation for the street.
Material and finish decisions that make sense in the house
I select materials to match the finish language of the room. For painted rooms I use stable panels with sealed edges and a closed-pore finish that cleans well. For visible stained faces I choose hardwood veneer or solid hardwood where the edge will be seen, and compare samples against nearby woodwork before committing. I always bring off-cuts so you can see how the finish reads beside existing trim and flooring.
In my shop I label parts and dry-assemble units so on-site the final fitting is mainly alignment and fastening. That lowers install time and reduces the amount of work I do around the household’s daily life.
A workshop vignette I can point to
The homepage portfolio shows a staircase refinished in dark stain with white spindles, plus custom interior woodwork. That project sharpened how I match stain tone, choose grain direction and proportion shelves near stairs or existing joinery. I don’t attach that work to a street or house here; it’s the workmanship and detail decisions that feed directly into how I design shelving to sit next to other shop-finished elements.
Installation habits that protect finishes
On install day I reconfirm marks, clamp and dry-fit parts, and keep floors and trim covered. When walls are uneven I scribe for a tight fit and finish the joint with a trim return rather than rely solely on filler. If a run meets a window or door I set the taller element first and scribe adjoining pieces to maintain a consistent face line across the run.
If adjustments are needed I use physical trim solutions instead of wide filler areas. That keeps the repair readable and durable so the new work settles comfortably next to original material.
When I should come out and when you can try a DIY approach
Ask me to visit if you have old plaster, prominent period mouldings you want preserved, or if the run must align to existing trim or stair joinery. Short runs on drywall with predictable stud spacing and no special finish concerns are reasonable DIY projects for someone comfortable with anchors and levels. For matching trim profiles, tight sightlines, or unusual anchorage needs, an on-site visit and a mock-up save rework and keep the finish neat.
If you’d like a clear plan, samples and a mock-up on-site I’ll bring them — book through Custom Carpentry & Interior Finishing and we’ll set a time to review options and get a straightforward install plan together.
“This is a person whose number is worth saving.” — Google reviewer; see reviews
How do you handle a wall with mixed old and new finishes?
I assess which materials are original and which are later additions, then choose an anchorage and trim approach that preserves sound period work while blending the new shelving into the existing finish language.
Can I get a mock-up before you build final shelving?
Yes. I bring and hang temporary boards to test sightlines and reach so you can approve depth and height before I cut final parts in the shop.
What should I clear or prepare before your visit?
Clear the wall and nearby furniture, remove fragile items, and bring a short list of what you intend to store so we can decide sensible shelf heights and profiles on site.