
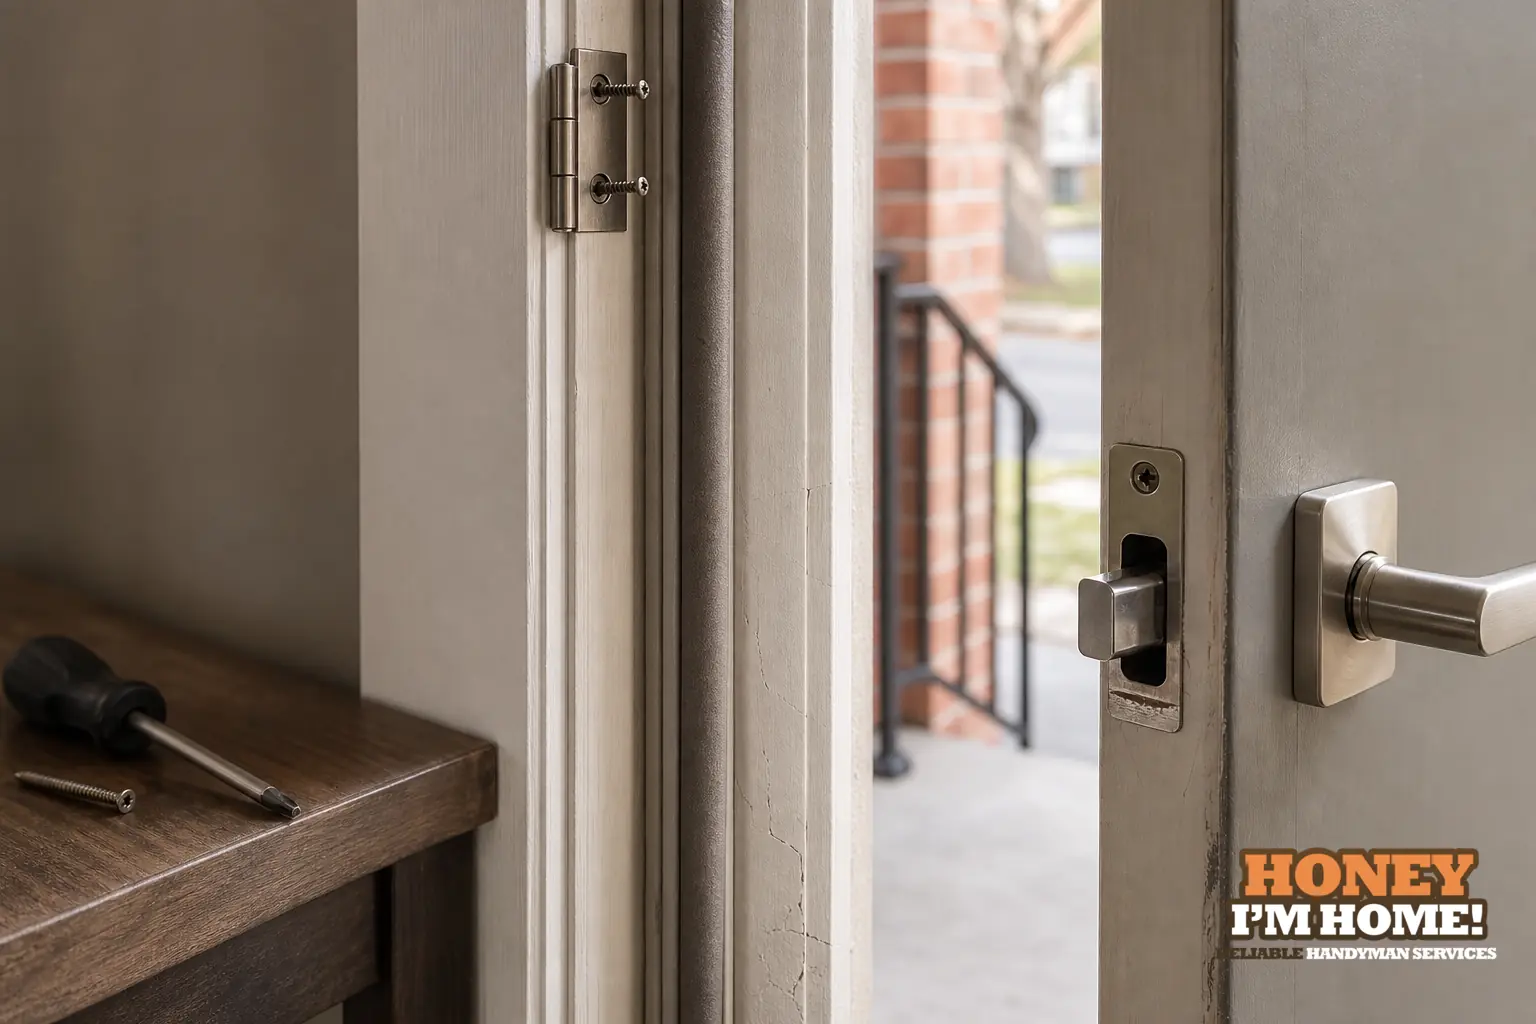
A latch that quits lining up is usually a mechanical sign, not a mystery: worn or loose hinge fixings, door or frame movement from moisture or settling, paint build-up, or a shifted strike plate are the usual causes. Symptoms tell the story — failure to catch, rubbing at one edge, a handle that wobbles — and they guide whether I tighten, re-seat the strike, shim hinges, or repair the frame.
How to read the symptoms — and what each one usually means
I start by listening and watching. If the latch won’t catch at all and the bolt hits the jamb, that commonly points to a strike-plate offset or a door sagging on its hinges. If the door closes but the latch drags on the top or bottom of the strike, the hinge line has shifted or the door has warped slightly. A handle that feels loose or has play often means the latch mechanism itself is worn or the spindle is slipping.
Other common symptom patterns I see: the door binds only in damp weather (wood movement from moisture), the latch works after you slam the door but not after a gentle close (alignment is marginal), or you can see a visible gap between latch and strike when closed (strike or jamb has moved). I use the symptom pattern to choose the least invasive repair first.
What I check first — a practical inspection checklist
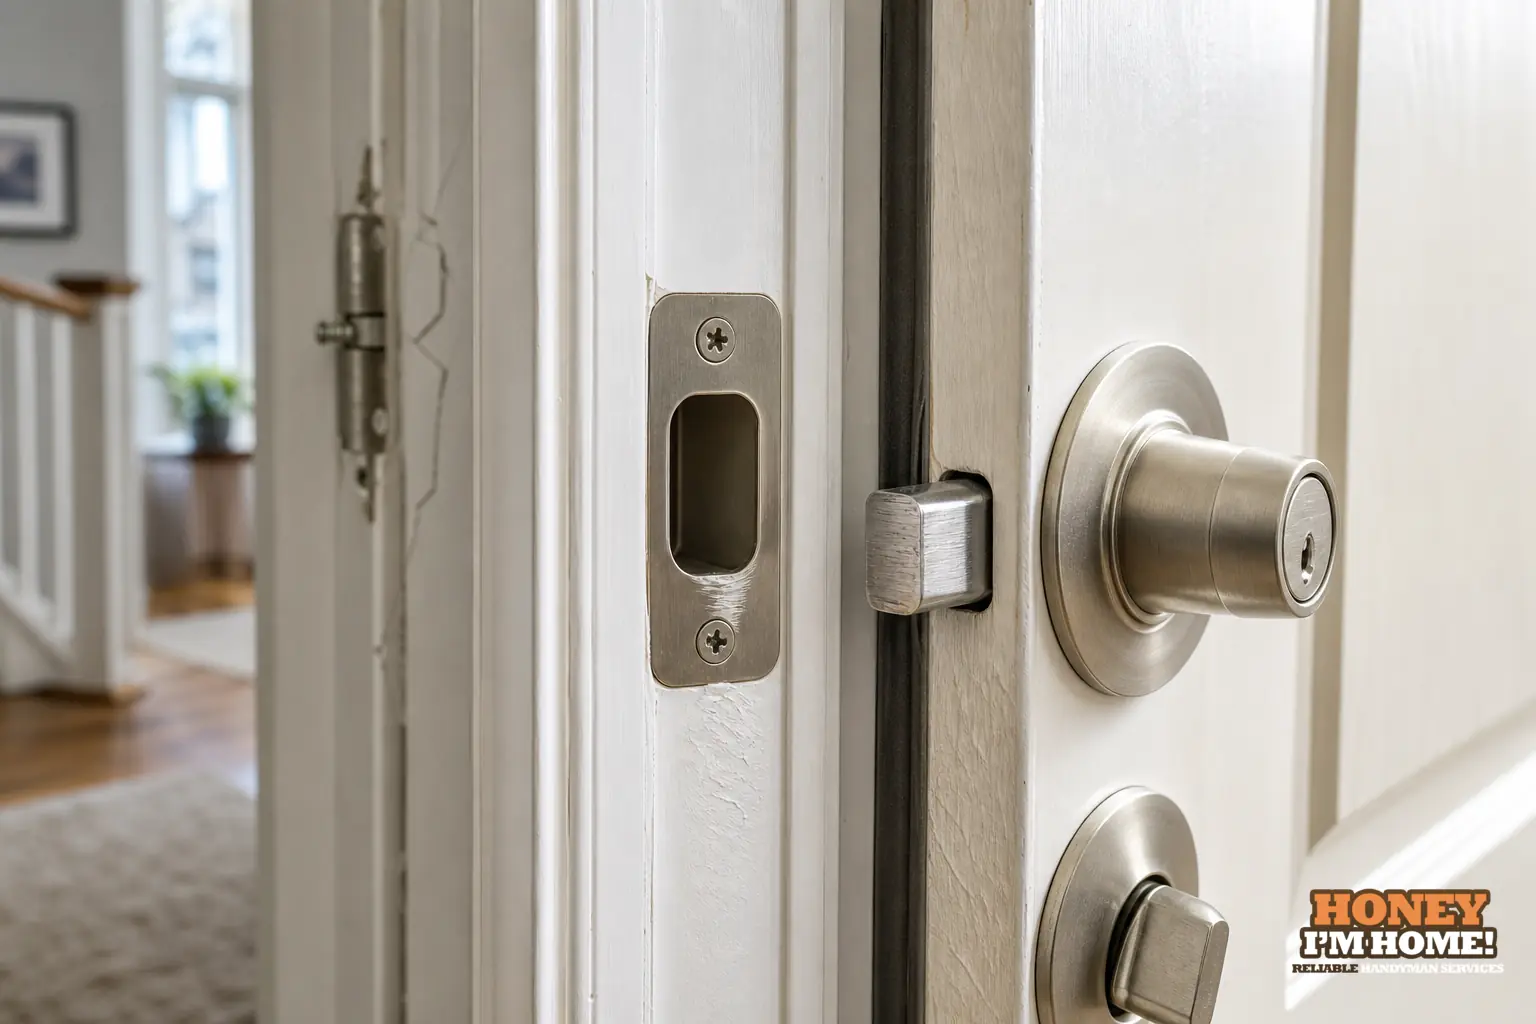
My inspection follows the path of the door, from top hinge to bottom hinge to strike plate. I look for loose or missing screws, cracked paint that’s acting like a wedge, and whether the strike plate has elongated screw holes. I open and close the door slowly while watching where the latch engages the strike so I can see the exact point of contact.
Next I test the hinges: do the hinge leaves sit flush to the jamb and door? Are the screws biting solidly into wood or into a hollow metal frame? I feel for play at the latch when I turn the handle — a little movement is normal, too much suggests internal wear. If a deadbolt is involved, I check whether its bolt lines up with the deadbolt box in the jamb as a separate alignment issue.
These checks tell me whether a quick tightening and re-seating will do, whether I need to reposition the strike plate, or whether I should think about shimming or reinforcing the hinge mounting points. I avoid aggressive fixes until I can see the cause from the pattern of symptoms.
Common fixes I do on-site — and when I stop and change approach
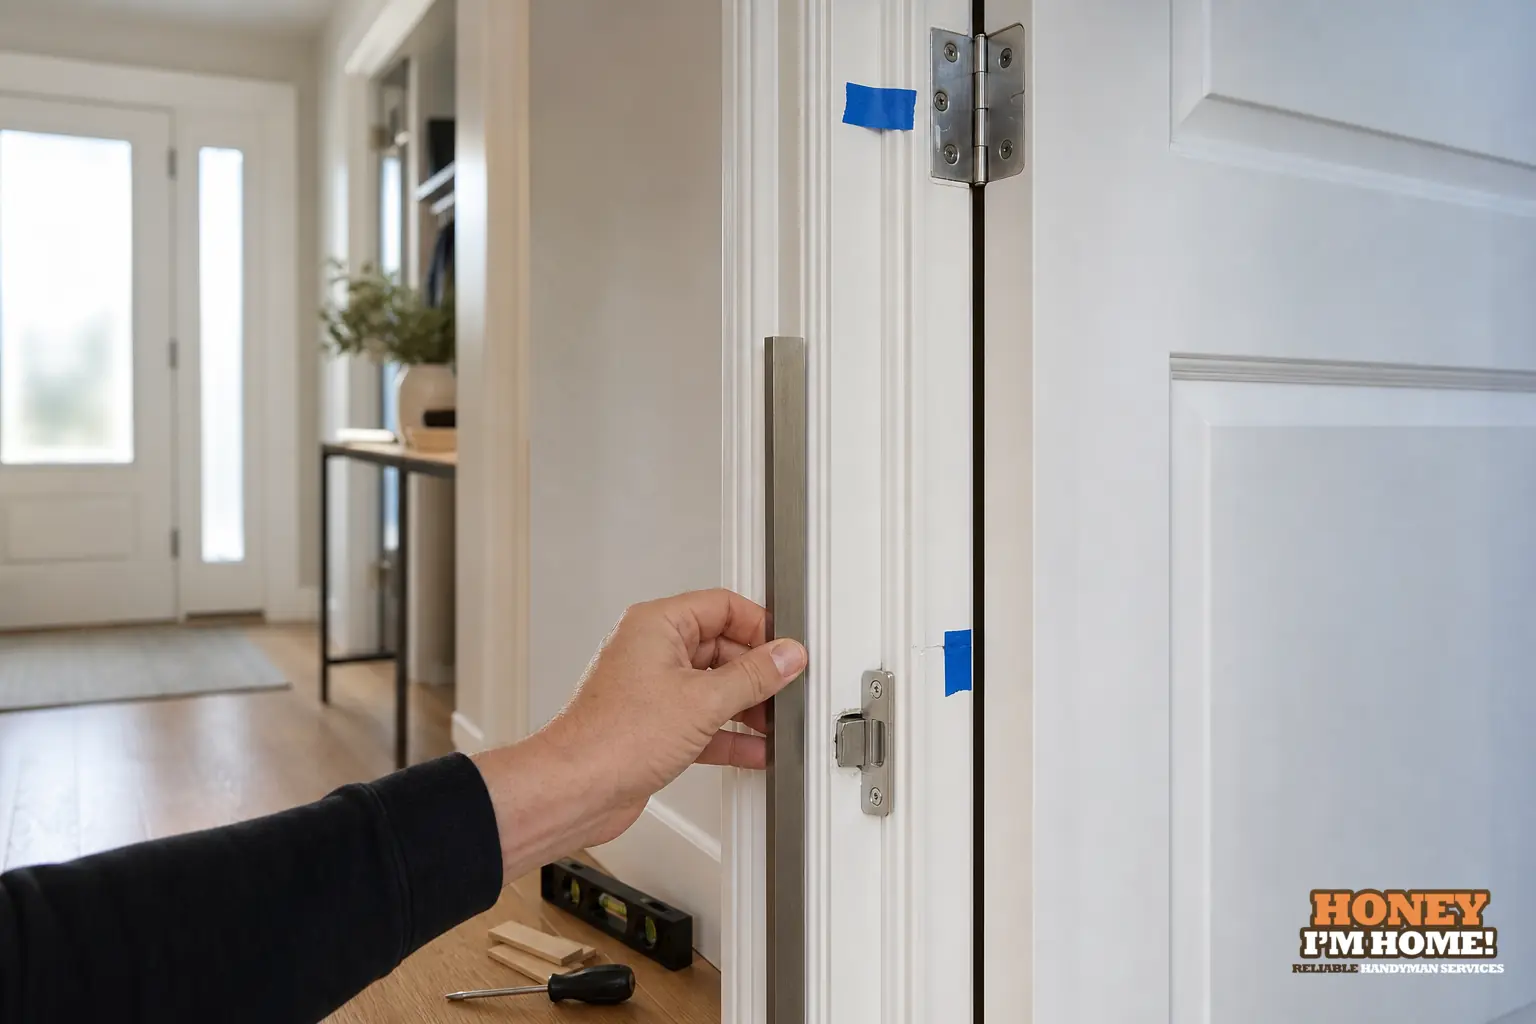
Tightening existing hinge screws and replacing stripped screws with longer ones that reach solid material is a simple first step I take a lot. If the strike plate is slightly out of line, I can chisel a new, small recess and move the plate, or swap to an adjustable strike that lets me micro-adjust. For paint build-up I scrape the edge of the frame and door where they meet, and sand the jamb until the latch seats cleanly.
When the hinge mortise has opened up or the jamb block behind the hinge is failing, I’ll insert shims or a wood repair piece behind the hinge to restore solid purchase for screws. If the latch itself shows wear — a bent latch face or a loose cylinder — I replace the latch set. I only consider trimming the door or planing the edge after I’ve exhausted hinge and strike adjustments because trimming removes original material and often affects the original fit and trim detail.
If the door or frame shows evidence of movement from ongoing moisture or foundation shift, I document the pattern and discuss options with the homeowner before starting heavier work. Sometimes the right choice is reinforcing the jamb and re-establishing secure hinge fixings so the alignment holds.
How the building type changes the repair approach
The building make-up matters a lot. In my work around the city I often see two different practical challenges: older houses with original trim and plaster, and apartments or condo units with different wall assemblies. The City's neighbourhood profile for High Park notes that about half the dwellings were built before 1960 and that the area contains both older houses and a substantial apartment and condominium stock. That mix means access, wall construction and finish details can differ sharply even on the same street.
On older detached homes I expect plaster walls, original mouldings, and solid wood jambs. That pushes me to repair rather than replace trim, to use traditional fastenings, and to be conservative about trimming door edges. In multi-unit and newer renovations I may find drywall returns, metal door frames or limited clearance in a corridor; those situations call for different fasteners, sometimes different strike plates, and more care around finishes. I always tailor the fix to the actual wall or floor assembly rather than using the same technique everywhere.
A concise vignette from a recent project
I recently completed a front-porch and storm-door project where the scope included deck-board replacement, reinforcement where needed, painting, storm-door installation and cleanup. That job reminded me how much my approach to a door depends on the surrounding construction — solid framing makes fixing hinges straightforward, while worn deck joists or an unsettled porch surface means I check the whole opening before final hardware installation.
When to hold off and call someone with different tools
If the jamb shows large splits, the hinge area is rotted, or the whole frame is out of square from structural movement, I stop and discuss options because the fix can involve replacing or sistering framing members rather than just moving a strike plate. Likewise, if the door is original and protected by heritage trim, I’ll plan the repair so the trim stays intact. For interior doors with delicate original panelling I avoid heavy-handed trimming and prefer to restore hinge performance first.
I try to keep the intervention as simple as the symptoms allow — tighten, re-seat, and reinforce before trimming or replacing. That philosophy keeps the look and function original when the house or unit deserves it. If you want a walk-through of your door and the options, I’m happy to look over the hinge line and strike and explain what I’d do next; you can read more about the family of work I do at Door & Window Installation or reach me directly at Contact Russ.
"The quality of his craftsmanship is outstanding." — Google review proof
Simple preventive steps you can take
Keep hinge screws checked periodically and watch for paint build-up where door and jamb meet. If you park a bike or a bulky item against a door repeatedly, expect hinge wear sooner. On exterior doors, a storm door that shifts or an uneven threshold can change how the main door sits; check those attachments if you notice new misalignment after a change to a porch or threshold.
When you notice a new symptom, take a photo of the closed door from head-on so you can see the latch-bolt to strike relation, and a second photo of the hinge line. Those pictures speed a professional assessment and help me decide whether to bring a simple fix kit or a couple of extra tools for reinforcement.
How do I know if the latch itself is worn or the alignment is the issue?
Try turning the handle and observing the latch while someone holds the door slightly open; if the bolt retracts smoothly but won’t engage the strike, alignment is the likely culprit. If the bolt sticks or the handle feels loose, the latch mechanism itself may need replacing.
Can I reposition the strike plate myself?
Yes, small adjustments are doable with basic tools, but check for stripped screw holes first and be cautious near decorative trim; if the jamb is fragile, pause and get professional help.
When should I call you to inspect alignment issues?
Call me whenever tightening or simple adjustments don’t fix the problem, if the jamb shows damage, or if you prefer I document the best repair approach before we start.