
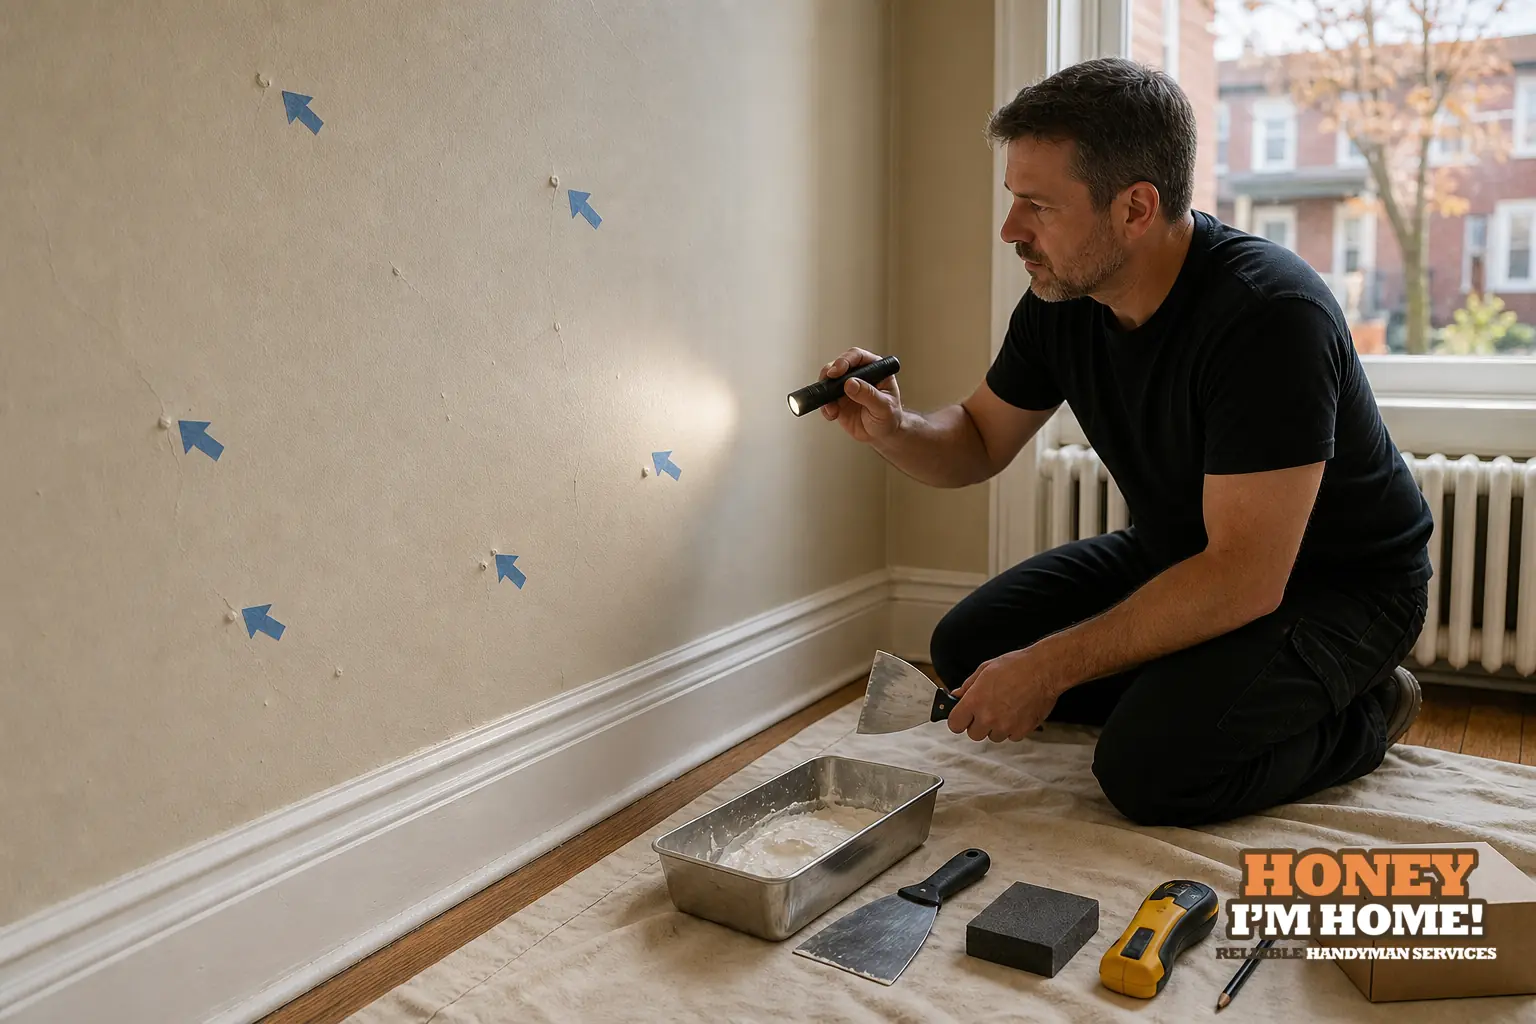
Nail pops are a visible clue that a fastener or its attachment point has loosened or moved, not just an isolated surface blemish. I use their pattern—location, repeat spacing and nearby trim—to decide whether to re-secure the panel, replace a damaged strip, or treat it as a cosmetic repair so the fix lasts through seasonal movement.
What a nail pop looks like and why it matters
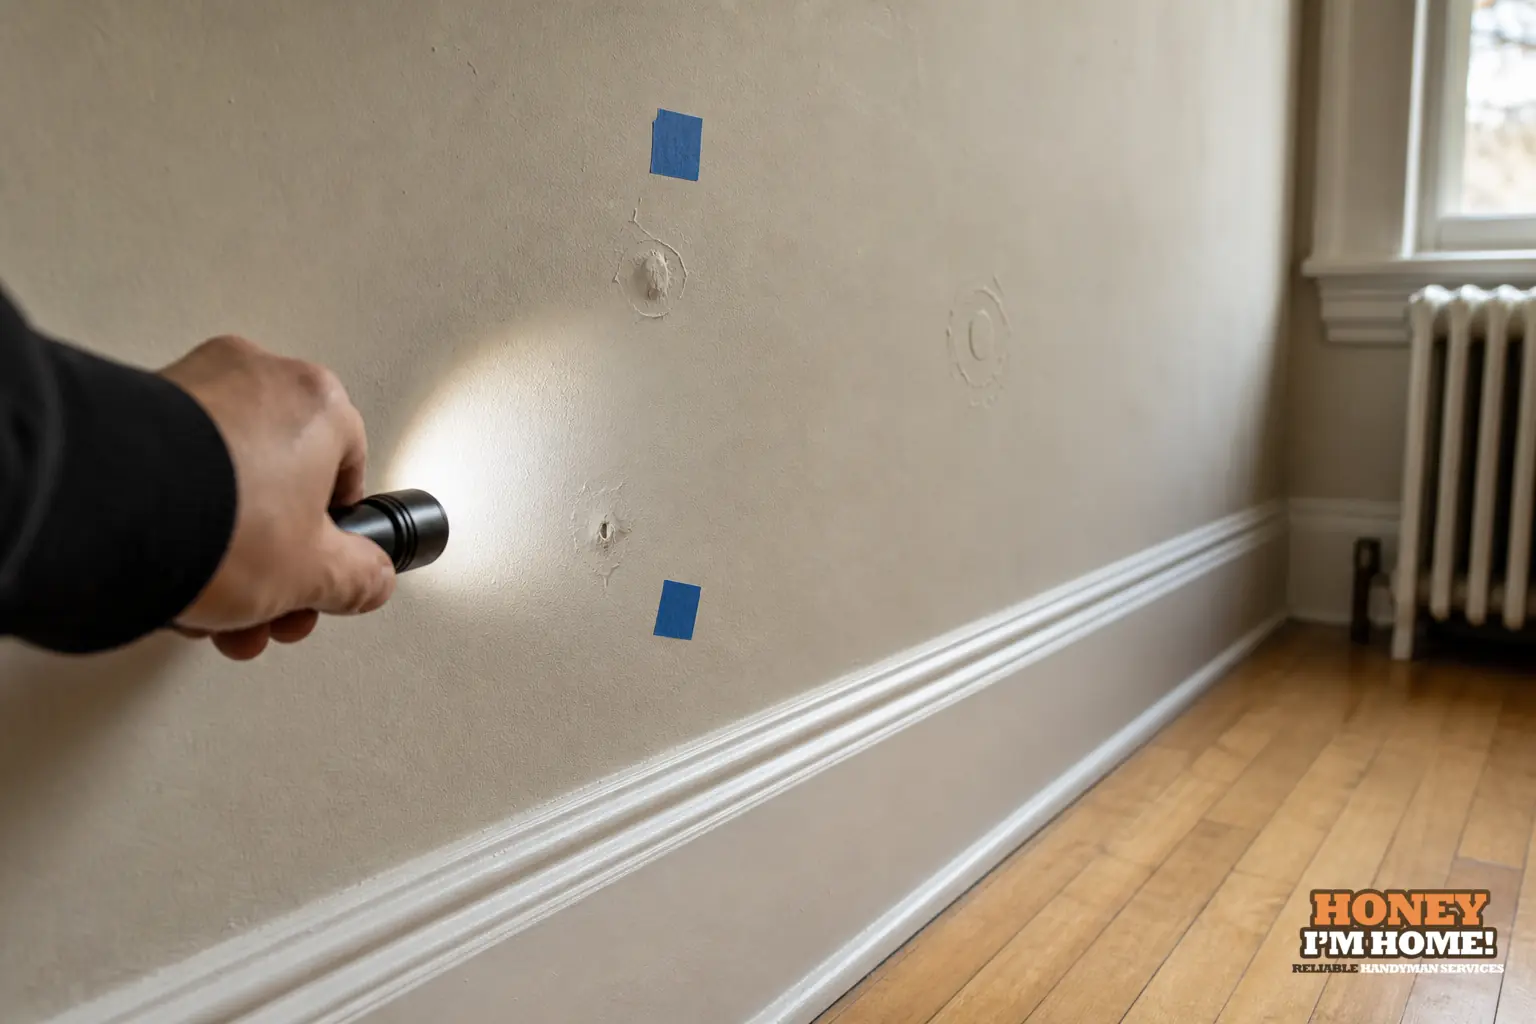
Homeowners usually notice a nail pop as a small bump under paint, a cracked line in the surface or the paint flaking around a tiny raised point. Sometimes the head is exposed; other times the paper has split and paint hides the underlying fastener. Light across the wall makes these changes obvious, especially where walls meet ceilings or where narrow trim catches a shadow.
Those visual cues tell me two things right away: roughly where the attachment failed, and how intrusive the repair needs to be. A single, isolated bump that stays flat under a gentle press is different from a line of bumps that move when I press—one might be a quick re-attachment, the other signals an attachment that needs to be secured along its run.
Patterns I look for and what they reveal
When I arrive I scan for patterns. Pops clustered near ceilings, corners or long uninterrupted runs suggest seasonal shrinkage or framing movement. A straight line of pops that follows a stud run or a door opening points toward how the board was fastened or whether an edge has pulled away. Scattered, single pops often indicate a poor fastening point or a localized impact.
I use those patterns to prioritise work: if the pops are isolated I can often deal with them as targeted repairs; if they repeat along a run I treat the run as a source and address attachment along that length so the visible repair isn’t just cosmetic.
How I inspect the wall before cutting anything open
I try to be minimally invasive. First I tap the drywall to listen for hollowness and press gently around the pop to see if the surface moves. I check nearby trim, baseboards and door casing for gaps or shrinkage that explain movement. Small, targeted openings give a quick view: I’ll cut a tiny inspection hole when visual and tactile checks don’t tell me if the fastener missed a stud or the board edge is delaminating.
That limited opening is enough to decide whether I can drive a screw to bite into solid framing, or whether the board edge or underlying paper is damaged and needs replacement before finishing.
Repair choices I make on site and why
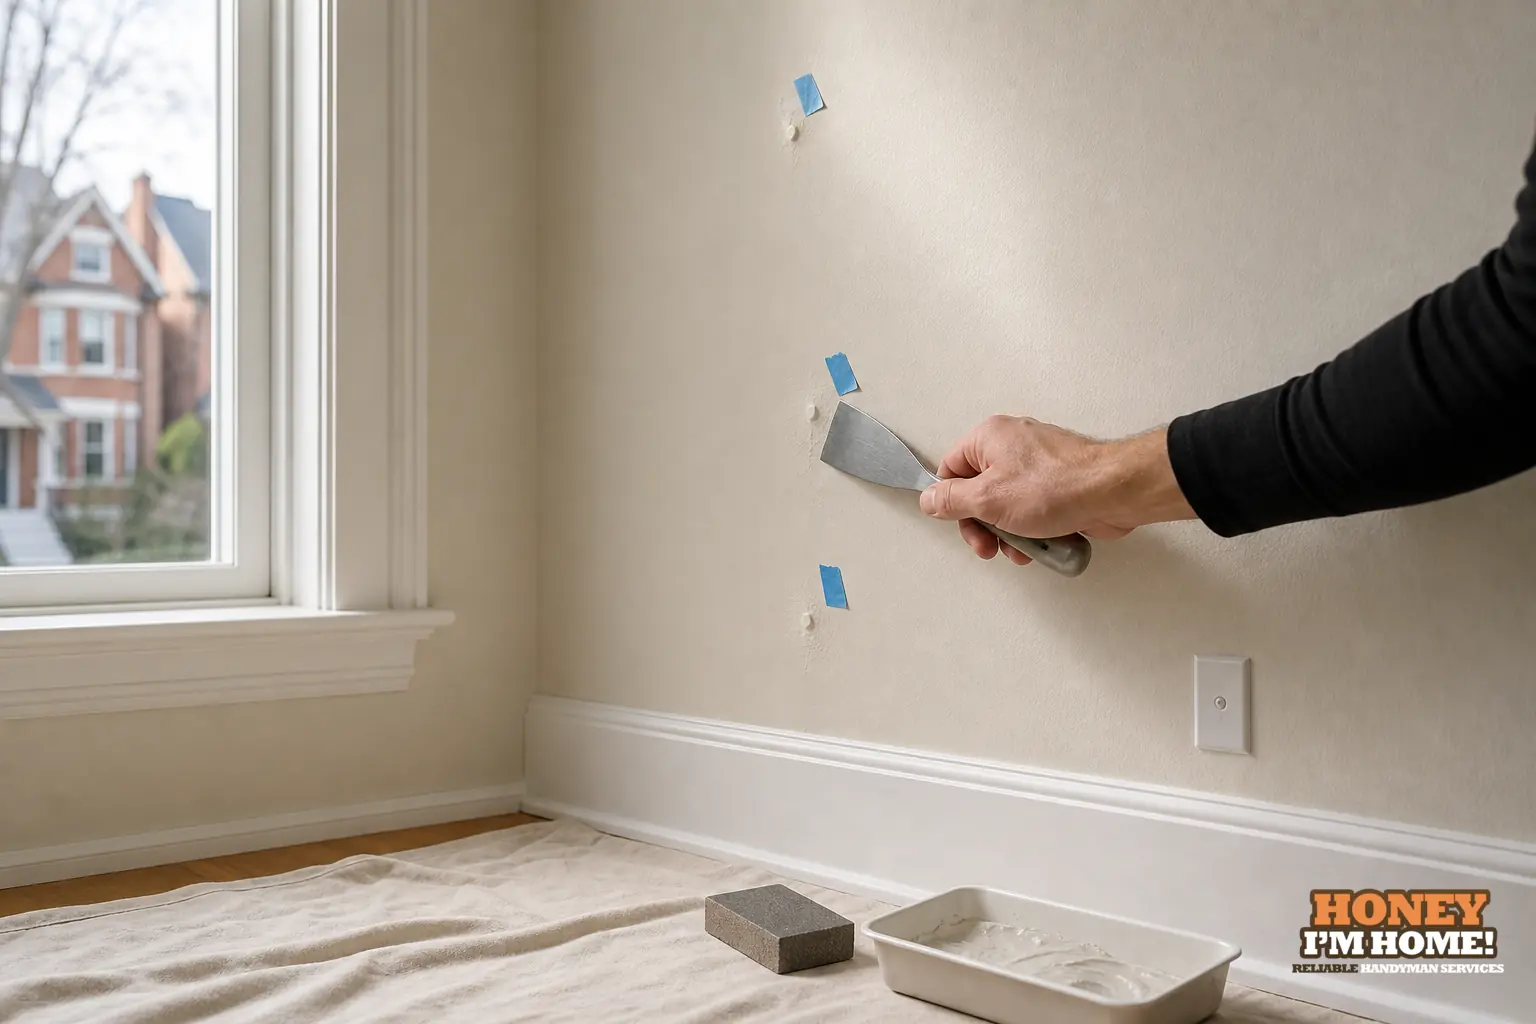
I keep repairs practical and centred on the cause. For a single popped fastener I remove or countersink the nail and replace it with a screw that grabs the framing; then I finish the surface so the repair blends. Where pops repeat along a run I re-secure the panel along that run, check adjacent joints and treat any split paper or delaminated paper before finishing.
If the paper of the drywall is torn or the board edge is ragged, I remove the damaged area and patch with new drywall before skimming and sanding. A durable fix typically requires that the panel be properly attached and the damaged surface removed rather than simply filled.
How finish and paint factor into the solution
Once the panel is secure, the finishing stage determines whether the repair disappears or shows up in everyday light. I feather joint compound so the repaired area reads flat with the surrounding surface, then match texture and sheen. In older houses paint layers age and slightly shift colour, so I either prepare the surface for your painter or follow through with my own finish work.
If you prefer the whole sequence handled end-to-end, I coordinate reattachment, skim and final paint under the same scope—see the parent service at /services/drywall-repair-and-painting/ for what I typically include.
How older house construction affects nail-pop decisions
The neighbourhood I work in has a lot of early-20th-century detached houses with Edwardian and Arts and Crafts influences, and most buildings were constructed before 1960. That mix often means original plaster, older trim and non-standard transitions coexist with later drywall work. When original material is still sound I favour preserving it and making repairs that respect those profiles instead of cutting everything out.
Practically, this changes how I approach a pop near mouldings or historic trim: I measure and match profiles, and I choose attachment and finishing techniques so the repair blends with the existing craftwork. I also expect to find older layers and transitions, so I don’t assume modern drywall dimensions will simply vanish behind trim—matching the room’s character matters as much as fixing the fastener.
A short, verified note from recent work
I completed work on a floor, ceiling and outside porch, which a verified Google reviewer mentioned when leaving feedback about a recent job. I approach nail-pop repairs the same way: locate the cause, secure the substrate, then finish so the repair isn’t obvious. As one Google review said, "He is quick and knows his craft." See the review proof at /#awards.
When I’ll recommend re-securing the panel instead of patching
I’ll recommend re-securing a panel when I find repeated pops along a run, movement when I press the surface, or torn paper and edge damage. Those signs show the problem lies under the finish and that a surface-only patch will likely return. If the framing feels stable and the pop looks like a one-off, a targeted fastener replacement and careful finish can be enough.
I always walk homeowners through what I see and why I’m proposing a sequence of steps. If you want a site visit, I can come by to show you the problem spots and explain the simplest durable fix—book a time at /contactruss/.
Simple checks you can do before I arrive
Walk the room in different lighting—side light and morning or evening light make pops obvious. Gently press around a pop to see if the surface moves; check nearby trim for fresh gaps that might mean shrinkage; and note whether pops repeat along a straight run. That information helps me diagnose faster on arrival and keeps the initial visit productive.
Are nail pops dangerous to leave alone?
Nail pops are usually a cosmetic issue, but repeated popping signals movement or attachment failure that can worsen the finish and allow moisture to affect the wall surface over time.
Will repainting hide nail pops permanently?
Repainting alone will hide the symptom temporarily; a durable fix typically requires re-securing the board or replacing damaged sections to prevent the fastener from returning.
Can you match old trim and textures when you repair nail pops?
Yes—I measure existing profiles and match texture and sheen so the repair blends with the original materials when those materials remain sound.