
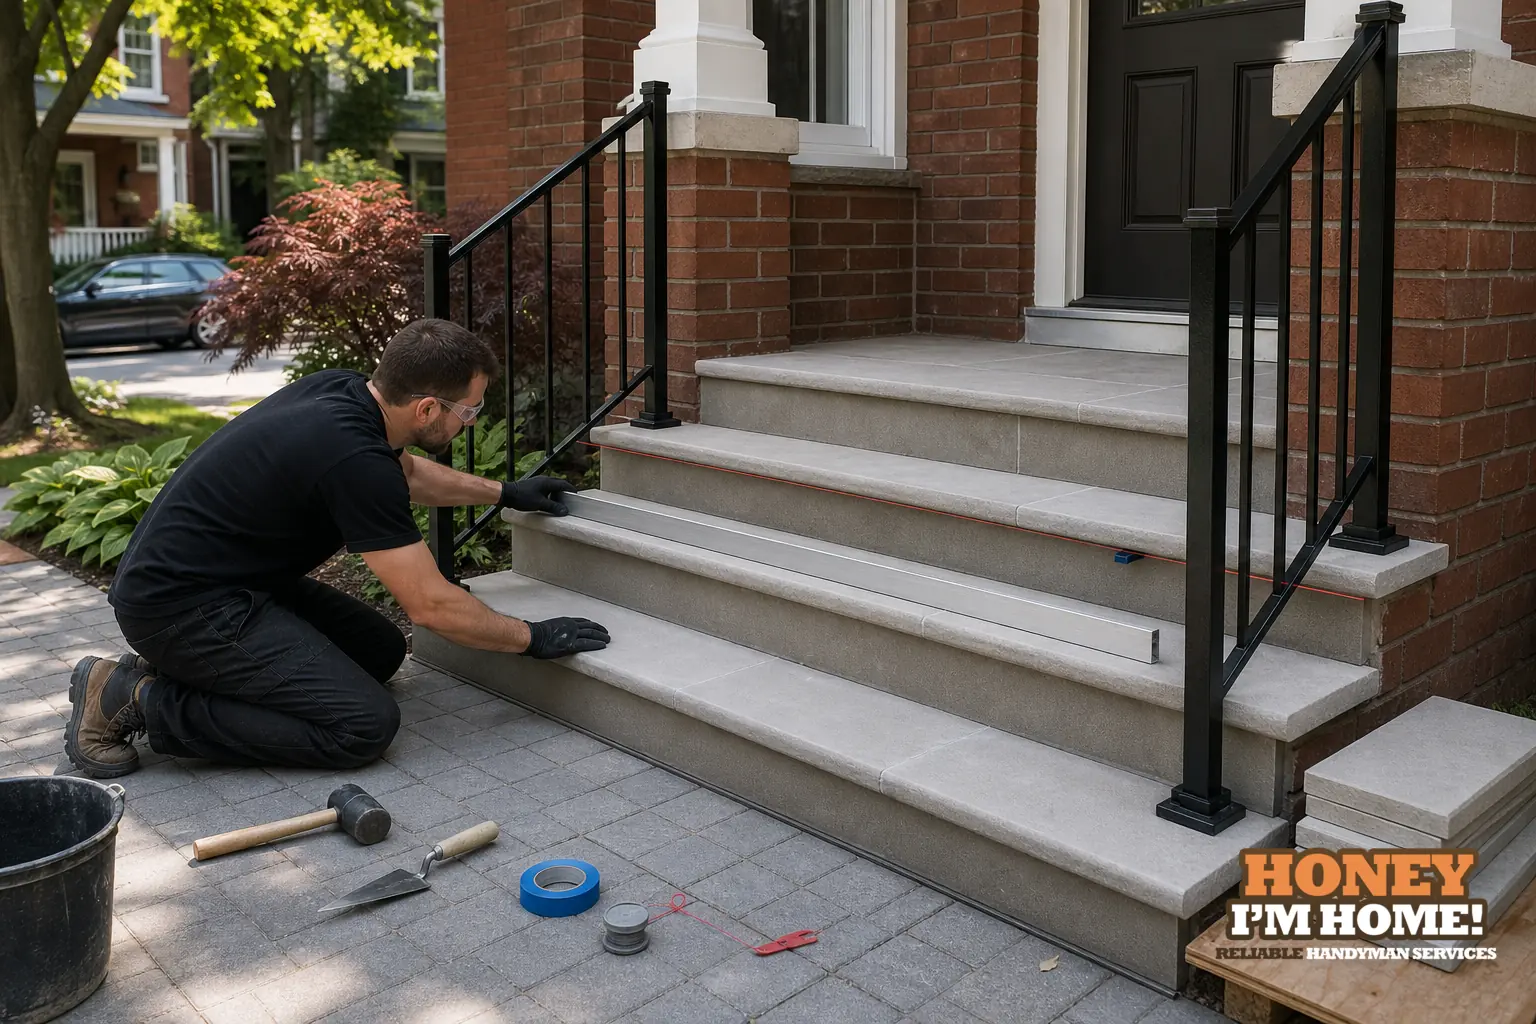
Short answer: I start by documenting existing profiles and materials, preserving original trim where possible, then plan flashing and drainage before millwork. I coordinate the sequence so structural repairs and waterproofing happen first, millwork and returns next, and paint or finish last. Clear photos, a labelled sketch and a revealed stop line keep the repaired step from looking like a patch.
I’m Russ — I run the crew and I deal with these joints every week. A finish transition at an entry step is small in plan but complicated in practice because that seam collects water, connects different materials and is the last surface a homeowner sees. I’ll walk through how I inspect the junction, decide whether to preserve or replace detail, plan water control, match profiles and sequence the trades so the final reveal is clean and durable.
What I look for on first inspection
My first visit is focused and practical. I photograph the step at multiple angles, then measure and note the visible profiles: tread edge shape, nosing radius, riser face, and any moulding returns. I check how the step meets adjacent materials — brick, stone, stucco, painted trim or a concrete landing — and I note any previous repairs or layers that could hide the real condition.
I also inspect the junction for water staining, soft or delaminated wood, and the direction of surface drainage. That tells me whether the visual problem is just cosmetic or if there is an underlying moisture path that must be fixed before any finish work. My checklist becomes a short job file: preserve or replace, flashing needed, trim profile to match, and finish stop line.
Deciding to preserve original trim or replace it
Preserving original trim is my default when the piece is still sound. If localised repair can hold a historic piece in place and restore the appearance, I set my boundary there and replicate only what’s necessary. If the trim is structurally compromised or the waterproofing is failing behind it, I replace with a matching profile and note the reveal so the finish crew can carry the line cleanly.
When I plan a replacement I match the profile first — the way the nosing reads from the walkway, the riser face shape and any returns. For painted trim I ask the finisher to leave a narrow back-bead or reveal so paint doesn’t bridge the joint. For natural timber or stain finishes I specify an exposed reveal so the grain can breathe and the finished line stays crisp.
Water control and flashing that make transitions work
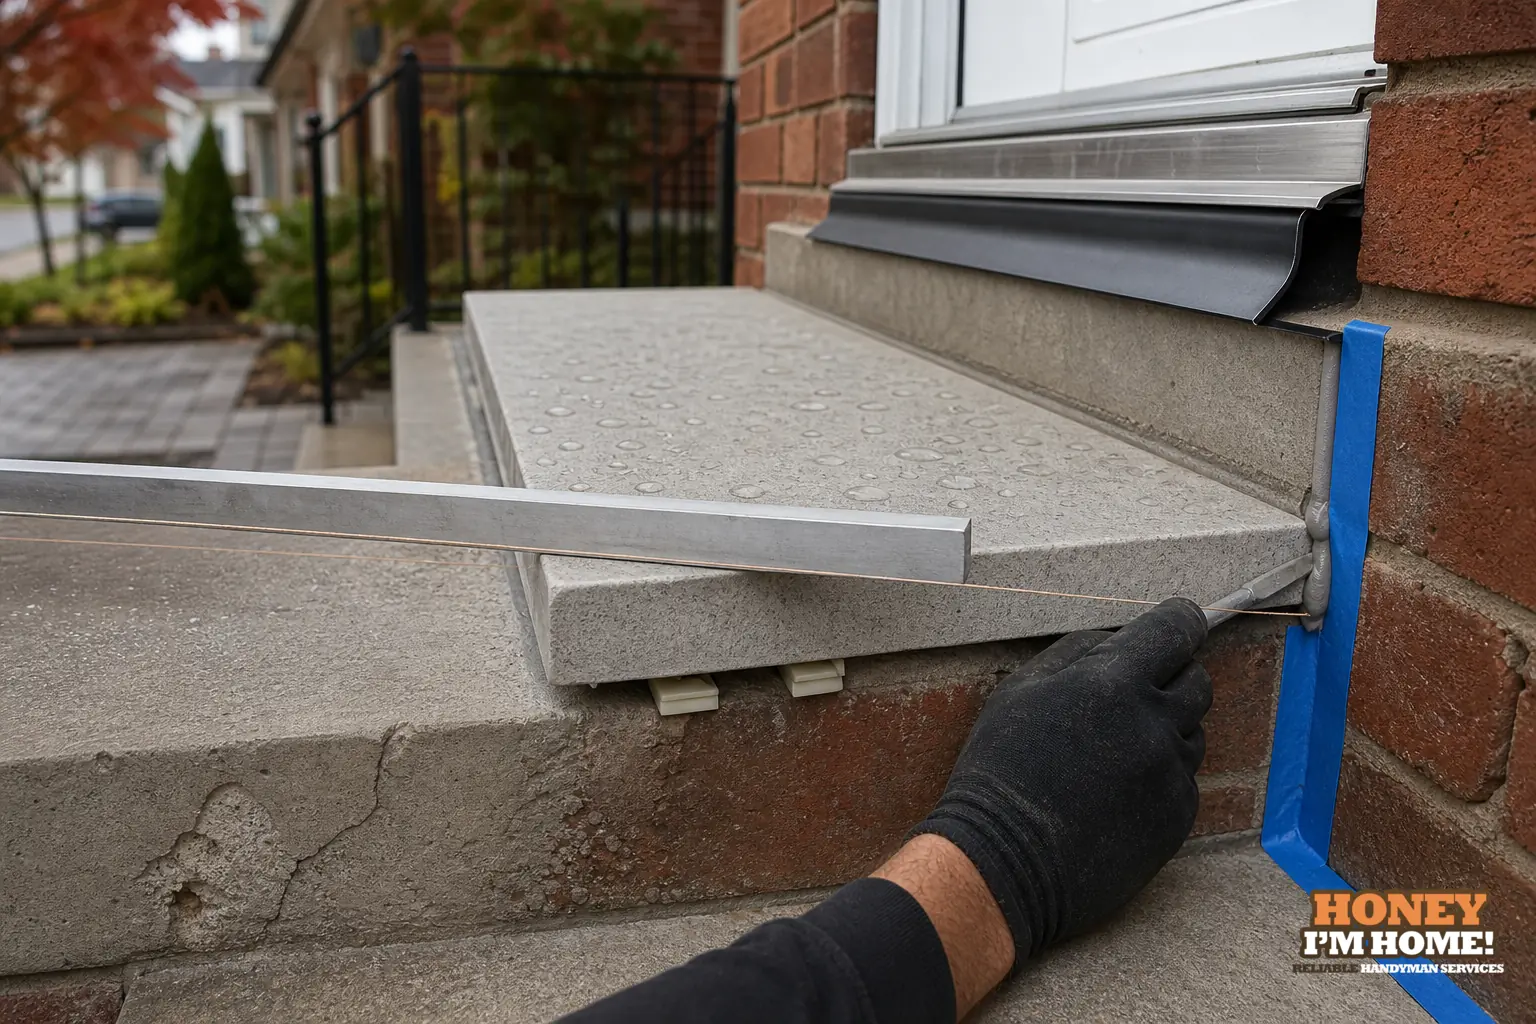
I put waterproofing at the top of the list. A neat visual transition means nothing if water is wicking into the joint. My approach is to make a clear, layered lap: flashing tucked under the landing material and lapped over the tread or riser, trims and returns installed over that flashing, and sealant only where it’s needed to close a visible joint. I always plan the drainage path so water sheds away from the house and off the nosing rather than pooling at the seam.
When a step meets exposed masonry I prefer a narrow painted return or a small metal coping piece that creates an obvious drip and protects the masonry edge. That return becomes the painter’s stop and prevents end-grain from being exposed to persistent moisture.
Matching materials and profiles without guesswork
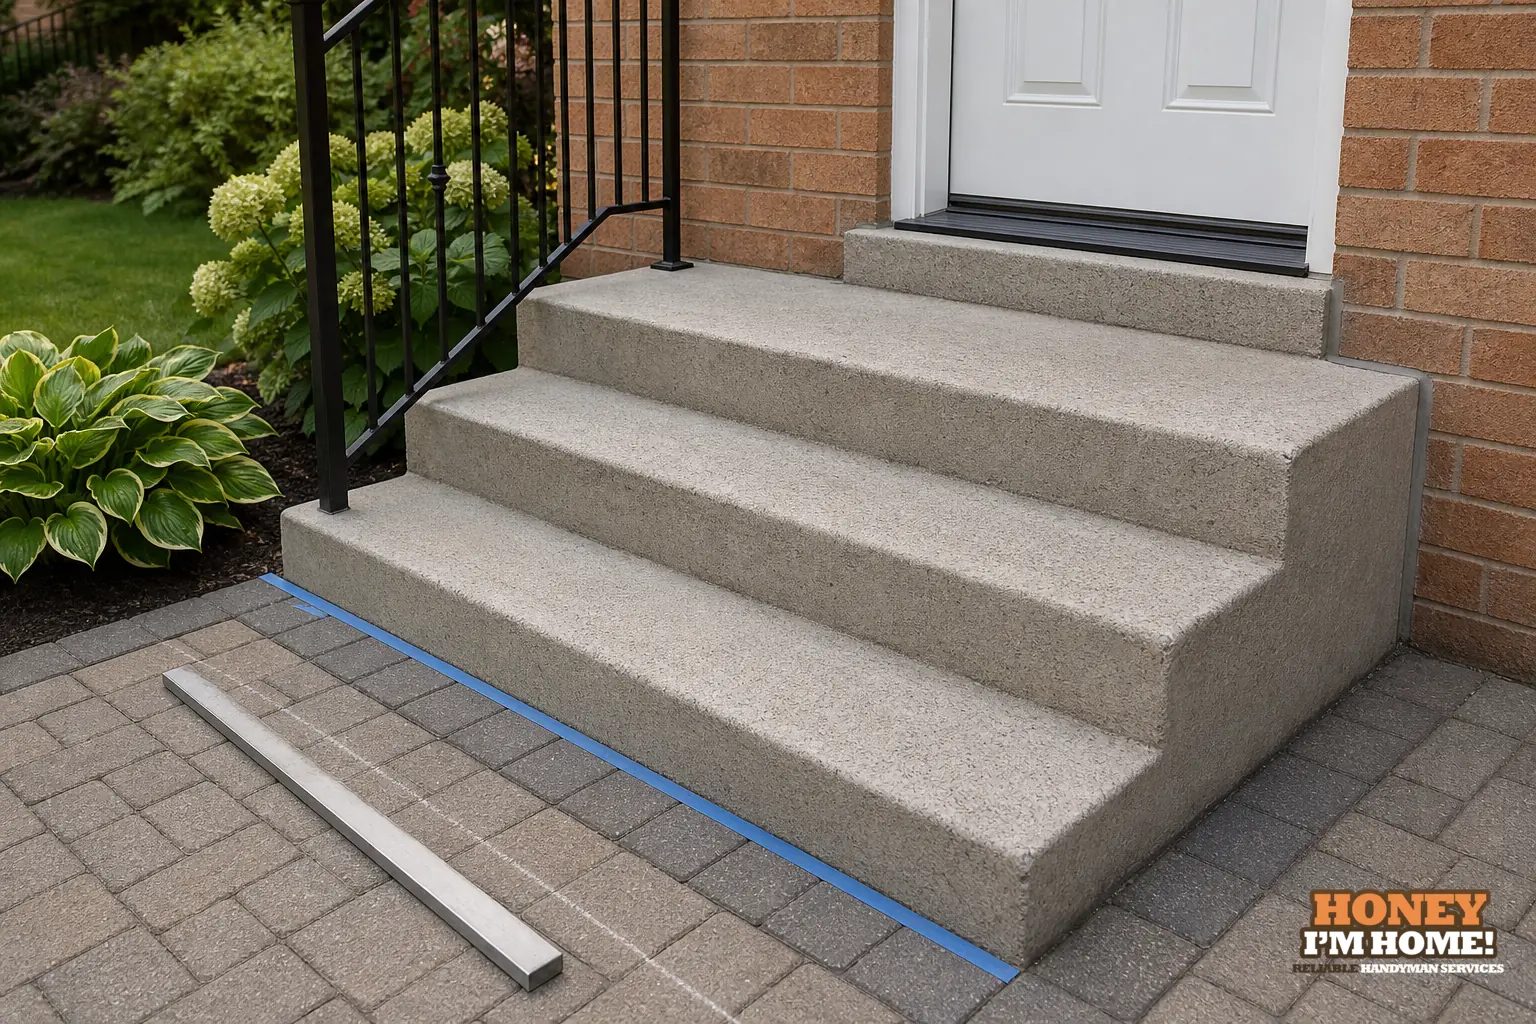
Matching is almost always profile work, not brand names. I compare tread thickness, nosing shape and riser reveal. If the original is a painted softwood moulding, I replicate that profile with an exterior-grade substitute and keep the same edge detail. If the landing is masonry, I avoid a wide new trim that competes with the historic face; instead I use a small, respectful return so the step reads as part of the whole composition.
I keep dimension notes, a photo labelled with the profile names and a simple sketch in the job file. That prevents a carpenter or finisher from guessing and creating a mismatch at the last minute.
Sequencing trades so the finish lines stay crisp
The number-one mistake I see is trades working from different assumptions. I schedule work so the structural and waterproofing trades go first, then the finish carpentry, then the painter or stain crew. Before any paint goes on, I confirm the agreed datum — the exact horizontal where tread meets landing — and the reveal gap where the finish stops. I also walk the site with the painter and point out the termination lines and any exposed flashing so they don’t paint over crucial drainage features.
When different crews are involved I leave a short, labelled handoff bundle: photos of the profile, a sketch showing the lap of flashing, the reveal width we agreed on, and the primer versus finish instructions. That bundle avoids last-minute trimming or heavy caulk that blunts a clean joint.
Finish details I specify and why they matter
Simple, deliberate details last longest. I often carry a vertical trim down past the nosing instead of butting it at the top edge so the painter has a visible stop and the joint sheds water. For painted wood I specify a recessed back-bead so the finish coat won’t bridge; for natural finishes I leave a slightly wider reveal. Metal nosings can be a clean solution where materials meet, but I treat them as part of the visible composition and plan returns where they abut masonry or stucco.
Small changes in how a trim returns to the riser or how a flashing is lapped determine whether the seam looks integrated or patched. I call those details out in the job file and review them during the final walkthrough.
Tying the approach to Baby Point house character
In Baby Point many houses were built in the early 20th century and carry English Cottage, Tudor Revival and Colonial Revival details, with brick, stone and traditional stucco common in the area. That historic material palette changes my approach: I prioritise preserving original trim and matching profiles so repairs read as part of the house rather than a later addition. When I encounter original brick or stone at an entry I plan a narrow painted wood return or a slim metal coping piece rather than a broad replacement trim that would compete with the masonry face.
Because many of these homes were built with high-quality materials and have deliberate siting and landscaping from the Home Smith period, I limit excavation and replacement where possible. I set clear repair limits so original material remains visible and match proportions so the repaired step stays in scale with the rest of the entry composition.
Field notes and handoff checklist I leave with the client
Before I close a job I upload a short bundle to the file and leave a printed copy on site: labelled photos of the profiles, the agreed-cut sketch, the reveal width and where the flashing laps. I also note which surfaces got primer only and which got finish coats, and I list the datum line we used. That record prevents the typical end-of-job confusion and gives the homeowner a reference for future maintenance.
If you want a practical, on-site read of your entry seam I keep our core offerings at Front Porches, Steps & Entry Repairs, and you can get in touch to schedule an on-site look at /contactruss/. I prefer to see the junction in person because layered trim, hidden flashing or older repairs change the plan more often than photos show.
How do I decide whether to preserve original trim or replace it?
I preserve original trim when it’s still sound and repairable; I replace when the piece is failing or blocking required waterproofing repairs.
What do I hand to the painter so they stop at the right line?
I hand labelled photos, a sketch showing the datum and reveal, and a clear primer versus finish note so the painter knows exactly where to stop.
Will a repaired step need special checks after the work?
Yes, newly repaired transitions should be inspected for flashing performance and finish adhesion during the first seasonal weather cycles.