
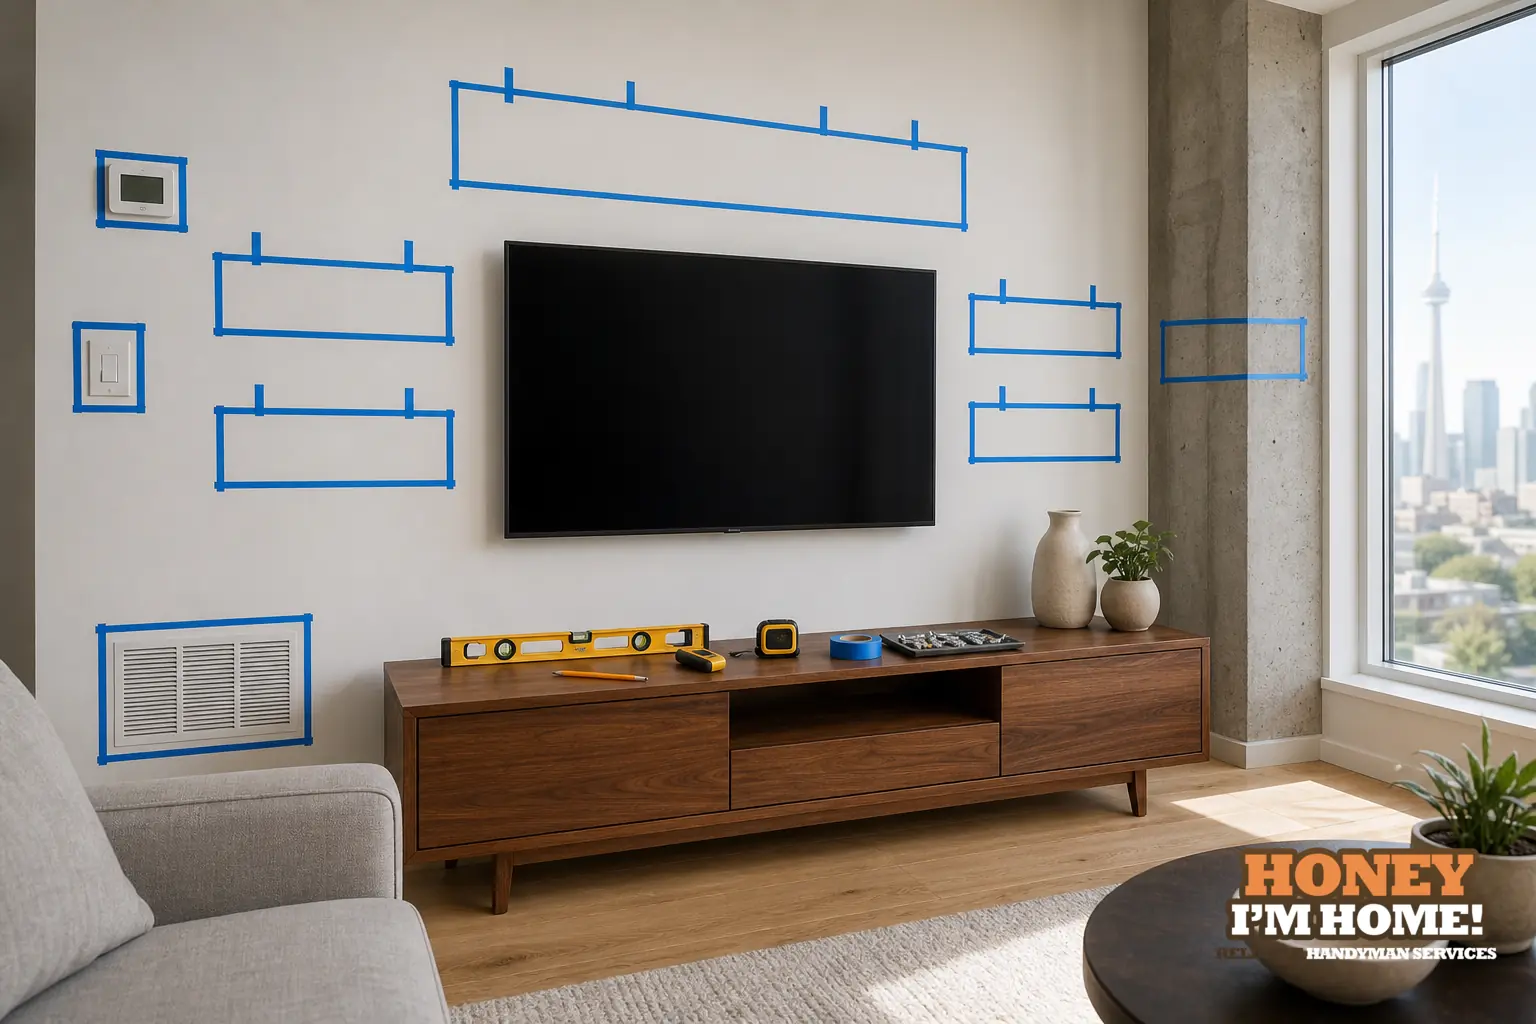
Start by mapping where furniture sits and how you use the wall: I prioritise sightlines from seating, clearance above consoles, and avoiding interference with trim and moulding. With that map I test shelf heights visually, confirm anchor options behind the finish, and plan shelving widths to sit comfortably above or beside furniture without crowding the room.
Begin with the furniture and how the wall will be used
I always start in the room with the furniture in its permanent position. A floating shelf that looks good over a sofa can become a nuisance if it blocks sightlines, spoils lamp placement, or forces awkward access to books or remotes. I check three practical things at once: how people sit and look, whether the shelf will sit above a piece that gets bumped, and what the clearance is for lamps or tall backs.
When you measure mental sightlines, picture someone sitting naturally, not standing tall. The lowest shelf should not sit at the shoulder height of a seated person if it forces them to duck or lean. If a shelf is meant to hold decorative items above a media console, I allow a breathing space above the console surface so instruments, cable channels, or speakers aren’t awkward to reach. If a shelf is purely decorative above a chest or narrow console, centre it visually over the furniture and keep lateral spacing consistent with the furniture feet or top edge.
Account for wall features and trim early
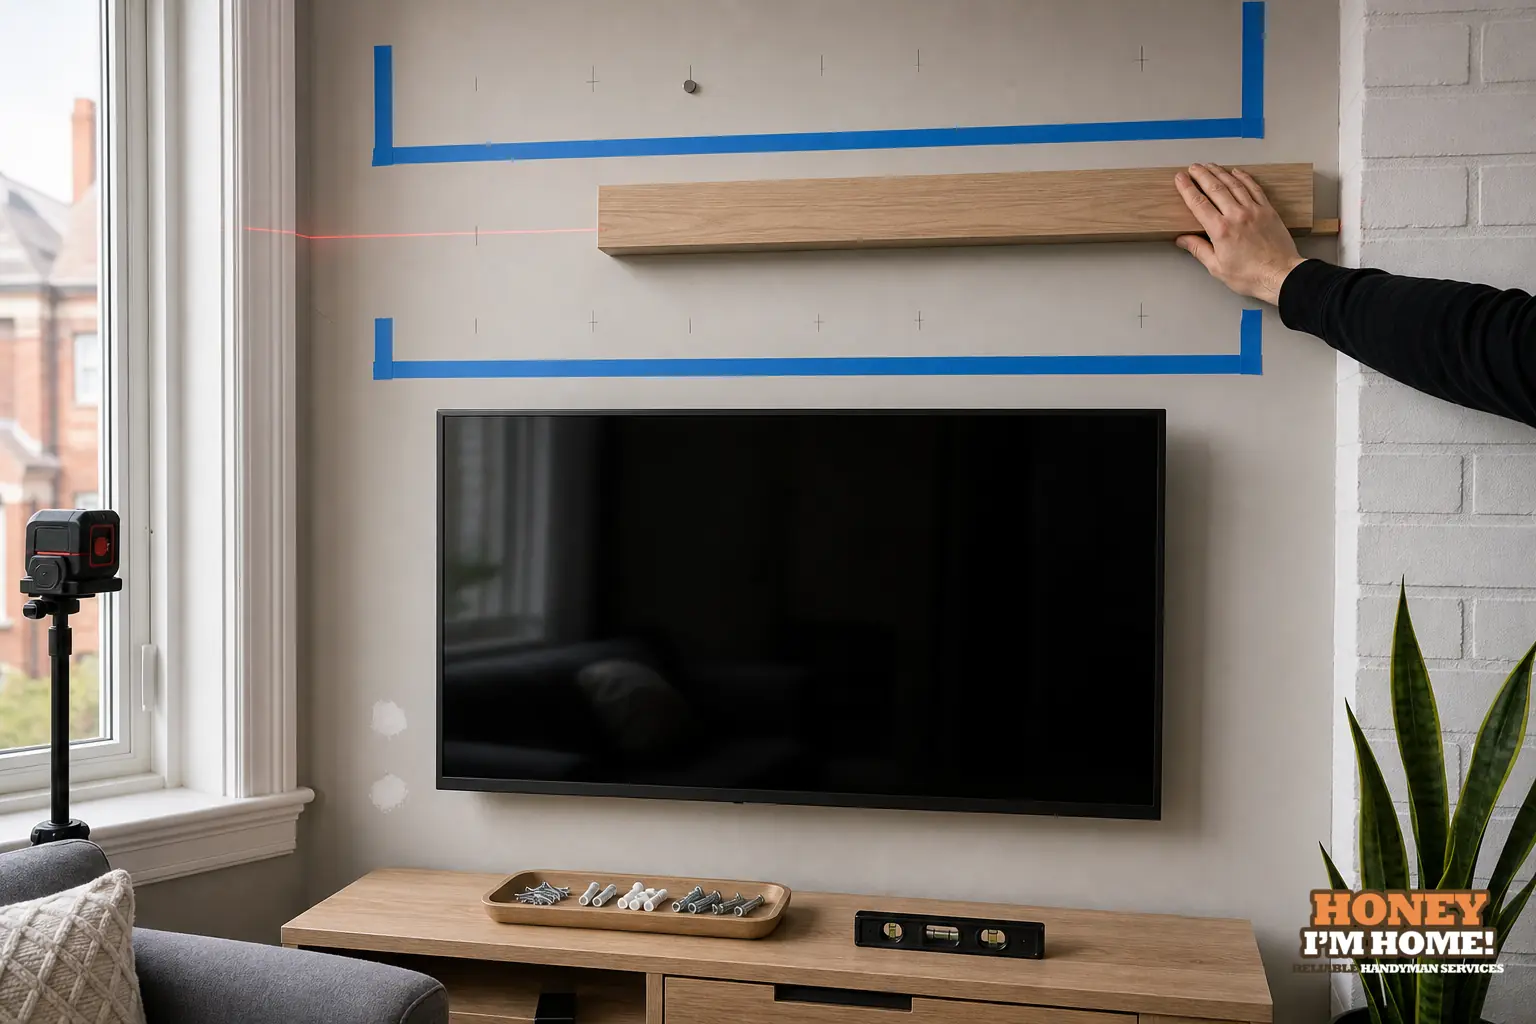
Doors, picture rails, chair rails, baseboard returns and window sills determine where a shelf can live. Before committing to a layout I scan the wall for trim and decide which items must be preserved or worked around. Where moulding exists, I consider a shelf that either sits below the moulding or overlaps in a way that looks deliberate; I don’t remove original trim unless the homeowner asks for a change.
Another common issue is skimming the area for built-in shallow features like radiators or vents. In most setups I keep the lowest usable shelf a little higher than the top of a radiator cover or vent grille so air movement and access aren’t blocked. If you have a light switch or thermostat on the same run of wall, plan shelf widths so they clear those controls without forcing you to move them physically.
How I inspect the wall finish and what I look for
What’s behind the plaster or drywall changes the fastener decisions. I assess the finish by looking for original plaster mould lines or the telltale texture of modern drywall. For older plaster I check the depth of the lath and look for thin drywall patches or original trim that might hide backing. For renovation drywall I tap and run a small magnetic stud finder to locate studs and check for metal corner beads or strapping that can affect anchor choice.
I don’t guess at strength. If the wall finish looks brittle or if the plaster is separated from its backing, I’ll advise either moving the shelf position to a solid area or using a mounting approach that spreads the load across a wider patch of solid backing. I won’t drill into an area that shows signs of failure without discussing repair or reinforcement first.
Spacing, scales and proportional rules I use on every job
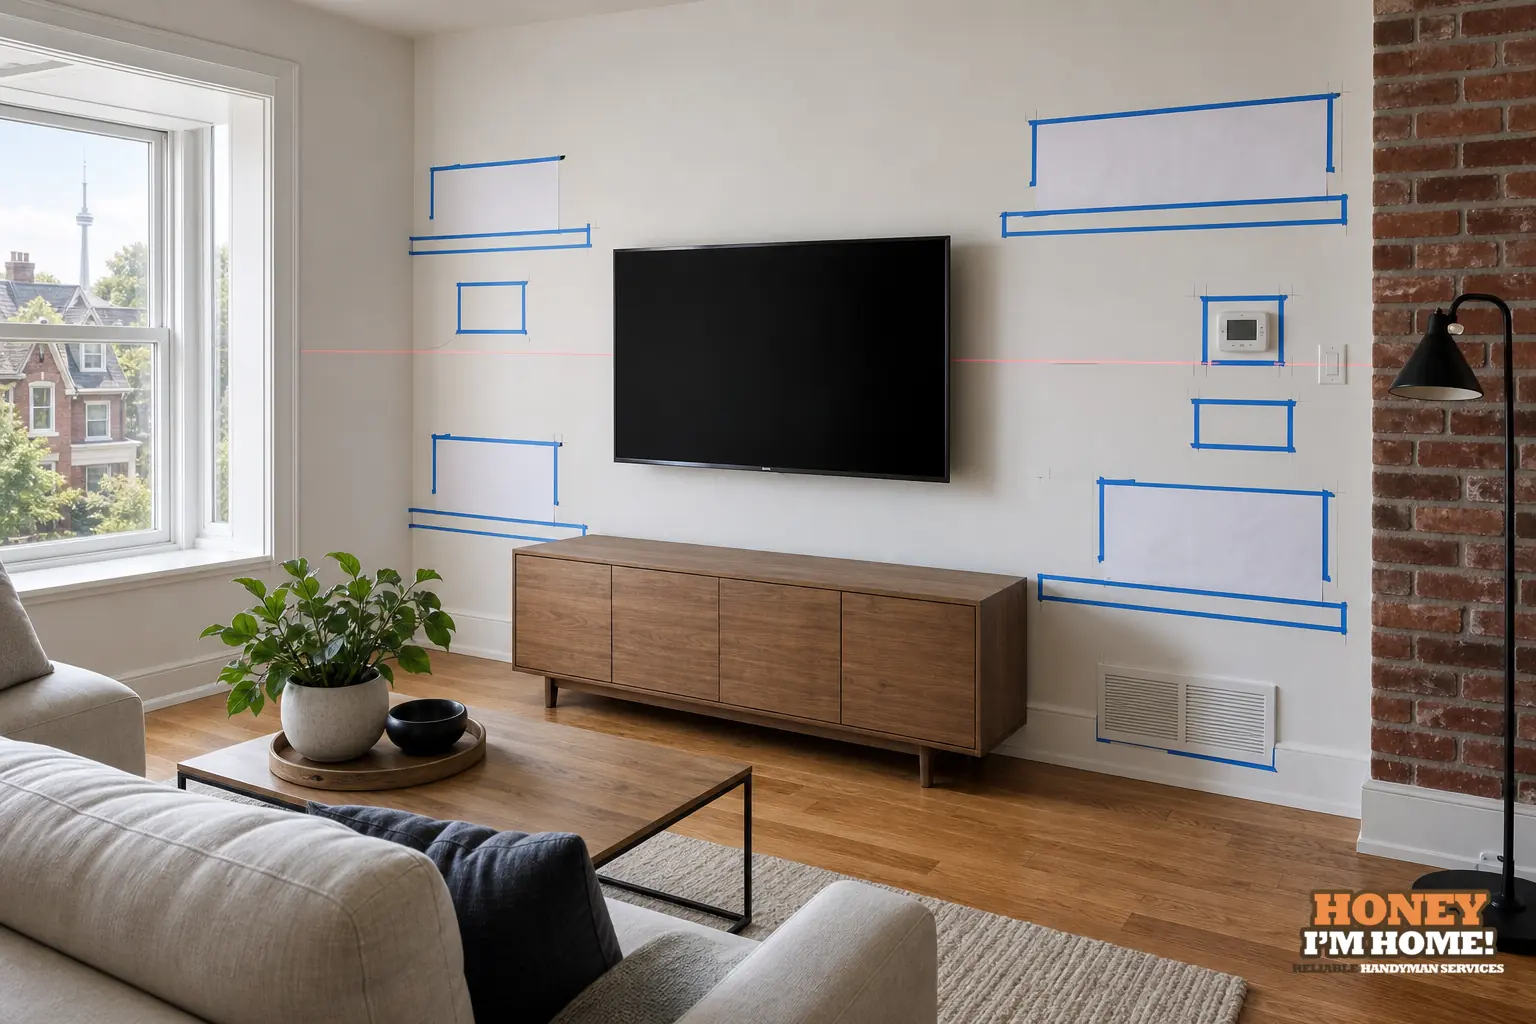
Rather than give one-size-fits-all measurements, I work visually and by proportion. For example, a set of three staggered shelves should relate to the width of the seating area or console below; they shouldn’t be wider than the furniture they sit above unless they’re intentionally floating past the edges for a design statement. I use the furniture’s top edge, eye level from the main seating position, and any vertical trim as guides.
When arranging multiple shelves I lay out paper templates on the wall and live with them for a day or two. This avoids the common mistake of fixing a row of shelves and later realising they crowd a lamp or don’t line up with door frames. If you prefer, I can create precise templates on site so you can see how the balance will read from the couch.
Anchors, loads and fixing choices—what I consider
I match the fixing style to the wall’s makeup and to how the shelf will be used. For display-only shelves that carry light items, I use the least invasive anchor that still gives confidence. For shelves that will be loaded more heavily, I look for solid backing or staggered points of contact so the load transfers cleanly into structure behind the finish.
When studs are present in usable positions I prefer to line up the shelf’s internal bracket to them. If studs don’t line up where you want the shelf, I consider a wider mounting plate or multiple fixings to spread the weight. If the finish suggests original plaster over older framing, I’ll discuss the option to reroute the shelf slightly to a stud bay with better support.
Connecting this to the local housing mix in High Park
In High Park many homes are older: the city profile reports that a majority of dwellings were built before 1960. The neighbourhood also contains a substantial apartment and condominium stock, so wall construction and finish details can differ sharply between nearby houses. I treat each wall as an individual case—older detached houses often have plaster and original trim that I preserve, while apartments and renovated suites present different access and mounting constraints that change where and how I fix shelves.
In practice, that means I won’t assume a single mounting method will work across the whole neighbourhood. On an older house I look to avoid cutting into original trim; in an apartment I expect drywall and potentially limited stud locations, so I plan for anchors or wider backplates that give the shelf a secure footprint without removing finishes. Matching the approach to the actual wall assembly keeps the shelf secure and preserves the character of the home.
Practical steps I take on-site (my checklist)
When I arrive for a layout consultation I do these things in order: walk the room with you so I understand furniture positions and primary sightlines; mark the obvious obstructions—radiators, vents, trim; tap and test the wall finish; locate studs or backing; propose a few visual heights and widths; then lay paper templates so you can view the final composition from the main seating positions.
If you want me to handle the installation I bring an assortment of brackets, plates and fixings and I make a final call only after confirming the wall’s backing. If a shelf needs to sit near trim I hold the bracket back from the trim a little to keep a crisp reveal. If you want shelves that bridge a picture rail or run continuous across a run of windows and trim, I explain the compromises in visual line and discuss trim preservation or modification with you first.
Finishing touches that make shelves feel intentional
Good shelf layout is as much about styling choices as structure. I think about what you’ll put on the shelf and how often you’ll change it. A long shelf used for seasonal displays should be easy to reach; narrow floating shelves for art can sit a touch higher. For visual balance, I keep spacing consistent, reveal edges crisply where trim meets the shelf and align the shelf front with key architectural lines—door frames, window sills or the top edge of a console.
If you’d like help from planning through to a neat installation, I’ll work with you. I do consults and installations in Toronto and the surrounding areas, and I link my shelving work to my TV and mounting service when shelves relate to media setups: TV & Shelving Mounting. To set a consult or ask about an awkward wall, contact me at /contactruss/.
"This is a person whose number is worth saving." — Google review. See the proof at /#awards.
How high should floating shelves be above a media console?
I advise against fixed heights without seeing the room; instead, choose a height that leaves visual breathing space above the console and keeps remotes and equipment accessible.
Can I hang shelves if my studs don’t line up with the ideal layout?
Yes, but the fixing method changes: I typically spread the load across a wider plate or use additional anchors so the shelf is stable and secure.