
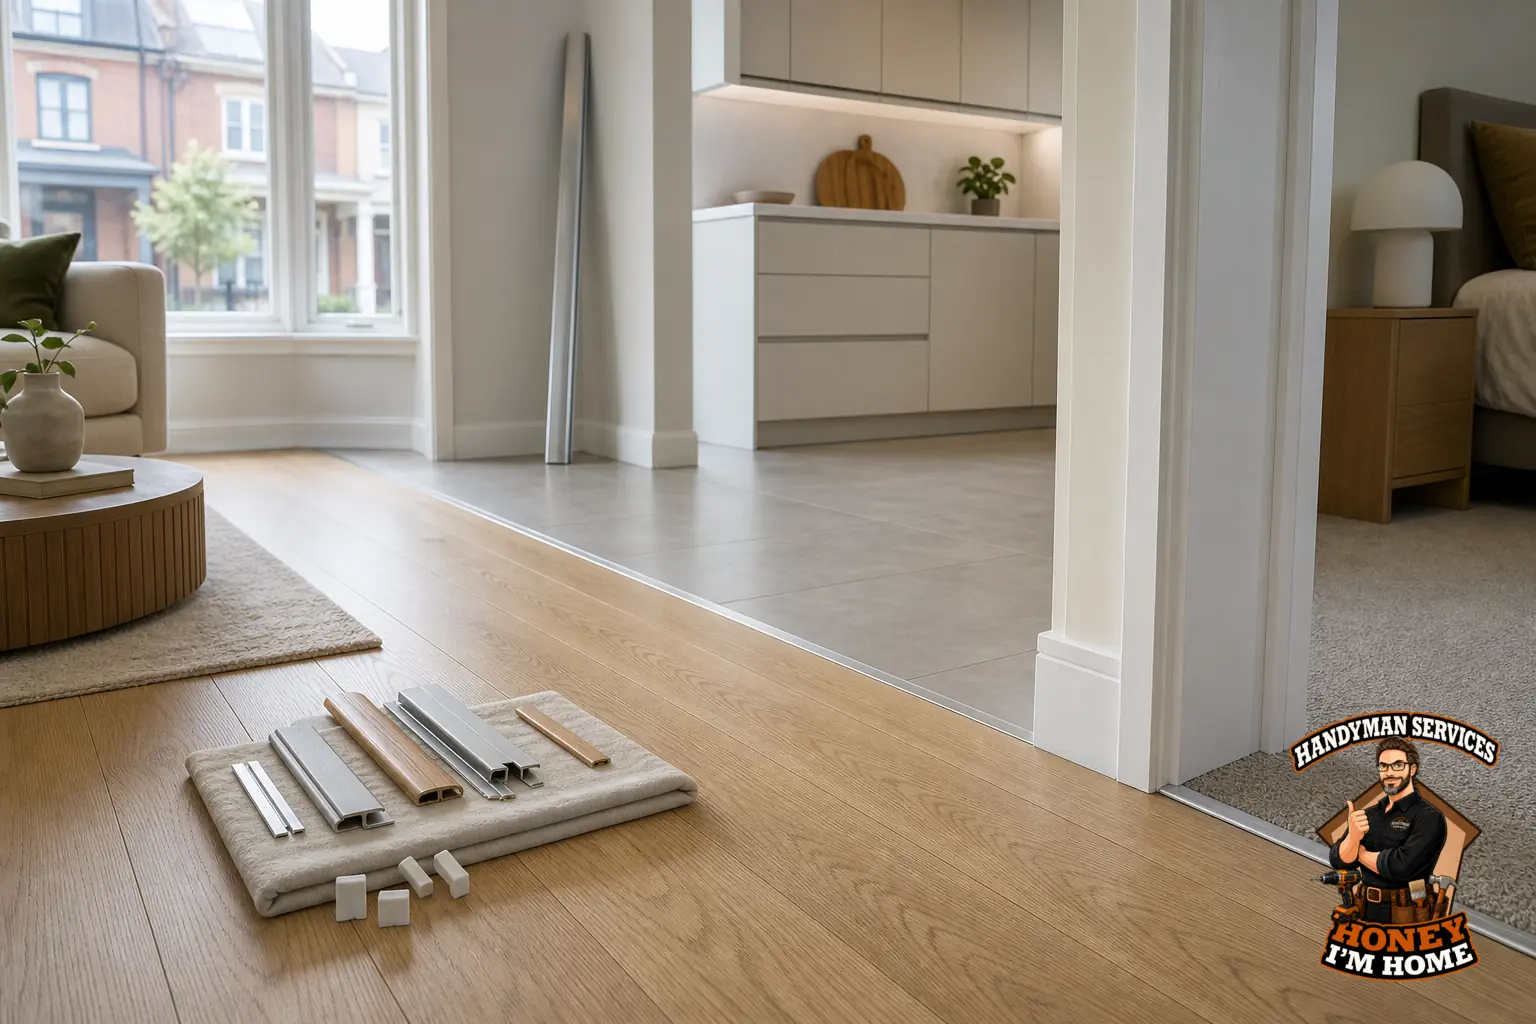
A good transition handles the height change, preserves necessary movement gaps and creates a walking surface that a broom or mop can cross without snagging. I measure the difference, check substrate flatness, pick a profile that matches the movement type, and finish details so dirt and moisture don’t collect at the joint.
What I check on site before I touch a profile
My first job on any threshold is measurement and inspection. I don’t pick a T-moulding or reducer from a brochure — I measure and test. Typical on-site checks include:
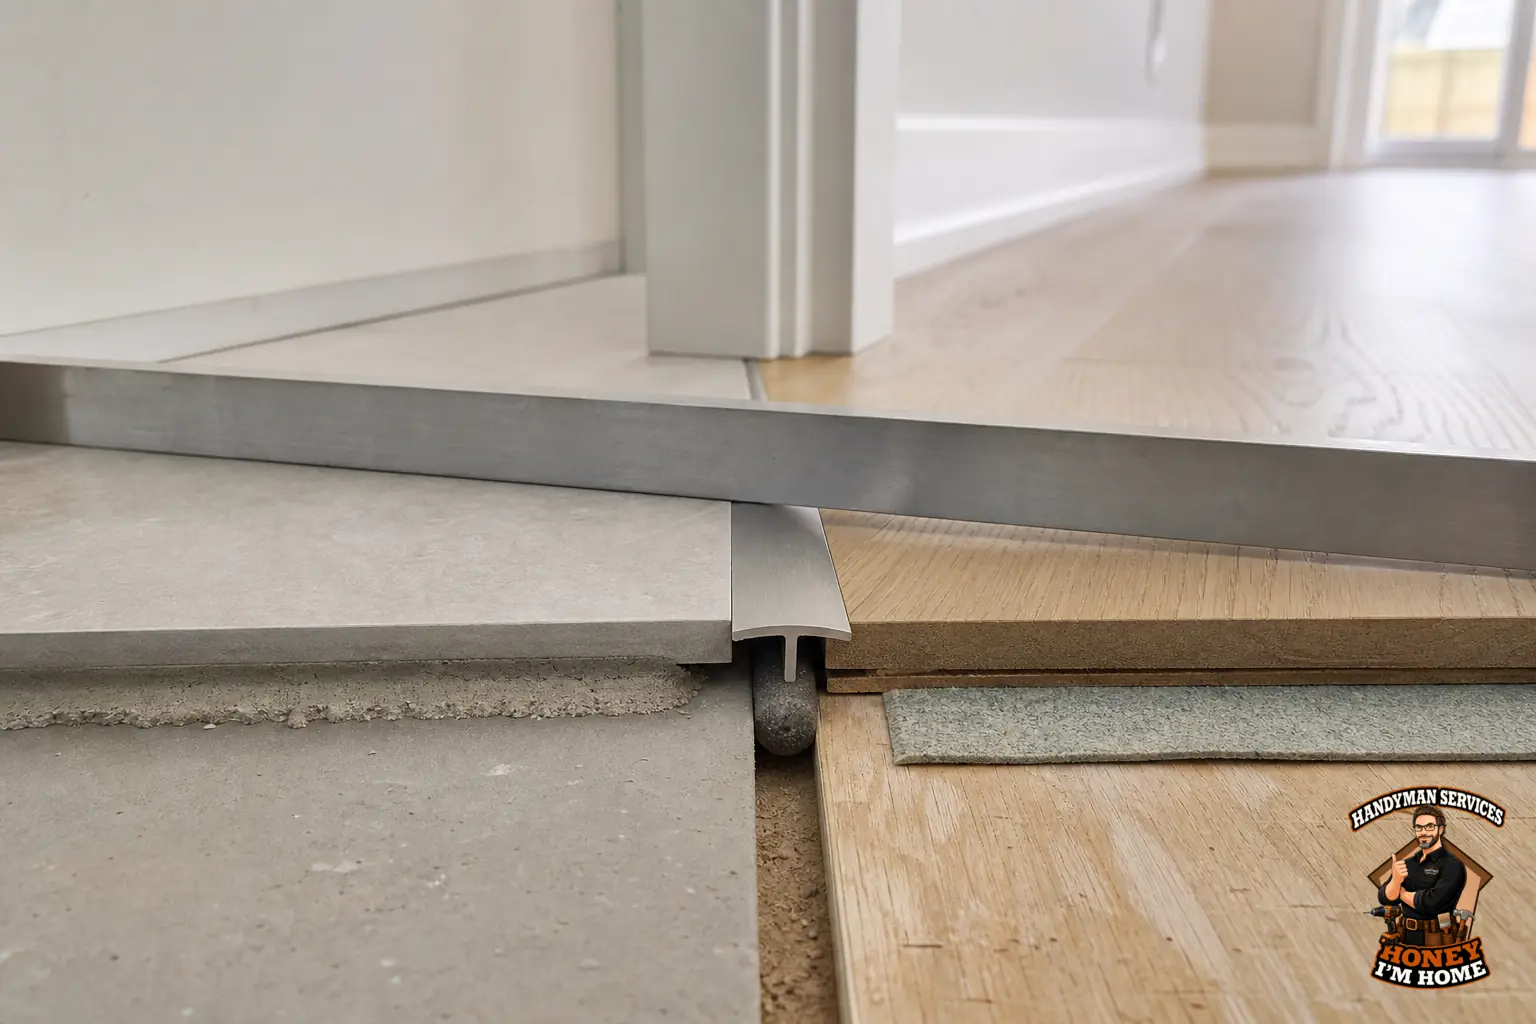
- Height sweep: I lay a 1.2 m straightedge across the doorway and measure clearance at several points. I record the maximum high-to-low number because that determines the required shim or transition thickness.
- Subfloor flatness: I look for hollows and high spots. If the run has more than 3–4 mm deviation over 1 m, I plan to level locally or pick a profile that tolerates the irregularity without forcing the floor edges.
- Movement type: Is one side floating? Glued? Nailed? A floating floor needs an expansion gap; a glued floor moves less. I note which side will be allowed to move and size the gap accordingly.
- Edge condition: I inspect exposed adhesive, residual grout or old nails. Loose debris becomes a dirt trap if I don’t clear it before fitting the profile.
- Adjacent finishes: Old trim, plaster jambs or marble thresholds change how I mount a track or whether I can undercut a doorstop.
Those checks usually take 10–25 minutes on a standard doorway, and they save an hour of rework later. I write the exact height numbers and any unusual conditions on my site sheet so the transition gets cut and set right the first time.
How profile choice controls cleaning and durability
Profiles are a practical compromise between movement, height and how the joint will be cleaned. I classify choices by the problem they solve:
- T-moulding — for near-level floors. It keeps a small gap for expansion and creates a surface a broom or vacuum head can cross without catching.
- Reducer — for a stepdown of around 6–12 mm. A gently sloped reducer prevents mop heads and wheeled cleaners from dragging debris into the seam.
- Threshold/flush bar — for exterior doors or where you need a sealed edge between tile and wood. I pay attention to sealant detail at the tile edge so grout particles don’t lodge under the bar.
- Carpet bar — for carpet-to-hard transitions. A firm bar and tidy tack-down keep carpet edges from fuzzing and limit dirt migration into the gap.
I match the profile to both the measured height difference and the movement allowance. Picking a low-profile reducer where a floating floor needs 8–10 mm of movement will lead to buckling or trapped debris; picking an overbuilt threshold in a tight apartment doorway can gouge trim or force unnecessary cuts.
Installation steps I follow so the joint stays clean
There’s a workflow I use every time. Skipping steps is where transitions fail later.
- Edge prep: clean out old glue, nails and grout. I scrape and vacuum the cavity so the new piece sits flat.
- Dry fit: place the profile, check expansion gaps at three to four points, and confirm the visual alignment. If the profile squeezes the expansion gap, I modify the plan.
- Fastening: use clip systems for floating floors, countersunk screws into aluminium tracks where the subfloor allows, or recommended adhesives where mechanical fixing isn’t possible.
- Finish the visible surfaces: sand or trim exposed wood for a flush meet. Rough edges attract and hold dust fast.
- Seal when needed: low-modulus flexible sealant at tile-to-threshold joints keeps grout crumbs out while allowing movement.
- Final clean and inspection: vacuum the joint and run a damp wipe; if dirt runs into the seam I re-check the fit and gap.
I also aim to minimise profile height visually. A flush, low-contrast joint that functions correctly looks cleaner than a high, contrasting piece that draws attention to the seam.
Tools and small measures I rely on
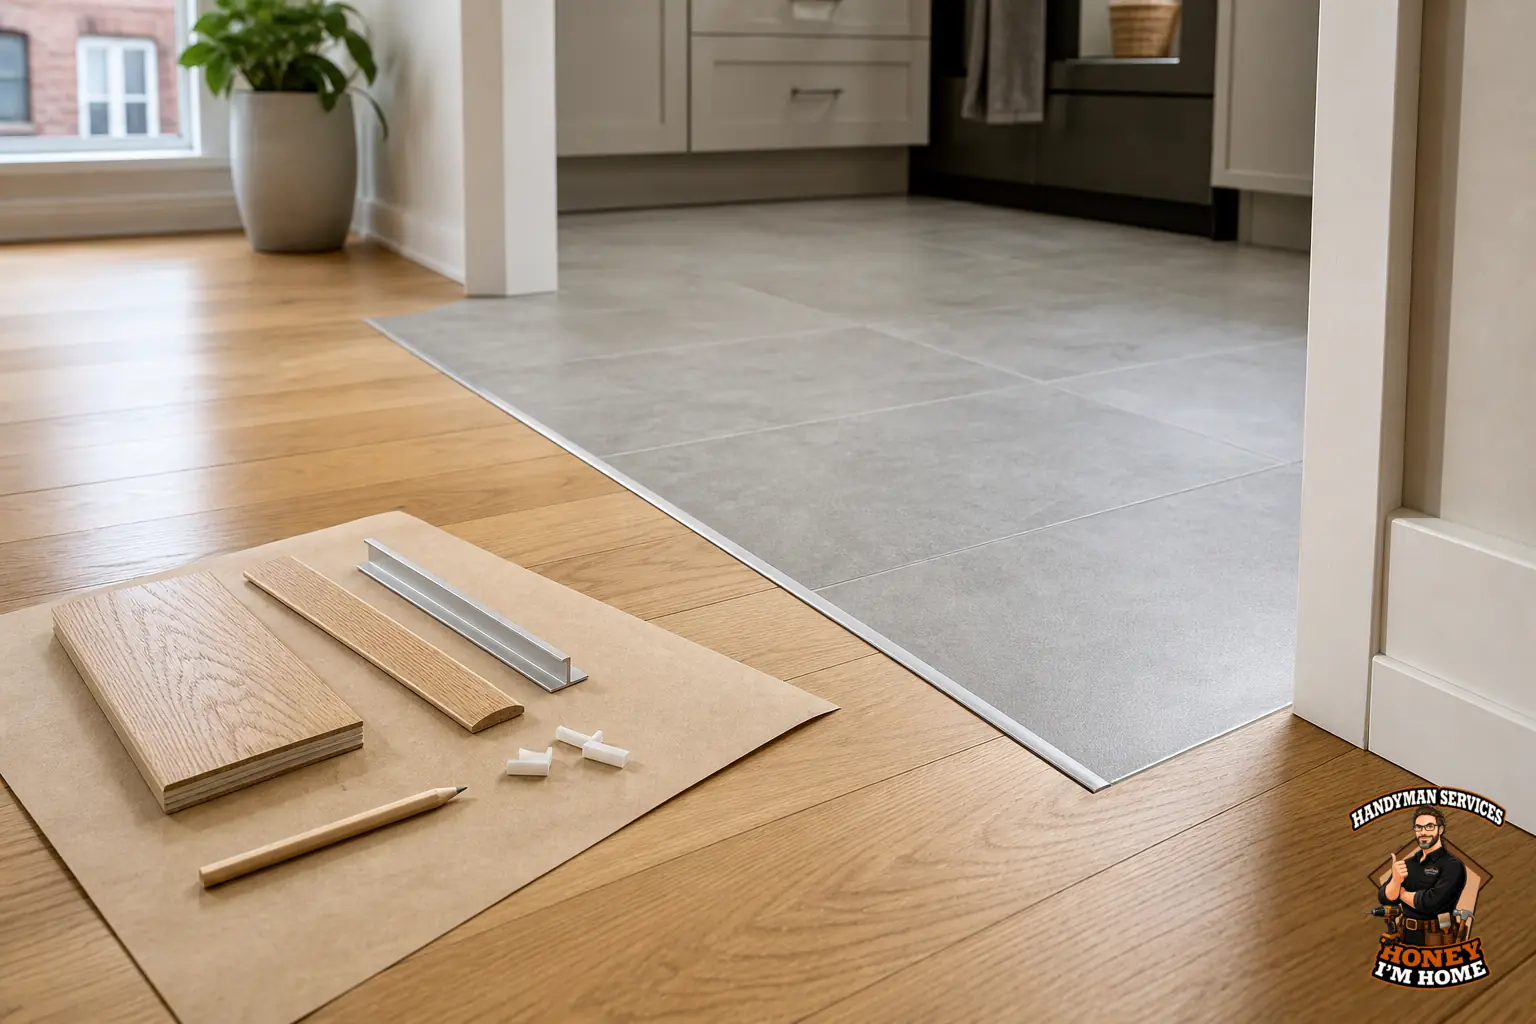
On-site I carry a compact kit tailored for transition work: 1.2 m aluminium straightedge, feeler gauges, a 0–12 mm digital caliper for quick checks, a 3-in-1 scraper, a small belt sander or block plane for trimming, and an assortment of transition screws and short aluminium anchor tracks. Those hand tools let me match existing finishes without pulling a full floor.
How property type in the High Park neighbourhood changes my approach
High Park properties can vary sharply: roughly 55 per cent of dwellings were built before 1960, and there’s a mix of older houses and substantial apartment/condominium stock. I treat those facts as a checklist rather than a rule.
On older detached houses I commonly find original trim and plaster jambs; that means I plan to remove and reinstall trim carefully so I can undercut door stops and keep historic sightlines. In apartments and condo units the finished wall assembly and restricted access often prevent heavy trim removal, so I favour surface-mounted tracks and low-build profiles that respect the existing finishes. The choice of mounting method and profile type always follows the actual on-site wall and floor assembly I find.
First-person vignette and verified client feedback
Small fitting details make the difference. A verified Google reviewer said I "fixed tricky transition strips aptly," which matches the type of work I focus on: measuring, trimming and fastening so a joint stops collecting dirt. I also have verified feedback noting I completed work on a floor, ceiling and outside porch — I use those kinds of multi-scope jobs to protect transitions during other repairs without altering the scope of the review.
I link that short quote and the review details on my awards page at /#awards if you want the source.
Maintenance advice I give homeowners to keep transitions tidy
After I install a transition I leave a short maintenance list with homeowners. These are practical tasks that actually prolong a clean joint:
- Vacuum with a soft brush head and wipe with a damp microfibre regularly — avoid scraping stiff-bristled tools across reducers.
- Inspect sealant and the transition fasteners annually. Small splits or loose screws let debris migrate into the seam quickly.
- If you replace the floor later, save the transition profile measurement and a couple of spare screws; replacing like-for-like keeps joints tight without improvising with ill-fitting parts.
If you want a full transition install or help matching a profile to an existing floor, I handle that work through my main flooring services at /services/flooring-installation/. To book a site visit or get a detailed quote, contact me directly at /contactruss/.
How do I decide if a track or surface-mounted profile is better?
I look at trim removal, subfloor access and whether the surface needs undercutting; if I can’t remove trim I plan a surface-mounted track instead.
Can I use a single profile for different height differences?
A single profile only works within a limited height range; I measure the maximum gap and select a profile rated for that difference.
What cleaning routine prevents grime in transition seams?
Routine vacuuming plus an annual sealant and fastener check prevents grout, adhesive or debris from building up in the joint.