
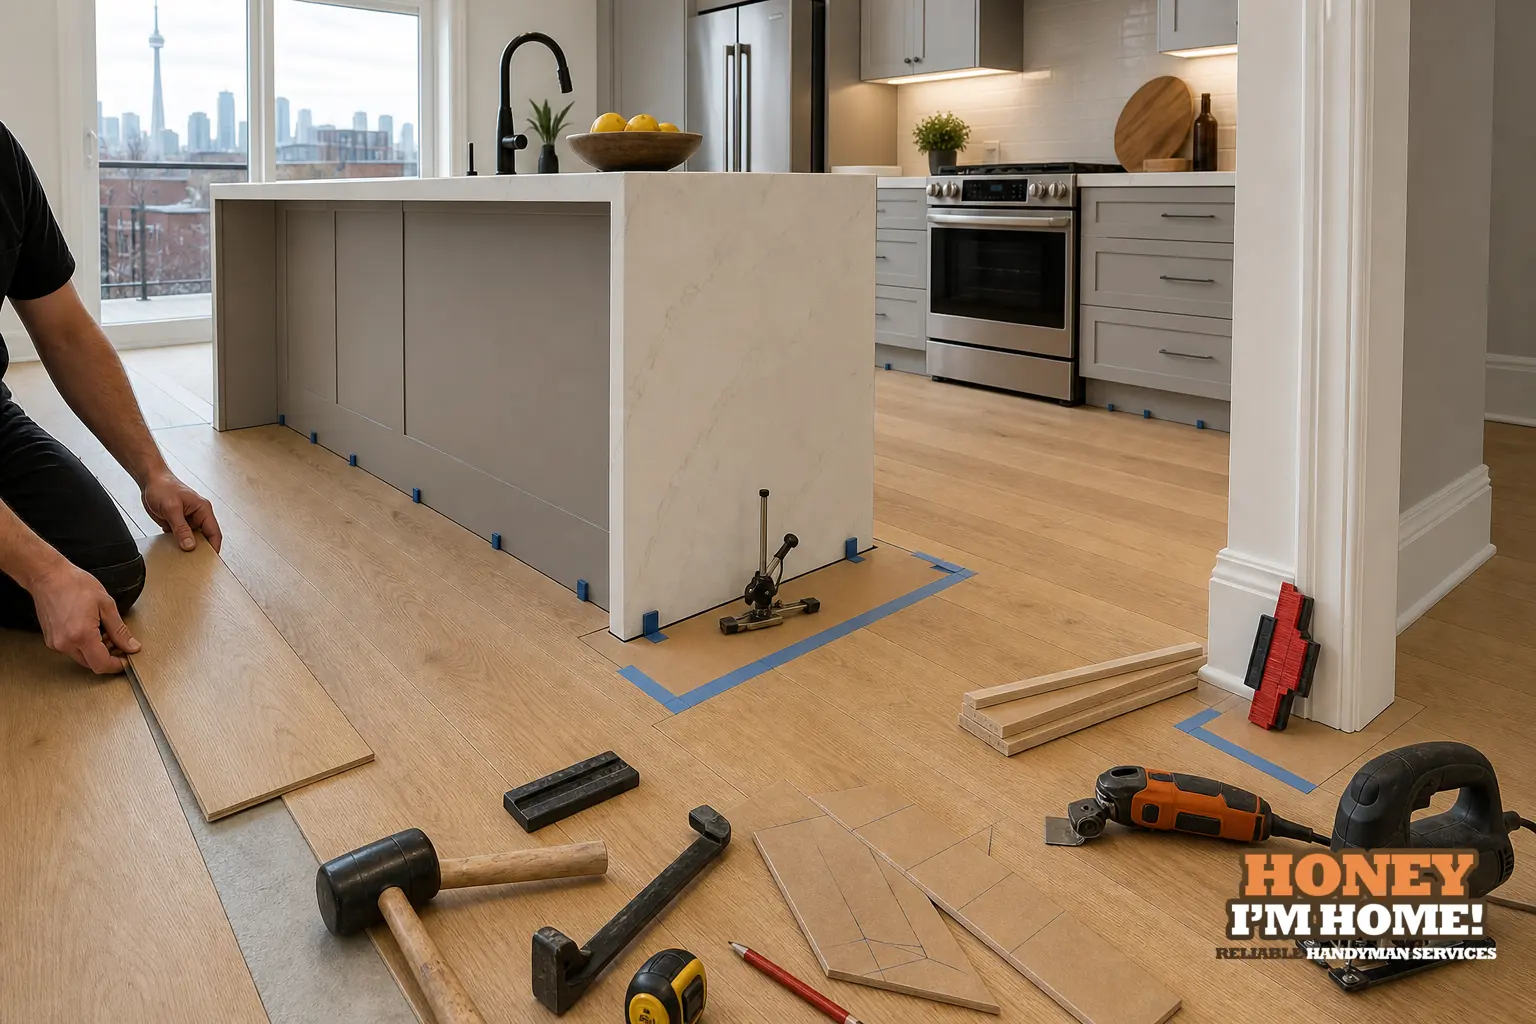
Start by dry-fitting the layout and making a template of any island or fixed cabinet so you can cut the flooring to a clean reveal. Keep sequencing simple: set the field runs, dry-fit around the island, trim the last rows to the reveal, and use transition pieces where flooring meets cabinets or different materials. I check trim depth and existing reveals before I cut anything.
Where I begin: inspection and sequence
I walk every kitchen before I touch a blade. I look at the island footprint, the way base cabinets meet the floor and the condition of the surrounding trim. I want to know which features are original to the house and which are later changes because that affects how I trim and fasten the finish pieces.
My sequence is deliberate: I mark the primary run so the pattern reads across the room, pre-fit the biggest cuts around the island, and only then commit to cutting the final rows at the walls and under trim. That keeps visible joints consistent and avoids surprises when you pull a cabinetry toe-kick or reveal an old subfloor lip.
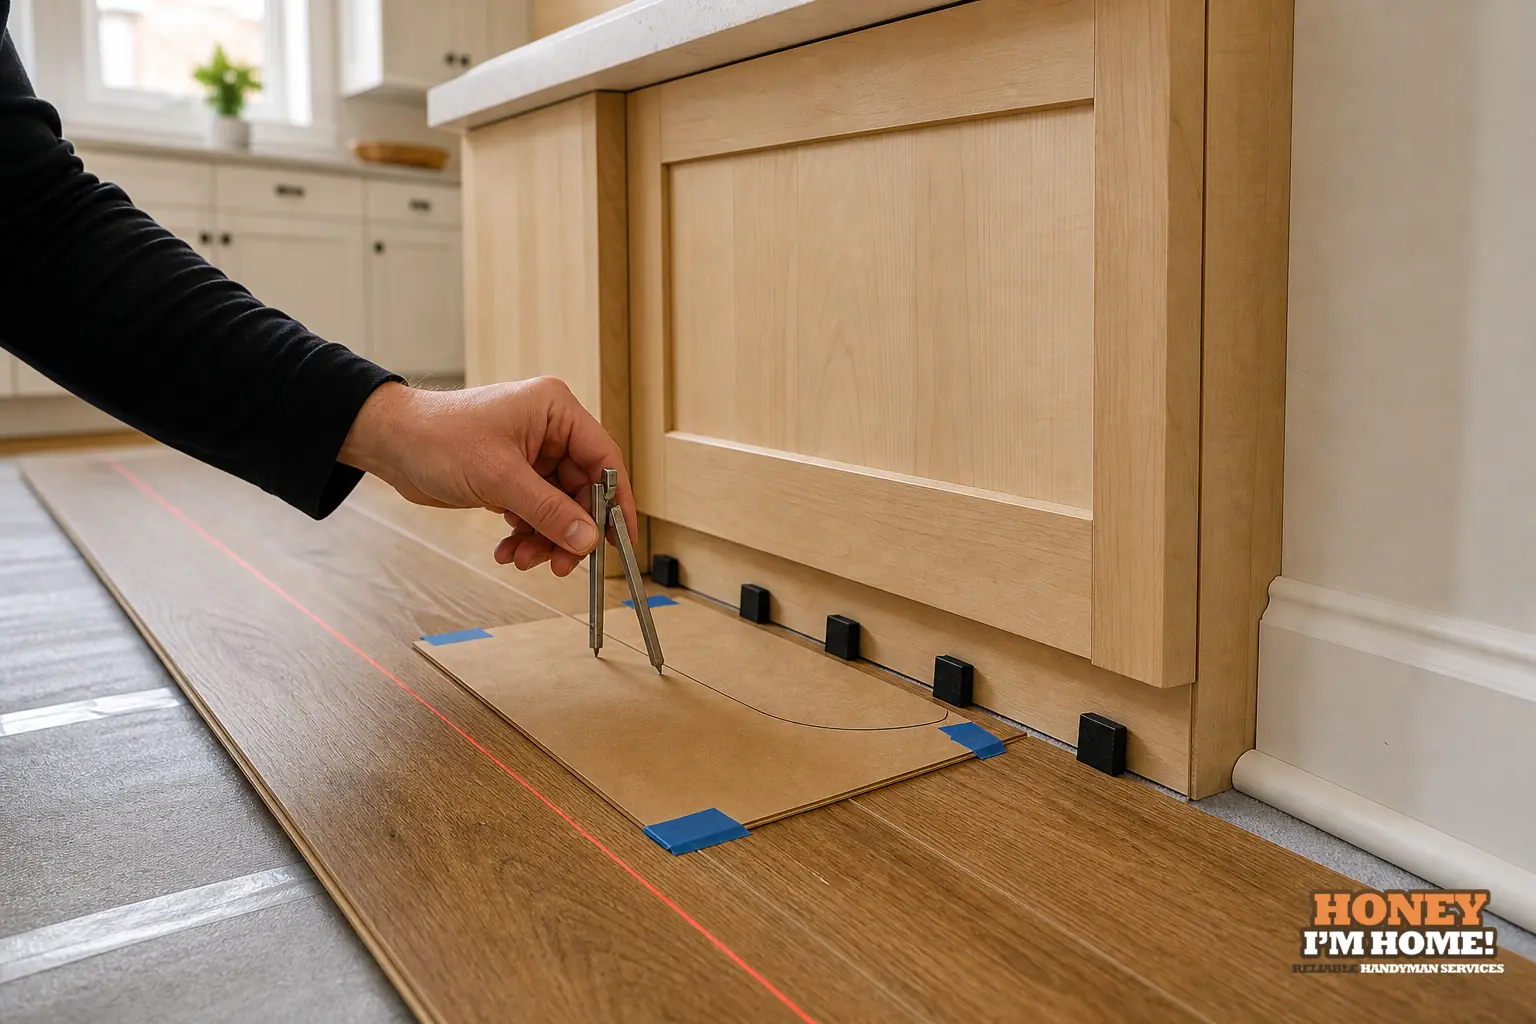
Dry templates and islands: why I make them
I make cardboard or stiff-board templates of island bases and complicated cabinet returns. Templates let me confirm how the flooring will tuck under the island or sit against a cabinet plinth without cutting planks prematurely. For islands with overhangs or decorative feet I check where the finished flooring will meet the visible edge so I can plan the reveal.
Templates also save trim work. When the island isn’t square to the room, a template shows how much of the flooring edge will be exposed along that skew. That tells me whether to use a trim piece, a scarf joint, or a mitred finish at the island reveal.
Cutting and finishing at trim, plinths and mouldings
Trim and baseboards are shorthand for a lot of hidden differences. Some houses have deep base shoe while others have thin period baseboard. I never assume depth—if I can, I loosen a section to check the gap behind it. That tells me whether the flooring should slide under the trim, or whether I need to remove and reinstall the lowest trim after the floor is set.
When I can’t or shouldn’t remove trim, I scribe the flooring to the profile of the trim or the cabinet toe-kick. Scribing means matching the plank edge to the existing shape for a neat reveal. Where visible edges remain, I plan for a finishing strip or a matching reducer so the cut edge sits behind a small profile piece instead of being exposed.
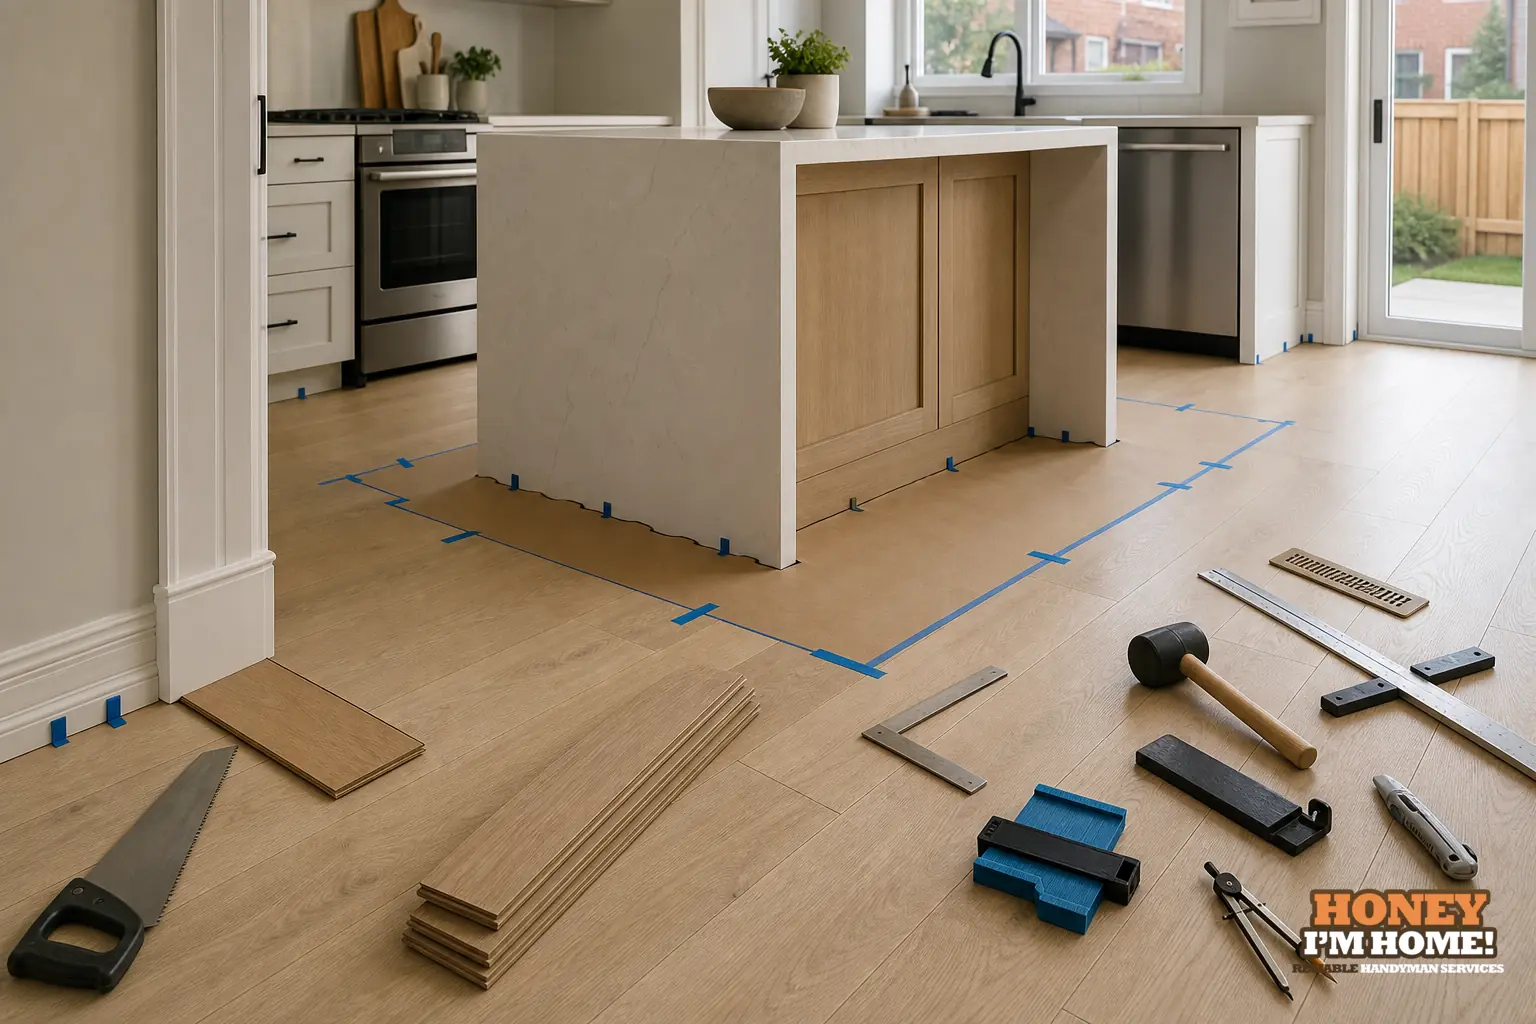
Fixed obstacles: plumbing, vents and appliances
Fixed items usually need a template or an on-site marking. For vent registers and plumbing stub-ups I fit the flooring around the object, leaving the smallest factory edge exposed and then use a trim ring or escutcheon to finish. For appliance openings I check clearances so the appliances can be removed without damaging the flooring edge; sometimes that means planning a reveal under the appliance instead of a tight butt joint.
Matching patterns and direction through an island run
Pattern continuity is visual. I decide the run direction early and work from a stable reference—often a major cabinet run or the longest sightline into the space. If the planks run parallel through an island I make sure the seams that meet the island corners are staggered in a way that hides short end joints. If the island is a visual focal point, I take extra time to centre or balance the pattern so the most visible edges look intentional.
Swansea homes: what I check differently
In neighbourhoods with older homes I work a bit differently because the wall, floor and trim systems vary from house to house. Swansea developed as a residential area in the late 19th and early 20th century, and you can find original workers' cottages, row housing and two-storey houses, plus bungalows and semis built from the early 1900s to the 1930s. There are also pockets of later housing and Tudor Revival subdivisions.
Practically that means I don't treat an 1880s cottage, a 1920s house and a later renovation the same way. I check what is original and what was added later before I open walls or remove finish carpentry. If I find period trim that’s in good shape, I plan to preserve it and work the flooring reveal to suit the existing profiles rather than replacing the trim. Where trim or baseboards were added in later renovations, I may remove and refit them so the flooring edge sits cleanly under the finish moulding.
A short vignette from on-site practice
On previous jobs I’ve had reviewers notice the small but important touches. A verified Google reviewer specifically mentions I "fixed tricky transition strips aptly". I bring that same attention to sequencing, so cuts around an island look intentional and transitions to other flooring types are stable and tidy.
Tools, templates and finishing materials I rely on
I carry flexible template material, a good set of chisels for scribing around trim, and finishing pieces that match the flooring profile. A flush-cut saw and a small router let me get a cut tight to a cabinet toe-kick without nicking finish. For visible edges I pick matching reducers or custom trim to avoid a mismatched metal strip in the middle of a sightline.
If you’re considering new flooring and want me to look at pattern direction or trim decisions, I can walk the space and show the reveal options. I explain the sequence I’d use and where I recommend preserving existing trim or removing it and reinstalling after the floor goes down. You can read more about the kinds of installation I do on my services page at /services/flooring-installation/.
Common issues I resolve on the job
I often encounter uneven subfloors at old thresholds, mismatched trim heights, and islands that were installed after the original floor. My approach is to measure before I cut, use a template where the fit is complicated, and keep visible joins behind trim or in a planned transition. When trades have left insufficient clearance under cabinets I discuss the options with the homeowner so we choose the best visual outcome.
When to call me in
If you want the layout and island reveal checked before your island is finished, call me early. I can advise on how big a reveal to leave, whether to plan a trim profile to hide a cut edge, and how to sequence the flooring with cabinet and island installation. For a site visit and a straightforward plan, contact me through /contactruss/ and I’ll give you practical, on-site advice.
How will you protect existing trim and cabinets?
I mark what’s original, then either remove and store the trim or carefully scribe the flooring to the profile to avoid damage during installation.
Do you keep flooring patterns continuous through an island?
Yes. I plan the run direction and use templates so seams meet islands at intentional, balanced points.
Can you fix visible transition issues left by previous work?
I inspect the joint, decide whether a new transition piece or a re-cut and re-fit is best, and then make the detail look deliberate.