
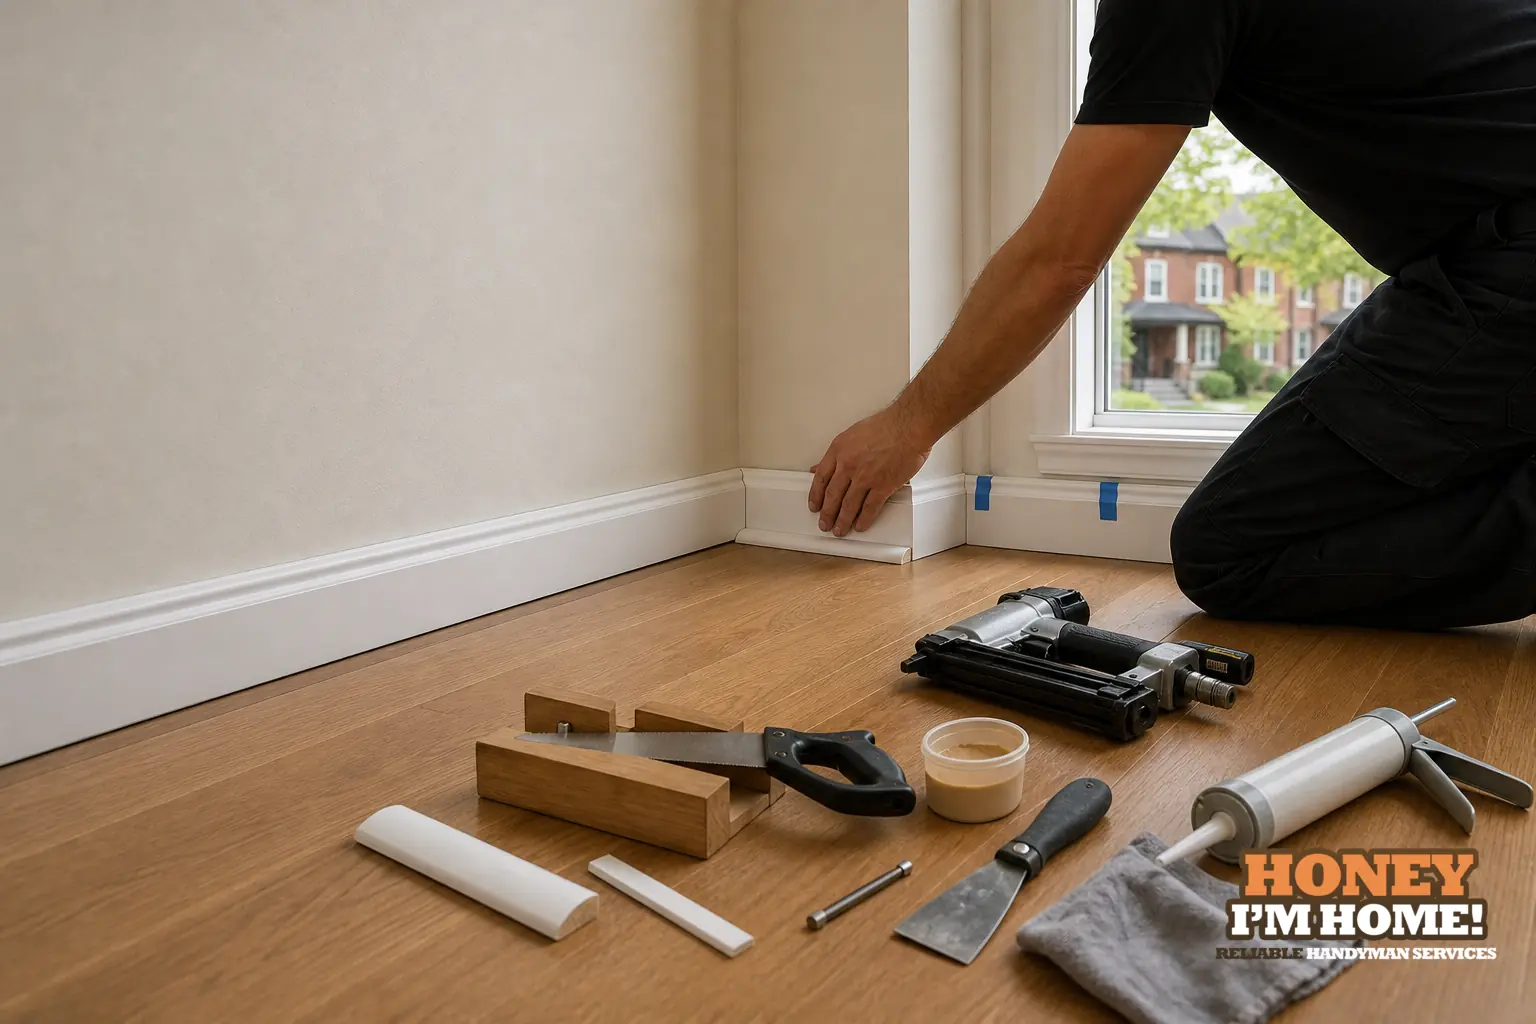
I install the new floor first, confirm the final reveal and movement, then reinstall or replace baseboards and fit quarter round or shoe moulding. The trim is fastened to the wall or baseboard, not the floor, and finished with caulk and paint so the floor can move freely while the edge reads clean and durable.
Why I always do trim after the floor is finished
Putting trim on before the flooring is a mistake I see a lot. The floor often needs to float or has a final thickness that’s adjusted at the last minute. If you fasten small mouldings to the flooring you risk pinning the floor and creating movement problems later. I let the installer complete the floor, confirm where the final edge sits, then plan the trim so it follows that reveal.
That sequence also helps me make better visual choices. Once the flooring is in place I can see how big the gap is, whether the wall base is straight, and whether existing baseboards need repair or replacement. With that information I decide if I’ll reuse the original baseboard, reattach it, or install a replacement profile and then pick between quarter round or shoe moulding to hide the gap.
Choosing quarter round or shoe moulding: practical trade-offs
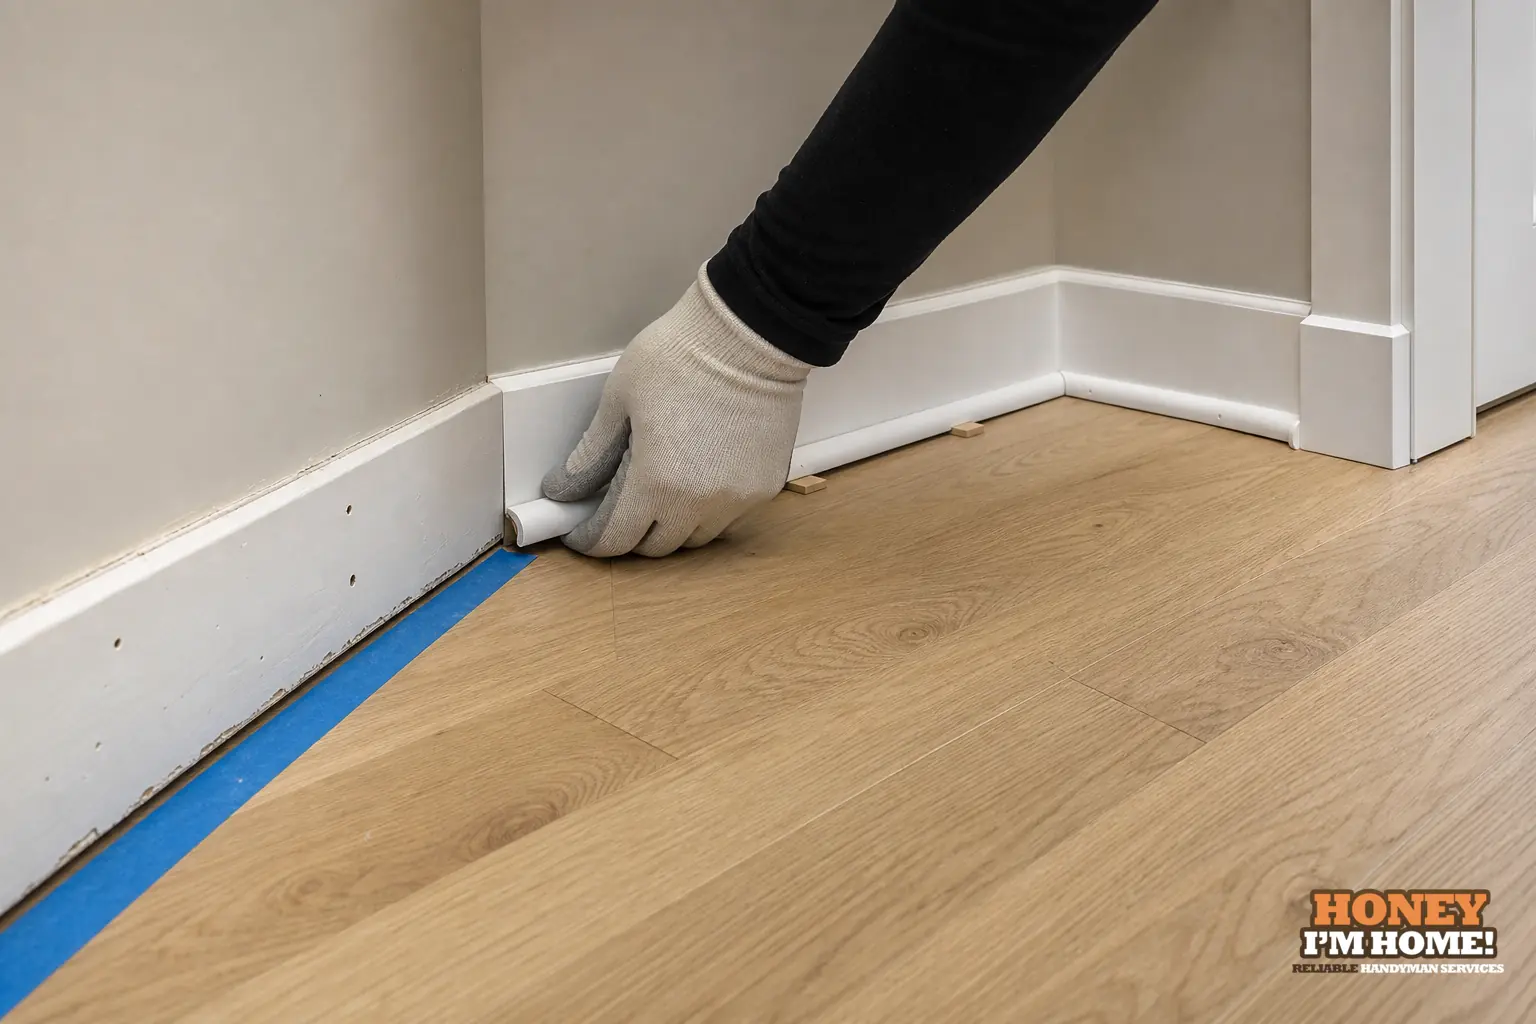
I assess three things when choosing a profile: the room’s visual character, how much reveal there is, and the condition of the existing baseboard. Quarter round is a fuller, rounded profile that looks at home on traditional trims. Shoe moulding is slimmer and tidier, and it’s my go-to when the baseboard profile is significant or the reveal is small.
On older floors with uneven reveals I often prefer a thin shoe moulding because it sits closer to the baseboard and follows minor contours without showing gaps. If the reveal is consistent and you want a visible finish detail, quarter round can work well. My aim is to choose a profile that belongs to the room rather than sticking out as a retrofit.
How I approach reusing, repairing or replacing baseboards
When original baseboard is available I usually try to preserve it. I inspect for nailed separations, paint build-up that lifts the board, and rot at doorways or wet areas. Repair work often means cleaning paint layers, gluing and clamping splits, and replacing a few nails so the board sits true. If the board is sound, reinstalling it delivers the most authentic look for older homes.
If the baseboard has been removed or is beyond repair I match a replacement profile to adjacent rooms. I communicate that choice with the homeowner because a mismatch in height or profile will be obvious. I fasten the baseboard to the wall framing or drywall; I do not fasten it to the floor. That keeps the floor free to move while the trim remains fixed.
Installation technique I rely on
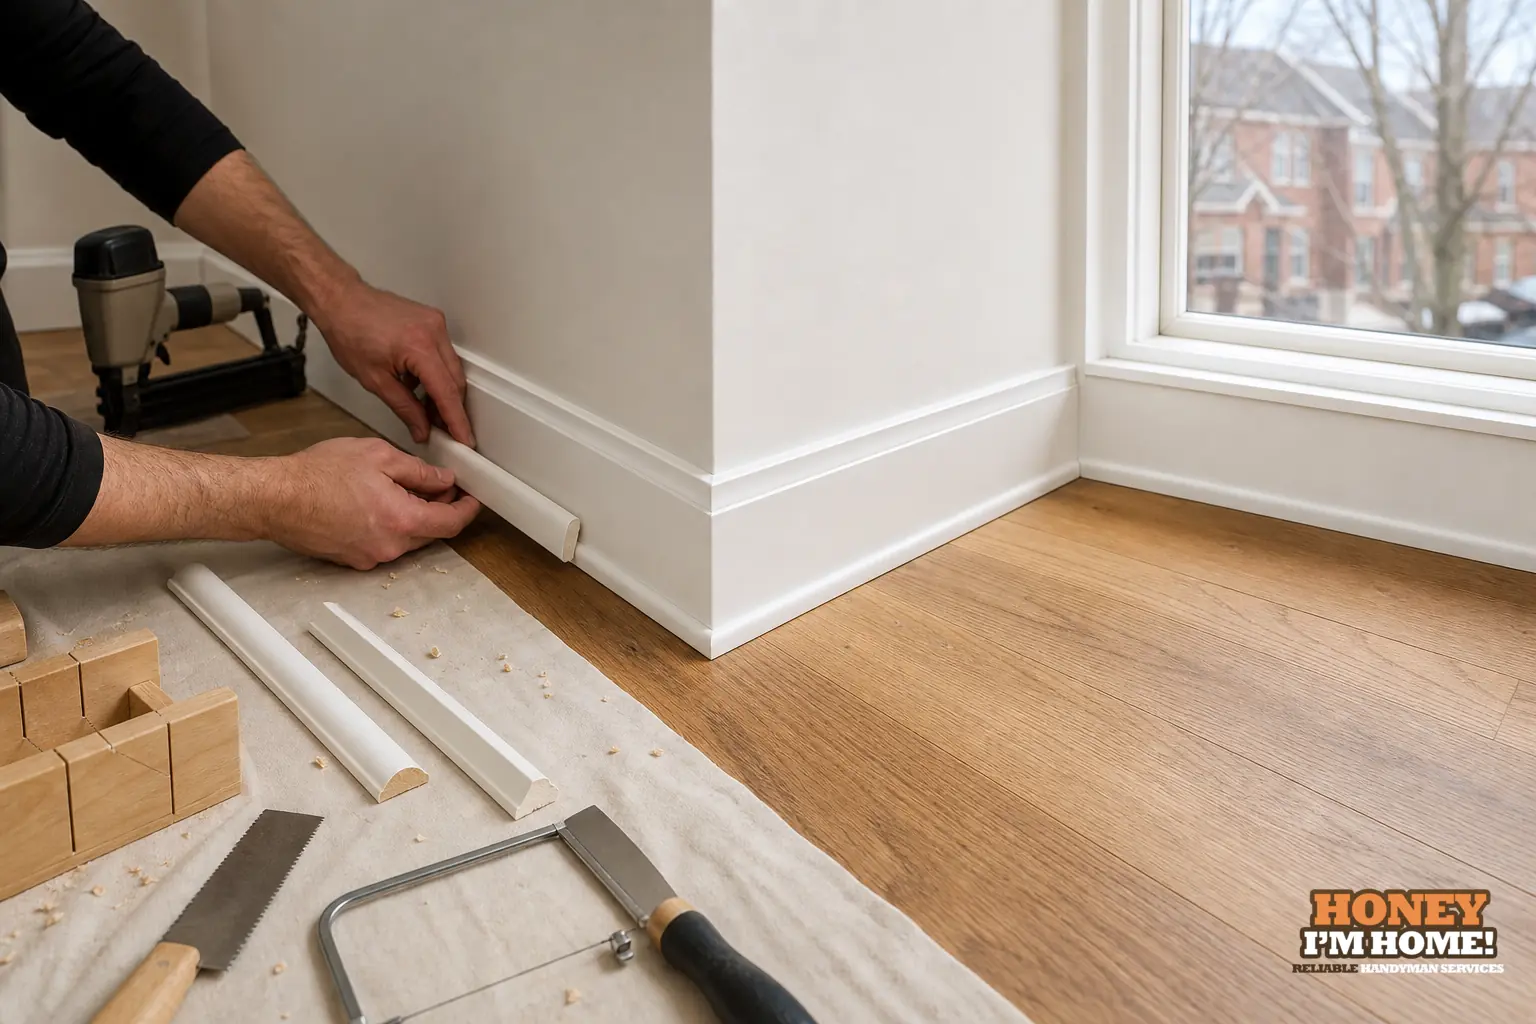
I use small finish nails or brads to anchor mouldings, and I reserve adhesive only for spots where a mechanical fastener isn’t possible. The fastener goes into the wall, not the floor. After fitting I back-fill nail holes, run a narrow bead of paintable caulk at the top of the baseboard where it meets the wall, and touch up paint so joints read continuous. Those steps keep the finish tidy and resistant to dust and light damage.
For corners and mitres I test-fit each joint before committing to nails. A tight mitre with a small strip of reinforcement on the back gives a cleaner finish than a hammered corner full of gaps. Where the wall or plaster is uneven I’ll scribe the baseboard or use shoe moulding to follow the contour without forcing the floor to be flat.
Practical checks I do on site that most homeowners don’t think about
Old houses hide details that affect the trim: multiple paint layers behind the baseboard, uneven plaster, or past repairs that change the way a new board sits. I probe the bottom of the wall to see how straight it is and test-fit a few lengths of trim before committing. I also check how baseboard meets door jambs, stairs and built-ins so I don’t create a mismatch where different trades intersect.
Another routine is to verify thresholds and transitions at doorways. Where three finishes meet—say, hardwood, vinyl and tile—I trial-fit transition strips or reveal profiles so the eye sees a tidy junction. Those small decisions prevent a trim detail from becoming the first thing you notice in a finished room.
Connecting this work to Swansea houses
Swansea’s building stock ranges from 1880s workers’ cottages and row housing to two-storey houses, bungalows and semis built between 1905 and 1935, plus pockets of Tudor Revival and later infill. Because those houses were built over decades, the wall and trim assemblies vary a lot from one street to the next. I don’t treat an 1880s cottage the same as a 1920s semi or a more recent renovation.
That variety means I always check what’s original and what was added later before removing trim. On a house with sound period baseboard I’ll preserve the moulding and use thin shoe where needed. On later renovations where the original trim has already been removed, installing a new baseboard that matches nearby rooms is often the cleaner option. Preserving usable period material pays off visually when it’s practical.
A concise vignette from my practice
I’ve had reviewers point out particular jobs where the threshold or transition was tricky; one wrote that I “fixed tricky transition strips aptly” — Google reviewer. See the proof at /#awards. That kind of comment reflects the routine steps I take: measure carefully, test-fit full assemblies, and adjust the trim so the floor floats while the edge looks right.
I don’t attach every vignette to a neighbourhood; I’ll walk a homeowner through those same choices during an on-site inspection and show how the trim will meet their new floor. You can read about the kinds of flooring I install at /services/flooring-installation/ and set up a site visit at /contactruss/.
Finish moves that make the edge last
After the trim is in place I do three finish moves: fill and sand nail holes and seams, caulk the top of the baseboard with a paintable caulk, and feather paint so the repair blends. For natural wood trims I discuss stain or clear finishes and how visible wear will age. Those final details are what make an installation look intentional rather than patched.
If colour matching is a concern I bring paint swatches and show how painting the baseboard and shoe as a single assembly often reads cleaner than mixing natural wood and painted surfaces. The priority is a finish that’s durable and consistent with the house’s character.
When should trim be reinstalled after the new floor is down?
I reinstall trim only after the flooring is finished, cleaned and any finish trades have completed their work so the final reveal and movement are confirmed before I fasten quarter round, shoe moulding or baseboard.
Can original baseboards be reused?
Yes; I frequently reuse original baseboards when they’re structurally sound, repairing paint build-up and loose sections so the boards sit true against the wall.
What do I do if walls are uneven or plaster is old?
I scribe the baseboard or use a thin shoe moulding to follow irregular surfaces, keeping the trim tight without pinning the floor and preserving both movement and appearance.