
Hardwood Flooring in Toronto’s West End: What I Check Before Installation
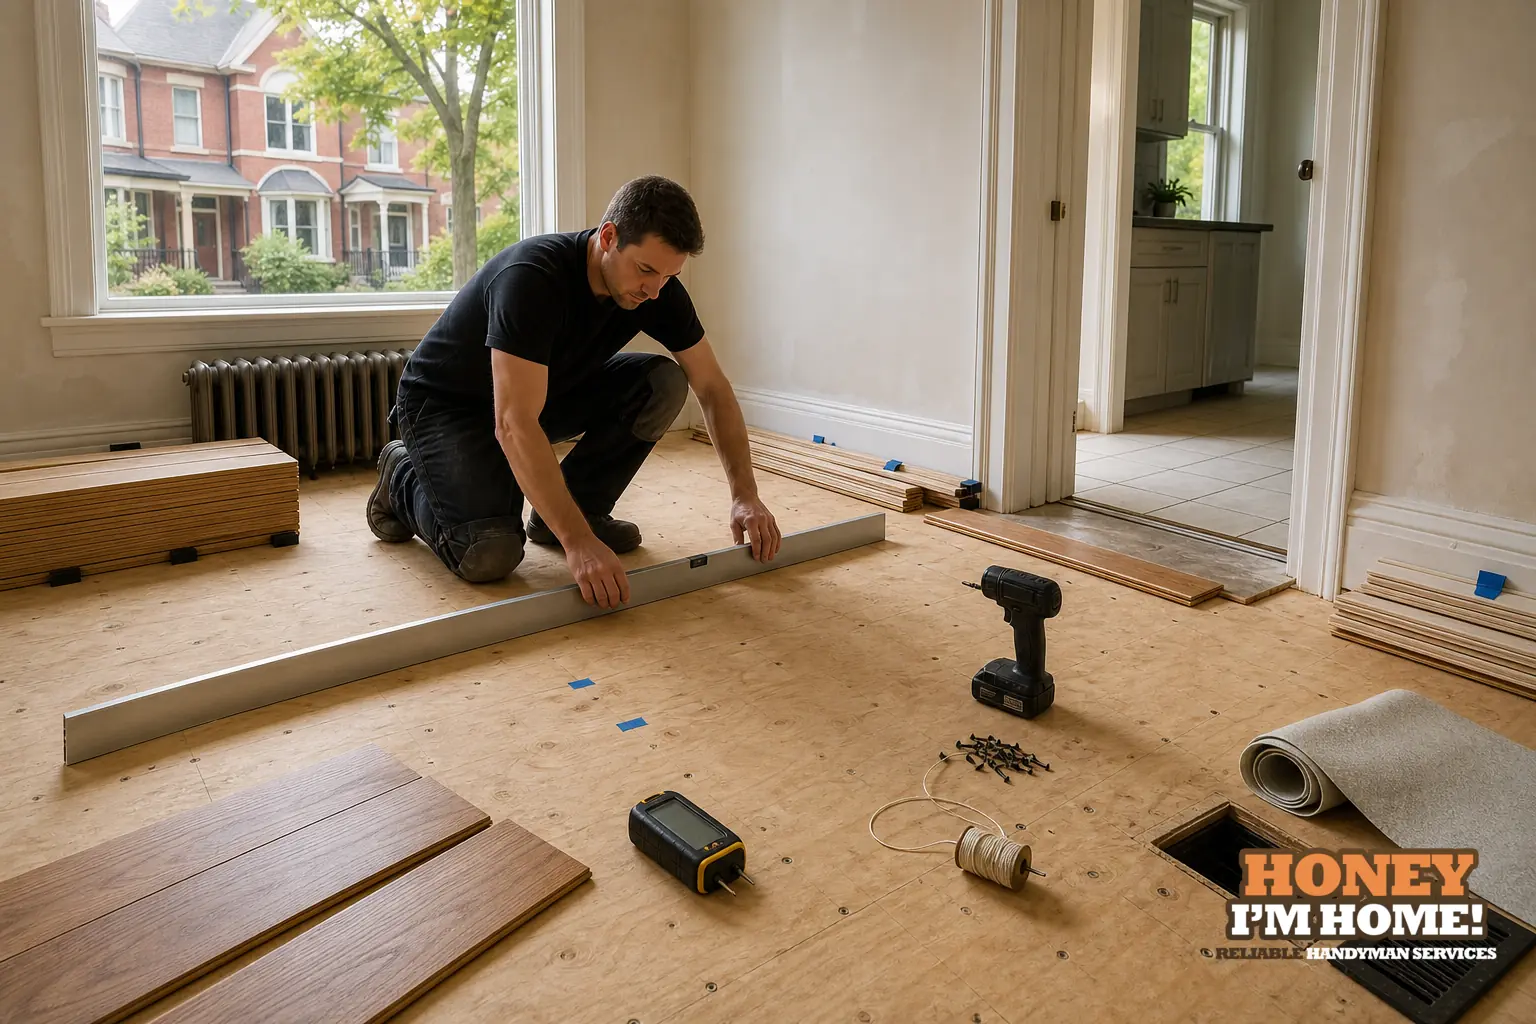
Before I talk about plank colour or direction, I want to know what is under the existing floor, how the rooms connect, what happens at the doors and whether the trim is worth preserving. In an older West End house, those details usually tell me more about the real flooring job than the sample board does. A good hardwood installation starts with the house that is already there.
I work in Bloor West Village, Runnymede, Swansea, Baby Point, High Park, The Kingsway, Liberty Village and the surrounding West End. These neighbourhoods contain a lot of older housing that has been renovated in stages. In Runnymede–Bloor West Village, the City profile found that 87 per cent of dwellings were built before 1960. That does not mean every floor is original, but it does mean I do not walk into these houses assuming there is one clean modern layer under the finish.
If you are planning a flooring project, the broader scope is on my Flooring Installation service page. This guide is about the part homeowners often do not see until the old floor starts coming up.
I start at the transitions, not in the middle of the room
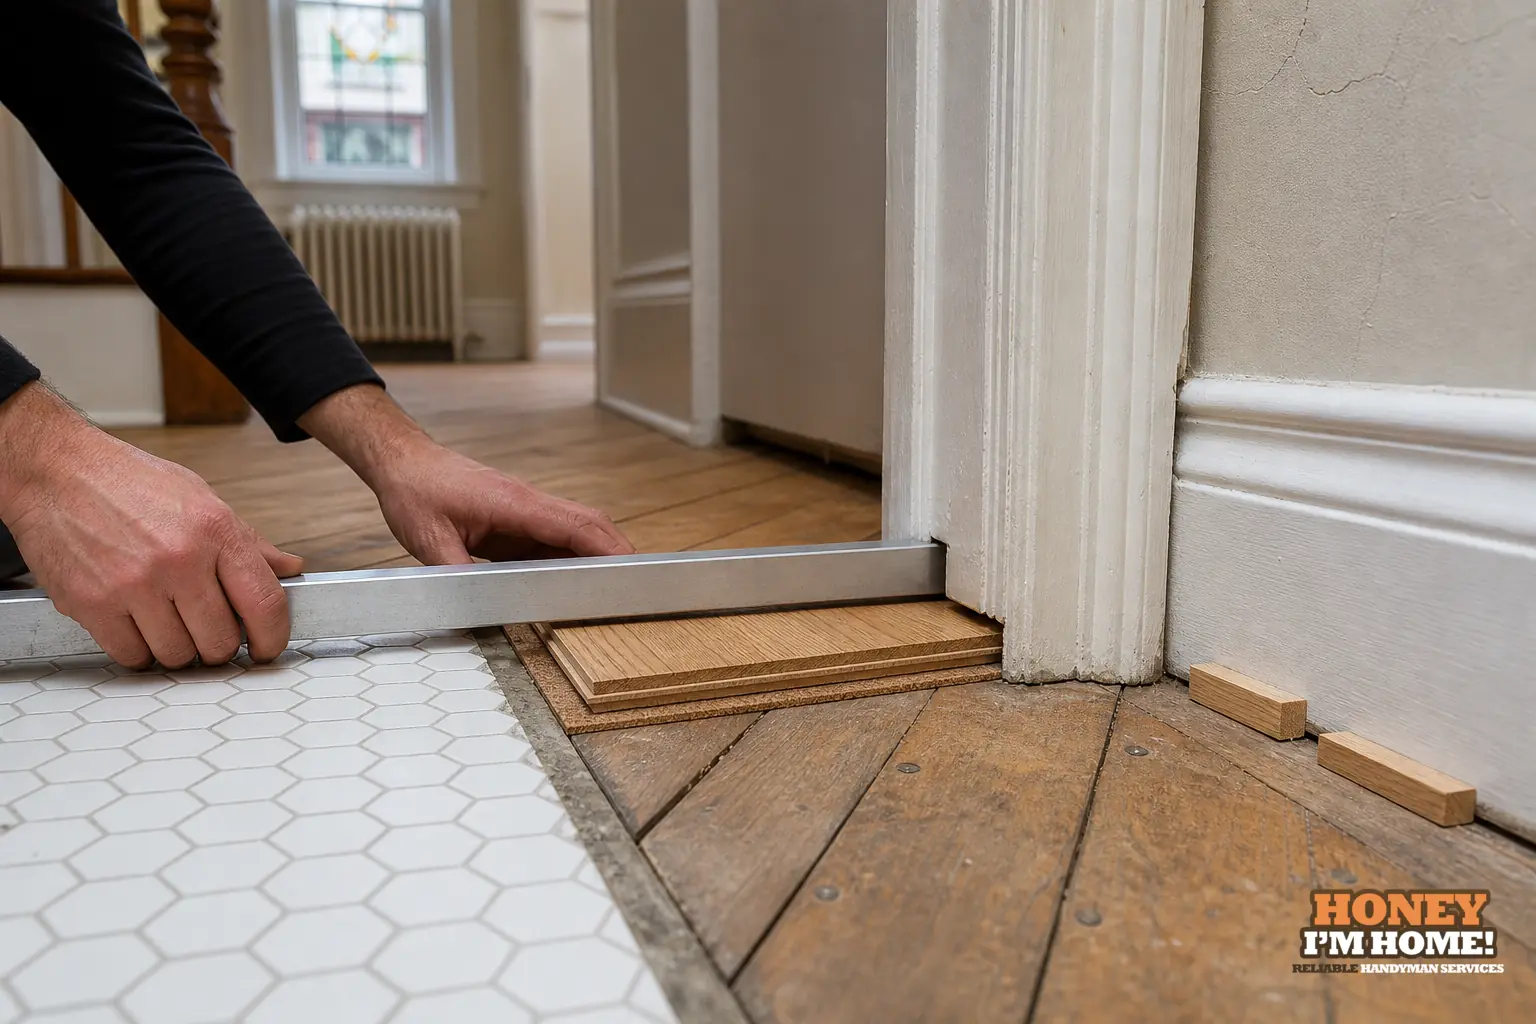
A room can look simple until you follow the floor to the hallway, kitchen, bathroom, stairs or exterior door. That is where finished height becomes real. A new floor may meet tile that is higher, an old wood floor that is lower, a threshold that was made for a different thickness, or a door that already has very little clearance.
I measure those points before deciding how the new floor should be built up. It is one of the reasons I do not like treating thresholds and transition strips as an afterthought. A Google reviewer actually singled this out after a job and wrote that I had "fixed tricky transition strips aptly." It is a small sentence, but it describes a part of flooring work that can determine whether the finished room feels clean or improvised.
Those transitions also tell me whether an old layer may need to stay, whether a localized correction is enough, or whether the planned system will create a problem at the next room. I would rather find that out with a tape measure than after the last row is installed.
Older West End floors often tell the history of the house
In Bloor West Village and Runnymede, a house may have an early-20th-century shell with later kitchens, additions, patches and flooring updates. I might find newer sheet material over older boards, a repaired section where a wall once stood, or a height change that makes sense only when you realize two rooms were renovated at different times.
I do not consider that a reason to demolish everything. The first question is what is still solid. If an existing layer is sound and compatible with the new system, preserving it can be the cleaner decision. If a localized area moves, dips or has been patched badly, I want to correct the problem that actually affects the new floor instead of turning one bad spot into a whole-house demolition project.
This matters around original baseboards and door casing too. In an older room, replacing trim just because flooring is changing can erase detail that is difficult to reproduce. I look at whether the trim can stay, whether it should be carefully removed and reinstalled, or whether a small finishing profile will give a cleaner result.
The subfloor decides what the product can do
Homeowners often arrive at the estimate with a material already in mind. That is useful, but the installation method still has to suit the product and the surface below it. Solid hardwood, engineered hardwood and other flooring systems are not interchangeable just because the top looks similar.
I check for movement, damaged areas, old fasteners, uneven transitions and the general condition of the supporting surface. I also look at the room level and how the manufacturer expects that specific product to be installed. The practical sequence is simple: understand the existing floor, understand the selected product, then choose the installation approach that lets the two work together.
Trying to force a favourite method onto every house is how avoidable problems get built into the job. An older Toronto home already has enough history in its floors; the new layer should solve conditions, not add another one.
Wood movement is part of the material
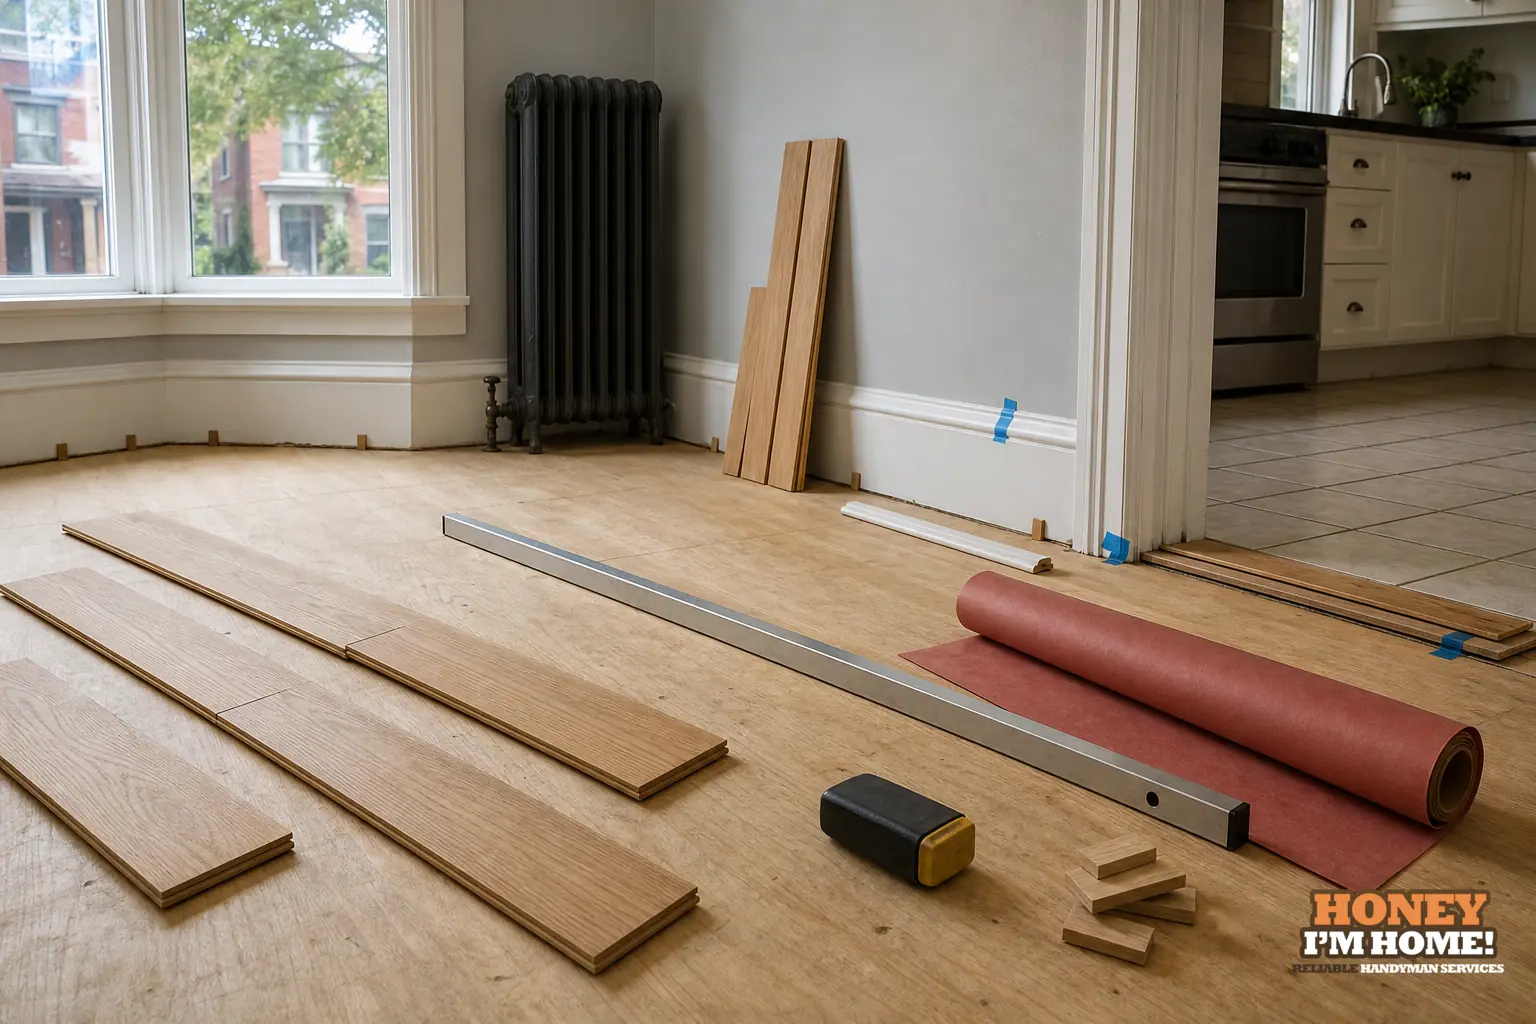
Wood responds to the indoor environment. That is not a defect. It is one of the things that has to be respected when choosing and installing it. The product instructions, the condition of the home and the way the material is prepared before installation all matter.
I explain this because homeowners sometimes expect a wood floor to behave like a sheet of stone. It does not. Seasonal movement can show up as small changes between boards. Stable indoor conditions and the correct preparation help the floor behave more predictably, but the installation still needs to allow the material to work as designed.
I plan the finished room before laying the first row
The floor is not finished when the planks end. I look ahead to baseboards, shoe mould where appropriate, doorway clearances, thresholds, floor vents and the visual line into the next room. If the old floor meets a tile kitchen, for example, I want that junction decided before the new floor reaches it.
Direction matters too, but not as a decorative rule pulled from the internet. Sight lines, room shape, the existing structure and how several connected spaces read together can all influence the layout. Sometimes the simplest-looking decision on a sample board creates a strange line once it reaches a hallway. Seeing the whole path first prevents that.
What I ask homeowners to show me
Wide photographs are useful because they show the floor in relation to the room. Close-ups help with a damaged board or transition, but I also want to see the doorways, adjacent flooring, stairs and trim. If you know there are older layers under the current floor, mention them. If a door already rubs or a threshold is loose, that belongs in the flooring conversation too.
- Show the full room and every doorway the new floor will meet.
- Point out areas that move, squeak, dip or were repaired previously.
- Show transitions to tile, carpet or another wood floor.
- Tell me whether existing baseboards or period trim are important to preserve.
- If the flooring is already selected, send the exact product information.
That gives me a much better starting point than a square-foot number alone. Two rooms with the same area can be completely different flooring jobs once the edges and the layers underneath are taken into account.
The goal is a floor that belongs in the house
What I want at the end is not simply new hardwood. I want the new work to meet the old house cleanly. In a West End home with original trim, old door openings and several generations of renovation, that can mean preserving what is still good and being precise about the places where new and old materials meet.
If you are comparing hardwood with another flooring system, see the Flooring Installation service. If you already know where the problem areas are, you can send me the project details and photos for an estimate.
Frequently asked questions
Do all old floor layers need to come out?
No. I look at what is actually there and whether it is sound, stable and compatible with the planned floor. A useful existing layer does not need to be removed simply because the house is old.
Can original baseboards stay during a flooring project?
Sometimes. The answer depends on the finished floor height, the condition and profile of the trim, and how the new flooring needs to terminate at the wall.
Why do you look at doorways before the main floor area?
Because door clearance, thresholds and adjacent floor heights can limit the options. Solving those junctions early helps the main installation finish cleanly instead of creating corrections at the end.