
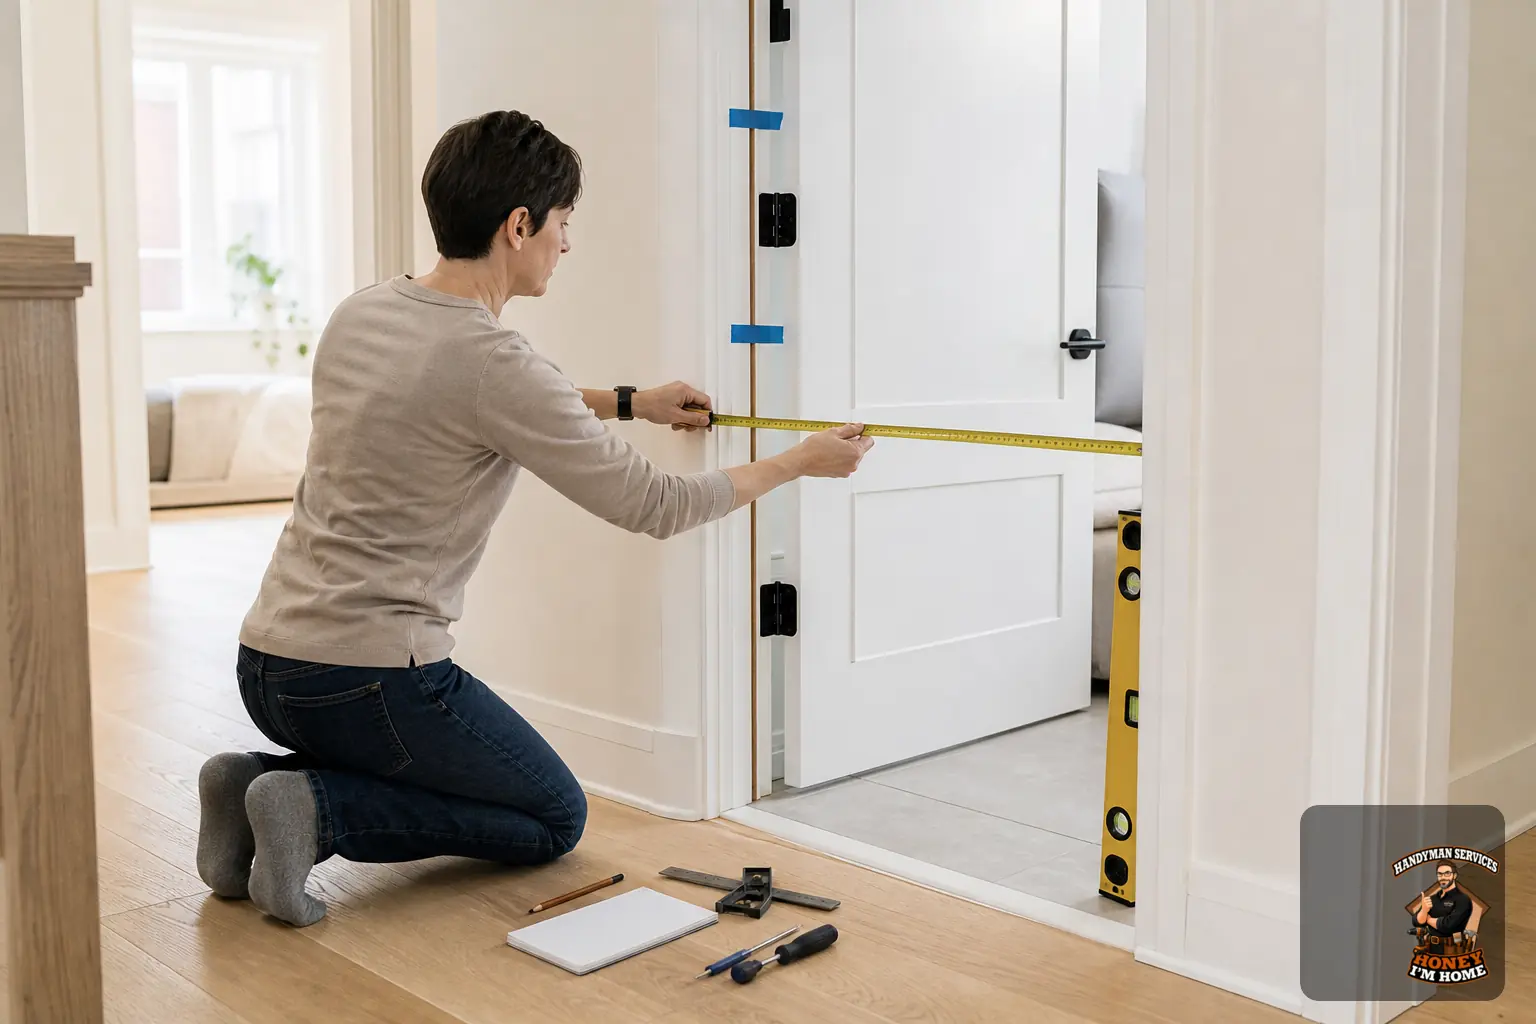
This guide walks homeowners through the measurements and simple inspections to do before ordering a replacement interior door. It covers both slab-only swaps (replace the leaf and reuse the jamb) and pre-hung units (new jamb and frame). Use the steps and checklists to reduce ordering mistakes and make conversations with suppliers or installers faster. Scope note: this guide is for typical interior residential room and closet doors. It excludes garage-to-house doors and condo/unit entry doors, which may be fire-rated or have special requirements—consult a professional for those situations.
Tools and preparation
- Tape measure with millimetres and inches (3 m / 10 ft or longer)
- Small spirit level or torpedo level and a straightedge
- Notepad, pencil and masking tape for labels
- Phone or camera for labelled photos
- Flashlight to inspect hinge mortises, strike plate and jamb faces
Work with the finished floor level you plan to keep. If you will replace flooring after installing the door, clearly note whether measurements are to the current finished floor or to the future finished floor—under-door clearance depends on that choice.
Slab-only replacement: measure the door leaf
Choose a slab-only replacement when the existing jamb and trim are in good condition and you want to reuse them and the existing hardware. For accurate fit and to reuse hinges/locks, measure the door leaf itself.
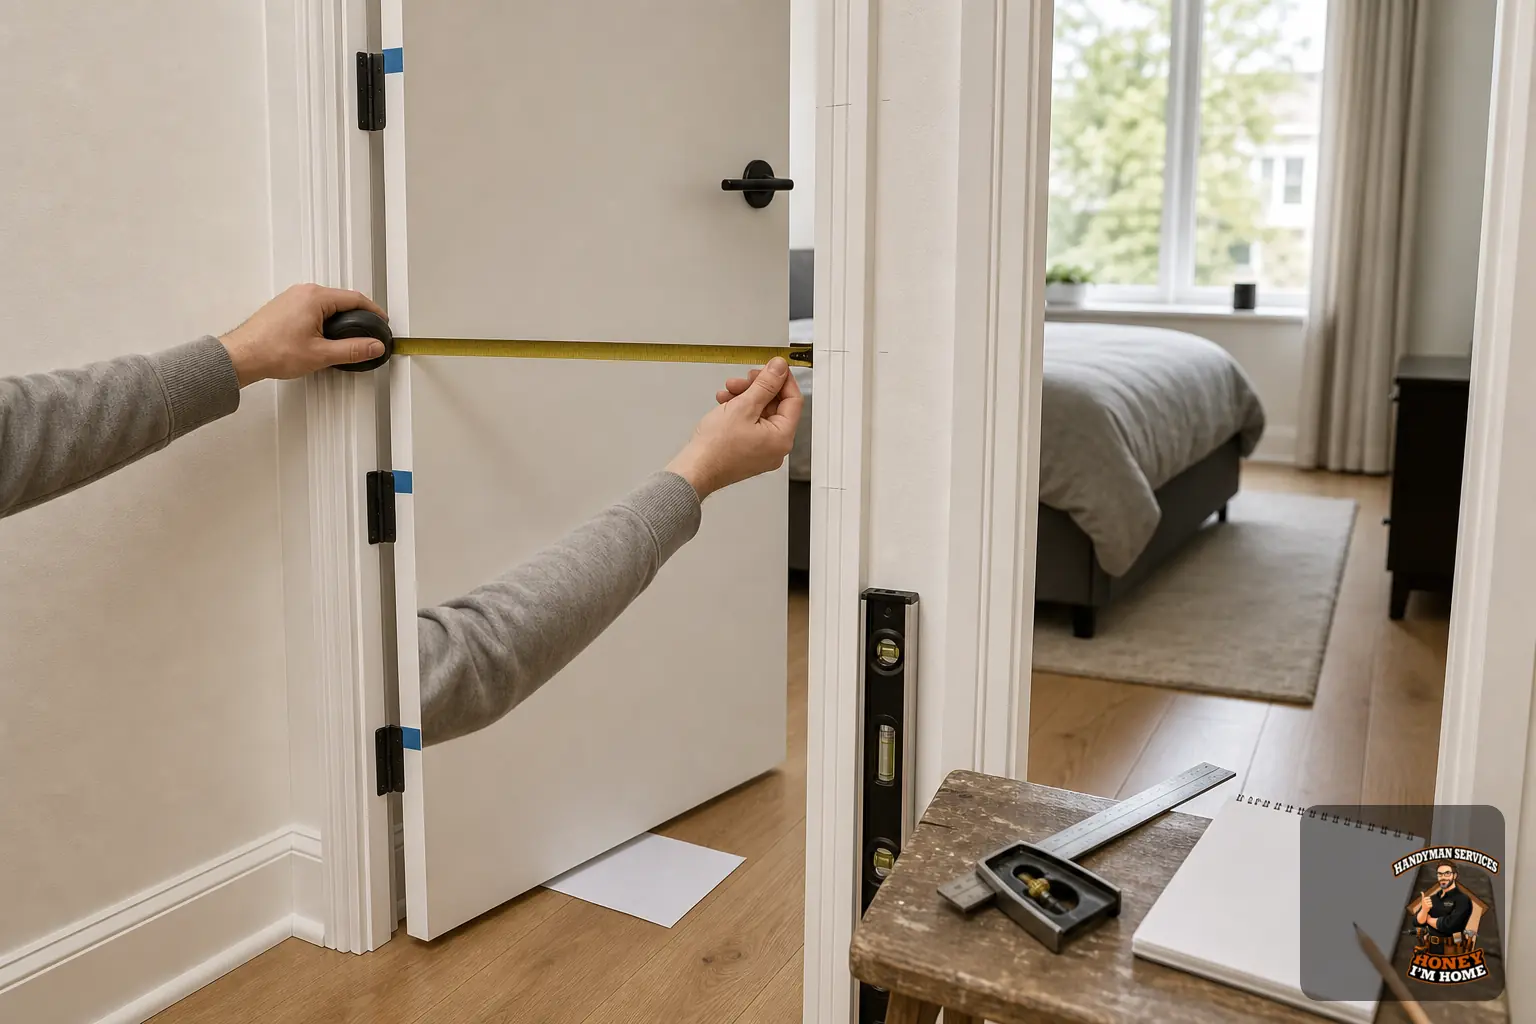
- Slab width: Measure the door face across the width at top, middle and bottom. Record all three; use the smallest measurement as the maximum slab width that will fit into the existing stop without trimming the frame.
- Slab height: Measure from the top edge to the bottom edge at left, centre and right. Record the smallest reading for ordering.
- Slab thickness: Measure the thickness at the lock edge. Common interior slabs are about 35 mm (1-3/8 in) and some solid-core doors are about 45 mm (1-3/4 in). Record the exact measurement; matching thickness is important for hinge alignment and latch engagement.
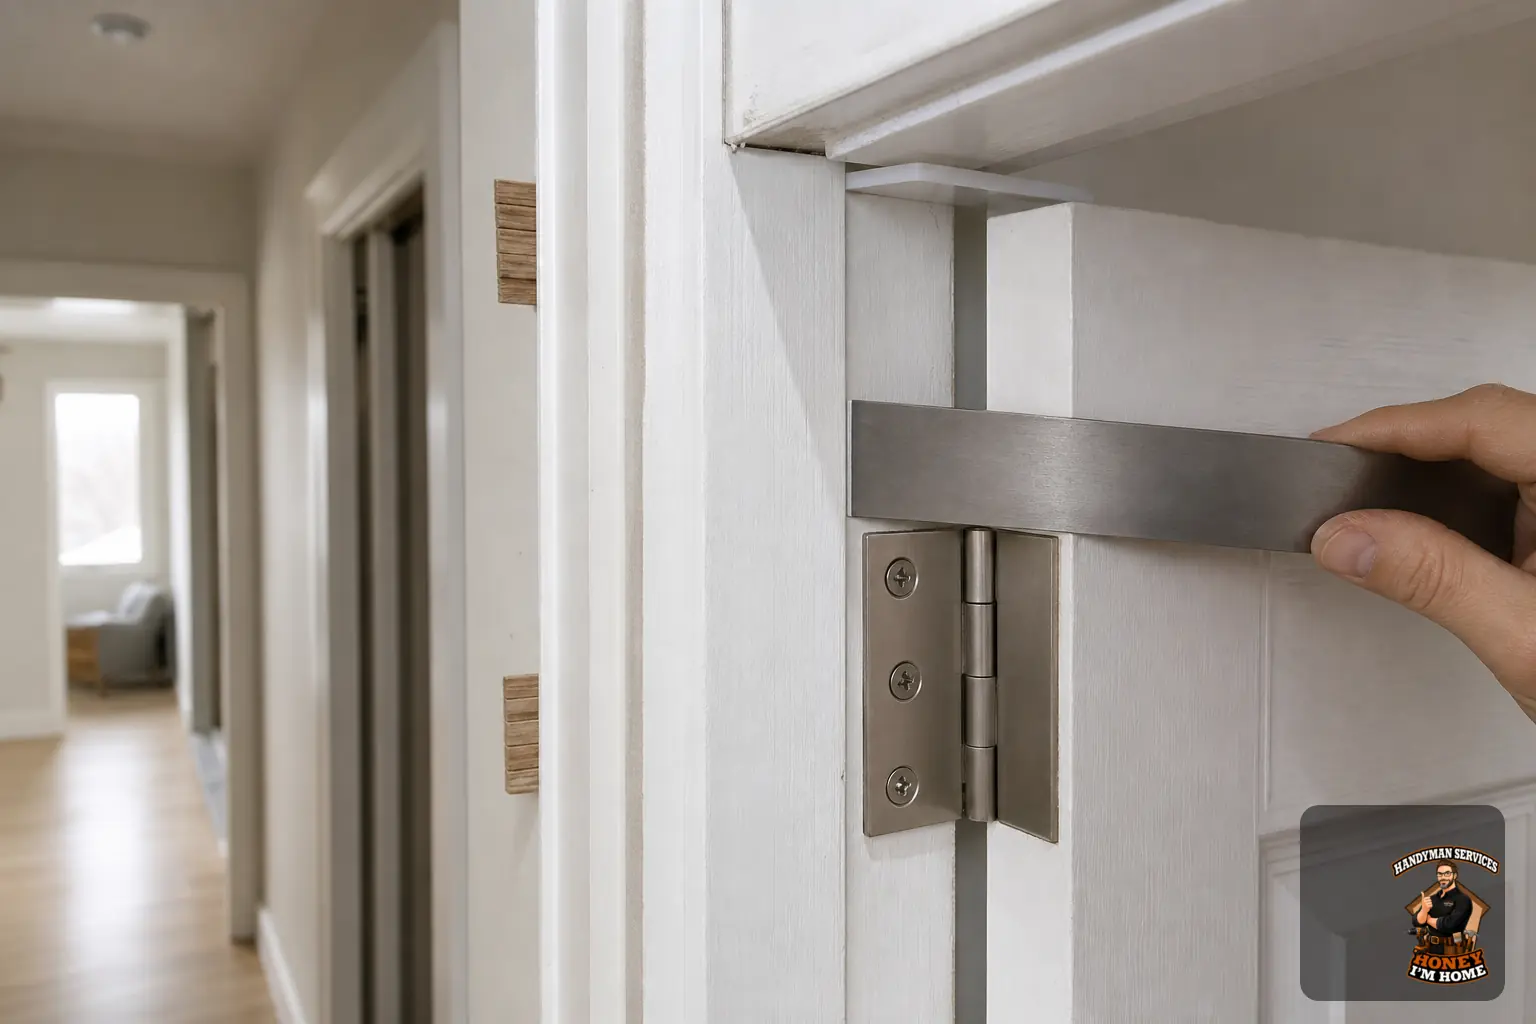
- Hinge positions: Measure from the top of the door to the top edge of each hinge mortise (not to the hinge barrel centre). Record these three distances for standard three-hinge doors. Note hinge size (for example 89 mm / 3.5 in is common) and the hinge leaf thickness if you plan to reuse hardware. Also note the corner radius on the hinge leaf: common options are 1/4 in (6 mm) or 5/8 in (16 mm). Photograph each hinge close-up and include the screw pattern.
- Bore and backset: Measure knob or lever bore diameter (many are 54 mm / 2-1/8 in) and the edge bore for the latch (approximately 25 mm / 1 in on many units). Measure the backset: distance from the door edge to the centre of the knob or lock (common backsets are 60 mm / 2-3/8 in and 70 mm / 2-3/4 in). Record centre height above the finished floor.
- Edge profile and bevel: Note any bevel on the latch edge (direction and degree) and photograph the edge profile so a replacement slab can replicate it if necessary.
Clear labelled photos of the slab edges, hinge mortises and lock bore speed communications with suppliers and help avoid on-site adjustments.
Pre-hung replacement: how to measure the opening and wall
Pre-hung units come with the slab in a new jamb and stops. Accurate opening and wall measurements are the most important details.
- Ideal method — expose one side of casing: The best way to measure a true rough opening is to remove one side of the casing (the trim) and measure stud-to-stud across the opening for width, and from the finished floor to the underside of the header for height. These stud-to-stud and finished-floor-to-header measurements are the real rough opening measurements used when ordering or fitting a pre-hung unit.
- If you cannot remove casing: Do not call a measurement taken between the visible stops a rough opening. Instead, either measure the outside-of-jamb (the unit/frame size) and note it as such, or measure inside jamb-to-jamb and then add the thickness of the stops to estimate the unit size you’ll need. Clearly label which method you used when communicating numbers to a supplier.
- Allowance for shimming: A typical installation allowance is about 13 mm (1/2 in) extra width and height in the rough opening relative to the unit frame size to allow for shimming and adjustments. Note that exact requirements vary by installer and situation; state whether your measurement is stud-to-stud or outside-of-jamb.
- Wall thickness / jamb depth: Measure the total finished wall thickness from drywall face to drywall face where the jamb will sit—this determines jamb depth. Remember that tile, wainscot or uneven plaster will change the finished thickness and may require jamb extensions or custom jambs to get a flush fit.
- Swing and handing: Face the door from the pull side (the side where you pull the door toward you to open it). With the door closed, if the hinges are on your left the door is left-hand; if hinges are on your right the door is right-hand. Photograph the closed door from the pull side with the hinge side visible—this photo is an unambiguous handing prompt for suppliers.
- Threshold and floor: Note whether the unit sits directly on the finished floor, whether a sill or threshold will be used, and the floor surface (hardwood, tile, vinyl, carpet). That affects the required under-door clearance.
Label all measurements as either "stud-to-stud rough opening", "outside-of-jamb (frame) size" or "inside-jamb plus stop" so there is no confusion.
Squareness, reveal and recommended under-door clearance
- Diagonal check: Measure the diagonals corner-to-corner across the opening. Small differences are common; larger mismatches indicate the opening is out of square and a pre-hung unit may require on-site adjustment.
- Reveal check: Measure the visible gap between the door edge and the stop/jamb at several points when the door is closed. Uneven reveals flag a warped slab or an out-of-plumb jamb.
- Under-door clearance guidance: For hard finished floors (tile, hardwood, vinyl) allow 3–6 mm (approximately 1/8–1/4 in) clearance. For carpeted rooms allow 12–19 mm (1/2–3/4 in) clearance above the carpet pile. Confirm the exact clearance with your flooring installer before final trimming. Note that some homes use door undercuts as return-air paths for HVAC; verify airflow needs before reducing clearance.
Hinge and hardware notes to avoid mistakes
- Record hinge size (for example 89 mm / 3.5 in), leaf thickness and corner radius (common radii are 1/4 in / 6 mm and 5/8 in / 16 mm). These details matter if you plan to reuse existing hinge leaves.
- If reusing the strike plate, measure its vertical placement relative to the finished floor and the backset so latch alignment remains correct.
- Photograph the knob/lever and plate showing the bore and escutcheon so a replacement can be ordered or drilled to match.
Inspect jambs, trim and possible obstacles
- Look for loose or split jambs, deep paint build-up on stops, or rot in the trim that might make a slab-only swap impractical.
- Note decorative mouldings, thick casing or built-up trim that could affect how a pre-hung unit sits against the wall and whether new casing or extensions are needed.
- Photograph hinge mortises, strike areas and jamb faces. Label photos with measurements and the name of the room. Clear photos save back-and-forth with suppliers.
Final measurement checklist
- Slab-only: slab width (top/mid/bottom), slab height (left/centre/right), slab thickness, hinge top distances, hinge size and leaf thickness, hinge corner radius, bore diameter, latch edge bore, backset, knob centre height, edge bevel direction, labelled photos.
- Pre-hung: stud-to-stud rough opening width and height (ideal), or outside-of-jamb (frame) size if casing is not removed, wall thickness (drywall-to-drywall) / desired jamb depth, note tile/wainscot if present, swing/handing (photo from pull side), threshold and finished floor notes, diagonal measurements, reveal checks.
- Under-door clearance target: 3–6 mm for hard floors, 12–19 mm for carpet—confirm with flooring installer. Note whether the home uses door undercuts for return air.
When to ask for professional help
If your opening is significantly out of square, jambs are damaged, wall finishes (tile or heavy moulding) complicate jamb depth, or you are unsure whether to order a slab or a pre-hung unit, a qualified installer can review your labelled photos and measurements and advise on the best approach. For information about professional door and window services see /services/door-and-window-installation/. To request a site review or estimate in Toronto, Etobicoke or Mississauga, submit your labelled photos and measurements via /contactruss/.
FAQ: Should I record measurements in metric or imperial?
Either system is fine; be consistent. Many Canadian suppliers accept millimetres and will convert imperial numbers. Recording both sets where possible reduces conversion errors.
FAQ: What if my jamb depth doesn’t match standard units?
Measure the total finished wall thickness from drywall face to drywall face and note any tile or wainscot that changes the depth. If the wall finish is non-standard, a pre-hung unit may need jamb extensions or a custom jamb—record clear photos and the exact finished thickness so the supplier can advise.
FAQ: How can I avoid ordering the wrong handing?
Use the simple rule: face the door from the pull side with the door closed. If the hinges are on your left it’s left-hand; if hinges are on your right it’s right-hand. Take a photo from the pull side showing the hinge side and include that with your measurements.
Accurate notes, clearly labelled photos and the checklist above reduce surprises when ordering a door leaf or a pre-hung unit. For professional help or to arrange a site review in the Toronto area, include your measurement photos and notes when you contact /contactruss/ or visit /services/door-and-window-installation/.