
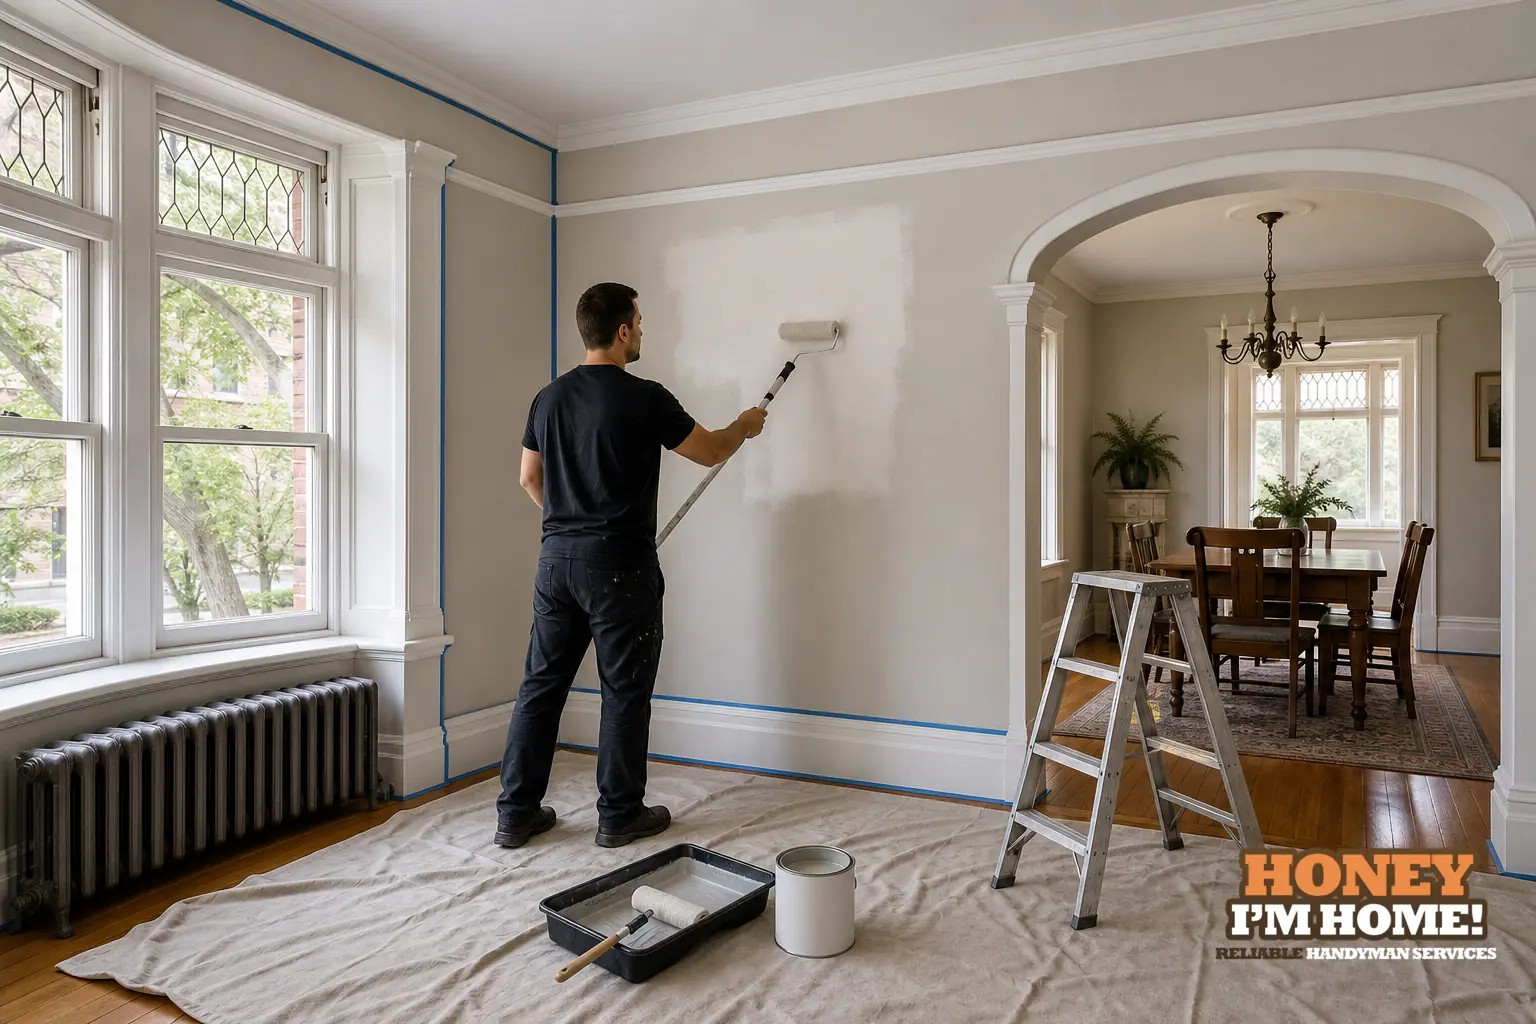
Interior Painting After Wall Repair: How I Get the Finish to Blend in an Older West End Home
The patch is only half the repair. What makes a wall look finished is how the repaired area meets the old paint, old plaster, nearby trim and the light in the room. I decide how far to sand, prime and repaint after I see the whole surface. Sometimes a small repair can disappear locally. Sometimes painting the full wall to a natural corner gives a much better result.
This comes up often in Baby Point, Bloor West Village, Swansea, Runnymede and the other older neighbourhoods I service. Baby Point is a good example: construction began in 1913 and about 80 per cent of the neighbourhood’s current houses were built by 1934. Many houses still carry period details, including substantial trim, mouldings and traditional wall finishes. That changes how I approach a repair. The goal is not to make an old room look newly stripped of its character; it is to make the damage disappear while disturbing as little useful original material as possible.
For the broader repair scope, see my Drywall Repair & Painting service page. Here I want to explain what happens after the hole or crack is closed, because that is usually where a repair either blends into the room or keeps announcing itself.
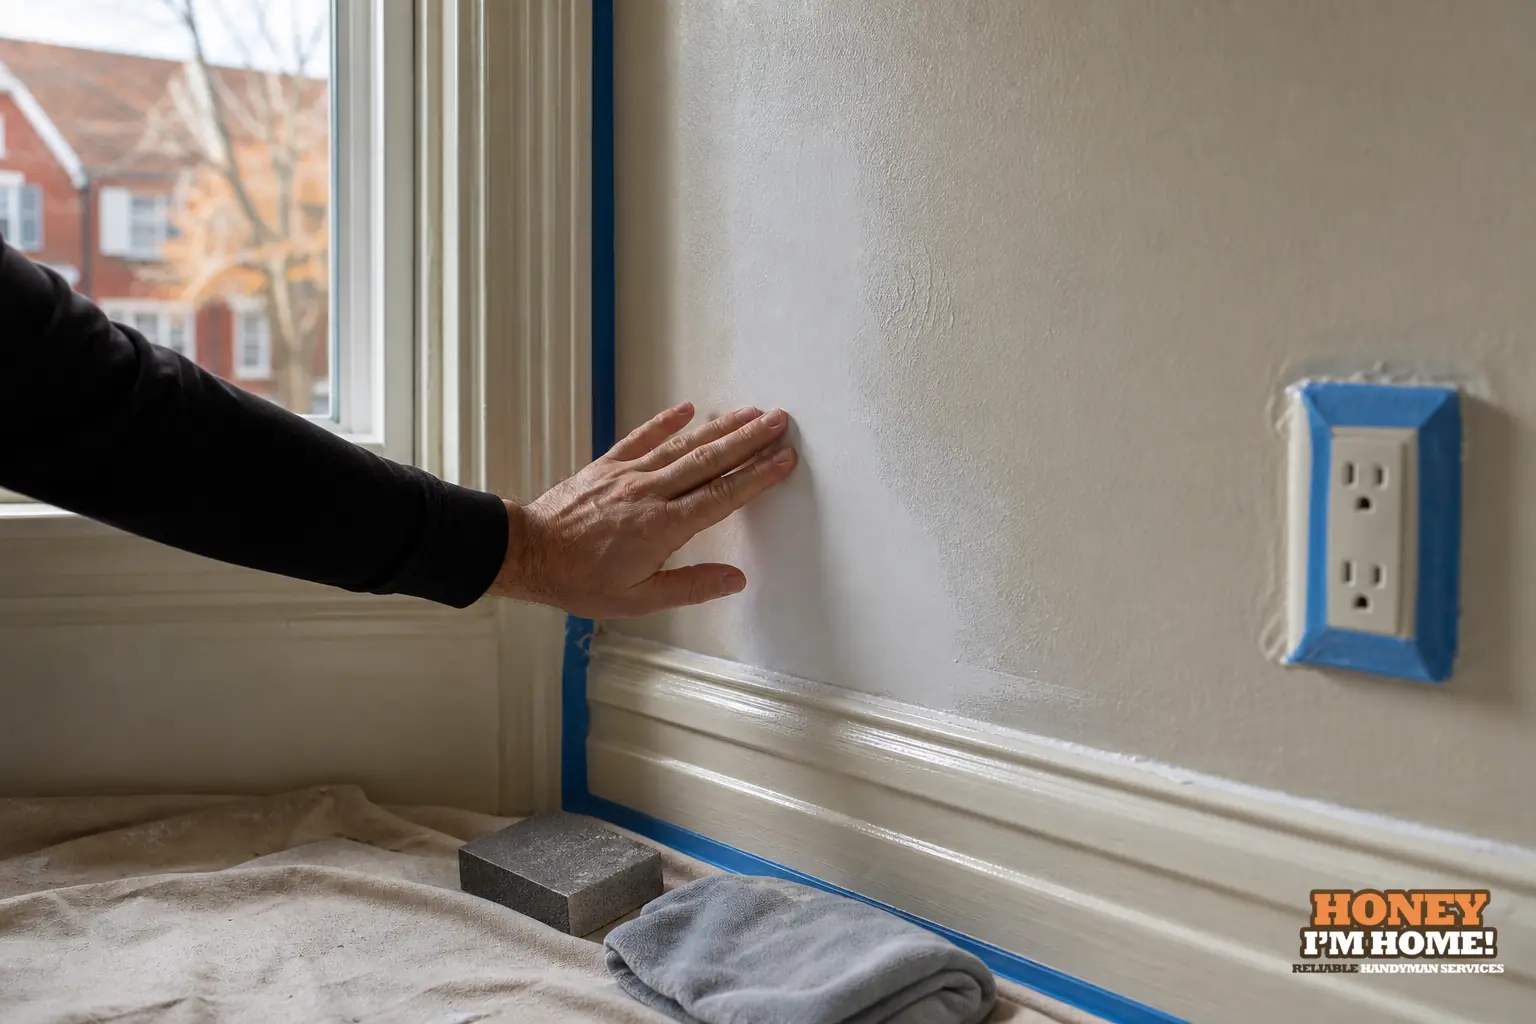
I look at the wall in side light before I decide how much paint it needs
A repair can look perfect when you stand directly in front of it and obvious when daylight comes across the wall from a side window. That is why I look at the surface from several angles. Ridges, shallow depressions, different textures and changes in sheen become much easier to see when light travels across the wall instead of hitting it straight on.
I also look beyond the new patch. An older wall may already contain several repairs. One may be flatter than the original plaster, another may have been sanded too aggressively, and a third may be hiding under several coats of paint. Fresh paint can make all of those differences easier to notice, especially with a finish that reflects more light.
If I know where those variations are before I start finishing, I can decide whether to keep the work tight around the new repair or feather the preparation farther into the existing surface.
Plaster and drywall do not behave exactly the same
Modern drywall repairs are usually predictable once the damaged area is opened enough to create a sound patch. Older plaster requires more observation. A visible crack can be only a surface issue, or it can be beside material that has lost its grip and moves when pressed.
In an older Baby Point or Bloor West Village room, I do not assume that the wall behind a century-old moulding is modern drywall simply because a newer section elsewhere in the house is. Renovations happen in layers. One room can contain original plaster, a drywall patch from a past alteration and newer compound from a more recent repair.
I want every layer I am finishing over to be stable. Paint is very good at changing colour and very bad at making loose material become sound. If the base moves, the cosmetic finish will eventually show it.
I preserve original trim when the repair does not require removing it
Older West End houses often have casing, baseboards, crown moulding or other profiles that are part of the room rather than just disposable finishing material. If the damage stops beside original trim, my first instinct is to work around it carefully instead of automatically pulling it off.
That may mean protecting the edge, making the wall repair fit the existing profile and choosing a paint stopping point that does not create unnecessary work on the woodwork. If a moulding actually has to come off for access, I want to know that before the repair begins so the removal and reinstallation can be treated as deliberate carpentry rather than collateral damage.
This is one of the practical reasons local knowledge matters. In a newer condo, a painted MDF profile is one kind of problem. In a house with older custom carpentry, the same-looking wall repair can require a much more careful edge.
The repaired area absorbs paint differently
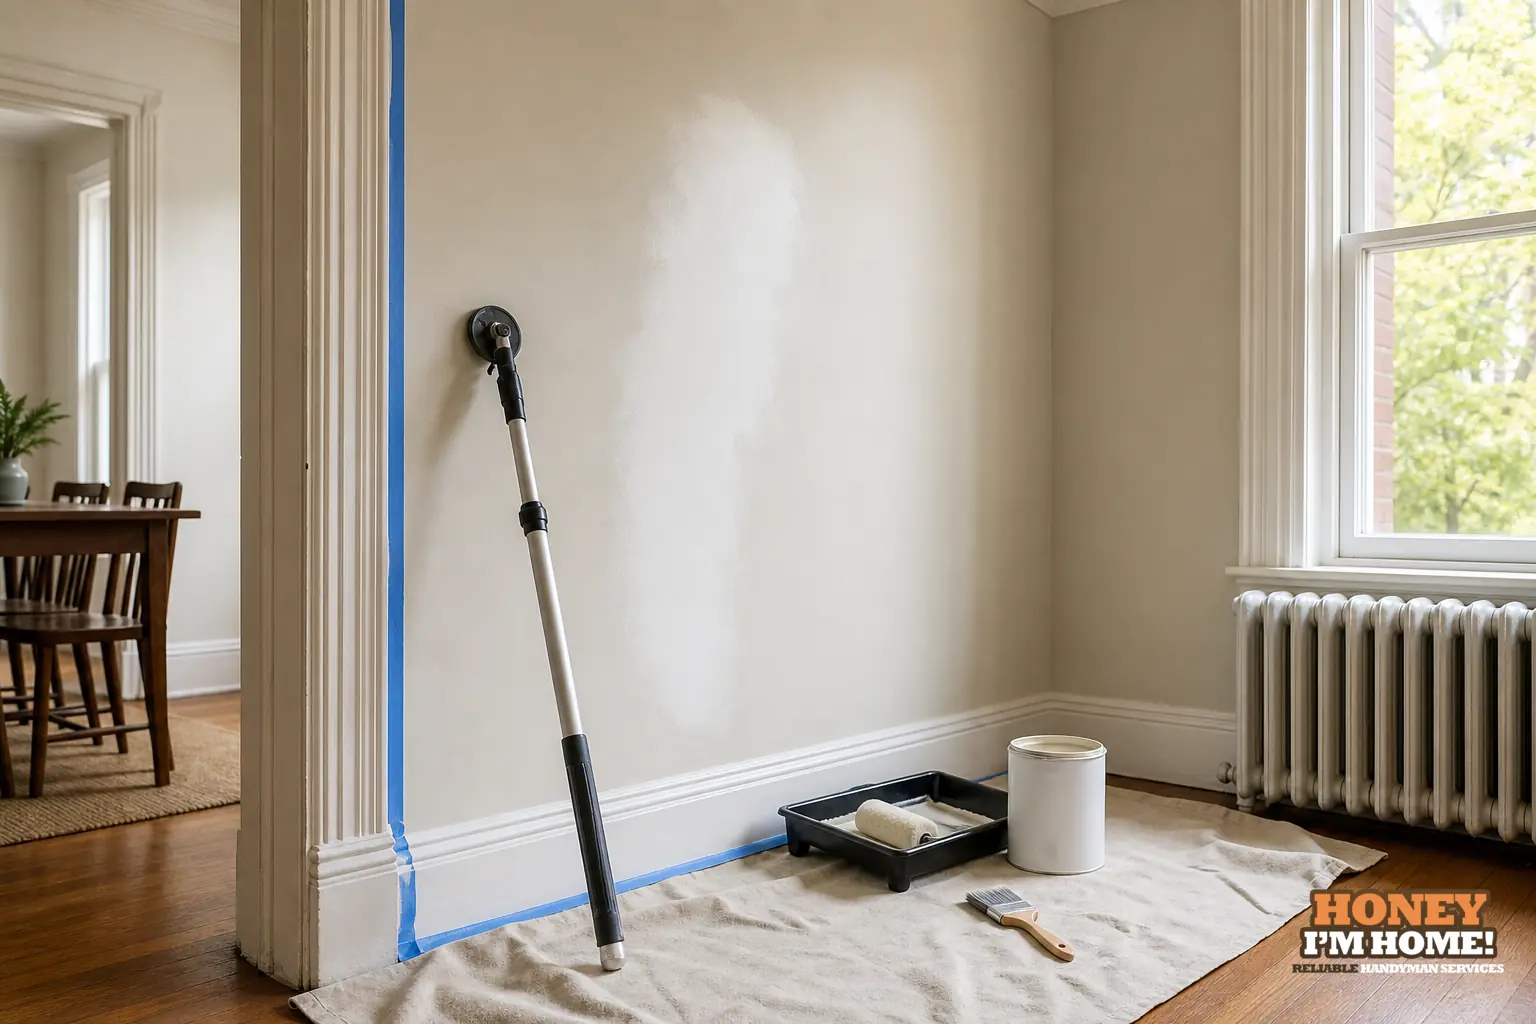
Fresh compound, exposed plaster and previously painted surfaces do not absorb finish paint the same way. If that difference is ignored, the patch can show as a duller or shinier island even when the colour matches.
I use suitable preparation so the repaired area and the old wall behave more consistently under the finish coat. The exact product choice depends on the surface, but the principle is the same: I do not expect the finish coat to solve a porosity problem by itself.
This is also why simply rolling more paint over a visible patch is not always the answer. If the texture or absorption underneath is different, another coat can preserve the same difference rather than hide it.
Matching the old colour is only part of the problem
A homeowner may have the original paint name and still see a difference. Walls change. Sunlight, cleaning and normal use can shift the appearance over time. The old finish can also change sheen even if the pigment remains close.
When the repaired spot is small and the existing paint is recent, a local touch-up may work well. On an older wall with strong side light or a finish that has aged unevenly, I often get a cleaner result by repainting to a natural stopping point such as the corner of the wall.
I explain this before painting because it is better to decide what "blended" means while we can still choose the scope. Even a close colour match in the can can still show differently on a wall that has been exposed to years of daylight.
Ceilings are less forgiving than they look
Ceiling repairs are a good example of why finish planning matters. A ceiling looks like one flat white plane, but light travels across a large uninterrupted surface. A localized difference in texture or sheen can be visible from the other side of the room.
One verified Google reviewer on my site mentions that I completed work involving a floor, ceiling and outside porch and wrote, "He is quick and knows his craft." I am careful not to turn that review into a story it does not tell, but the ceiling reference is useful here: ceiling work is part of the real repair mix I handle, and it has taught me to judge the full plane rather than only the damaged spot.
If the surrounding ceiling is older, I decide the repaint area based on what the eye will see from normal positions in the room, not just on the physical size of the patch.
What I ask for in photos
- A wide photo showing the entire wall or ceiling, not only the damage.
- A close photo of the hole, crack, failed patch or damaged surface.
- A photo showing nearby windows and the direction of natural light.
- Any original moulding, casing or baseboard that meets the repair.
- Previous patches or texture changes visible around the area.
- The paint can or label if the existing product is still available.
Those details help me see whether the project is really one patch, one full wall, a ceiling section or a repair that needs a little carpentry protection around it.
The best repair is the one you stop noticing
I do not want a homeowner to keep seeing the outline of my work every time morning light crosses the room. The repair should become part of the existing wall. In an older house, that often means respecting the irregularities that belong to the room while correcting the damage that does not.
If you have a damaged wall, plaster area or ceiling in the West End, start with the Drywall Repair & Painting service. You can also send me photos and project details for an estimate.
Frequently asked questions
Can you paint only the repaired spot?
Sometimes. I decide from the age and sheen of the existing finish, the size of the repair, the wall texture and how light crosses the surface.
Do you replace old plaster with drywall whenever you repair it?
No. I first look at what is still sound. Localized repair can preserve useful older material when the surrounding plaster is stable and the damage does not require broader removal.
Why can a patch show even when the paint colour matches?
The repaired area can differ in texture, porosity or sheen from the old wall. Proper preparation and choosing the right repaint boundary matter as much as the colour formula.