
Before I Tile a Kitchen Backsplash: What I Check in a West End Home
The tile is usually the easiest part for a homeowner to choose. What I need to understand first is the wall behind it, how level the countertop actually is, where the cabinets stop, what happens at the open ends and whether the kitchen has older details worth preserving. In an older West End house, a clean backsplash is mostly the result of decisions made before the first tile goes on the wall.
I work in Bloor West Village, Runnymede, Baby Point, Swansea, High Park, The Kingsway and nearby areas. Bloor West Village’s major development period was in the early 20th century, with much of the study area built from the late 1910s through the 1920s. A kitchen in one of those houses may have been updated several times while the surrounding trim, plaster or room proportions remain much older. That is why I do not treat the backsplash as a decorative rectangle floating between two cabinets.
For the larger renovation scope, see my Kitchen & Bathroom Updates service page. This guide is about how I approach the backsplash itself when the room already has a history.
I read the wall before I lay out the pattern
Once an old backsplash comes off, the wall can tell several different stories. Sometimes the surface is clean enough to prepare with minor repairs. Sometimes old adhesive stays behind. Sometimes a previous removal has torn the drywall face. In an older house, I may also be meeting plaster or a mix of old and new materials created by earlier renovations.
I want the surface sound and suitably flat for the tile that is going on it. I do not automatically replace a wall just because it is old, and I do not assume new tile will hide every irregularity. The selected tile matters. A small-format tile can tolerate a wall differently than a longer or larger piece that bridges across high and low spots.
This is one of the first places where the project can become either careful or careless. Covering a weak patch does not make it stronger. Correcting the local problem before installation usually gives me a much better surface to work from.
The countertop is my reference, but I do not assume it is perfectly level
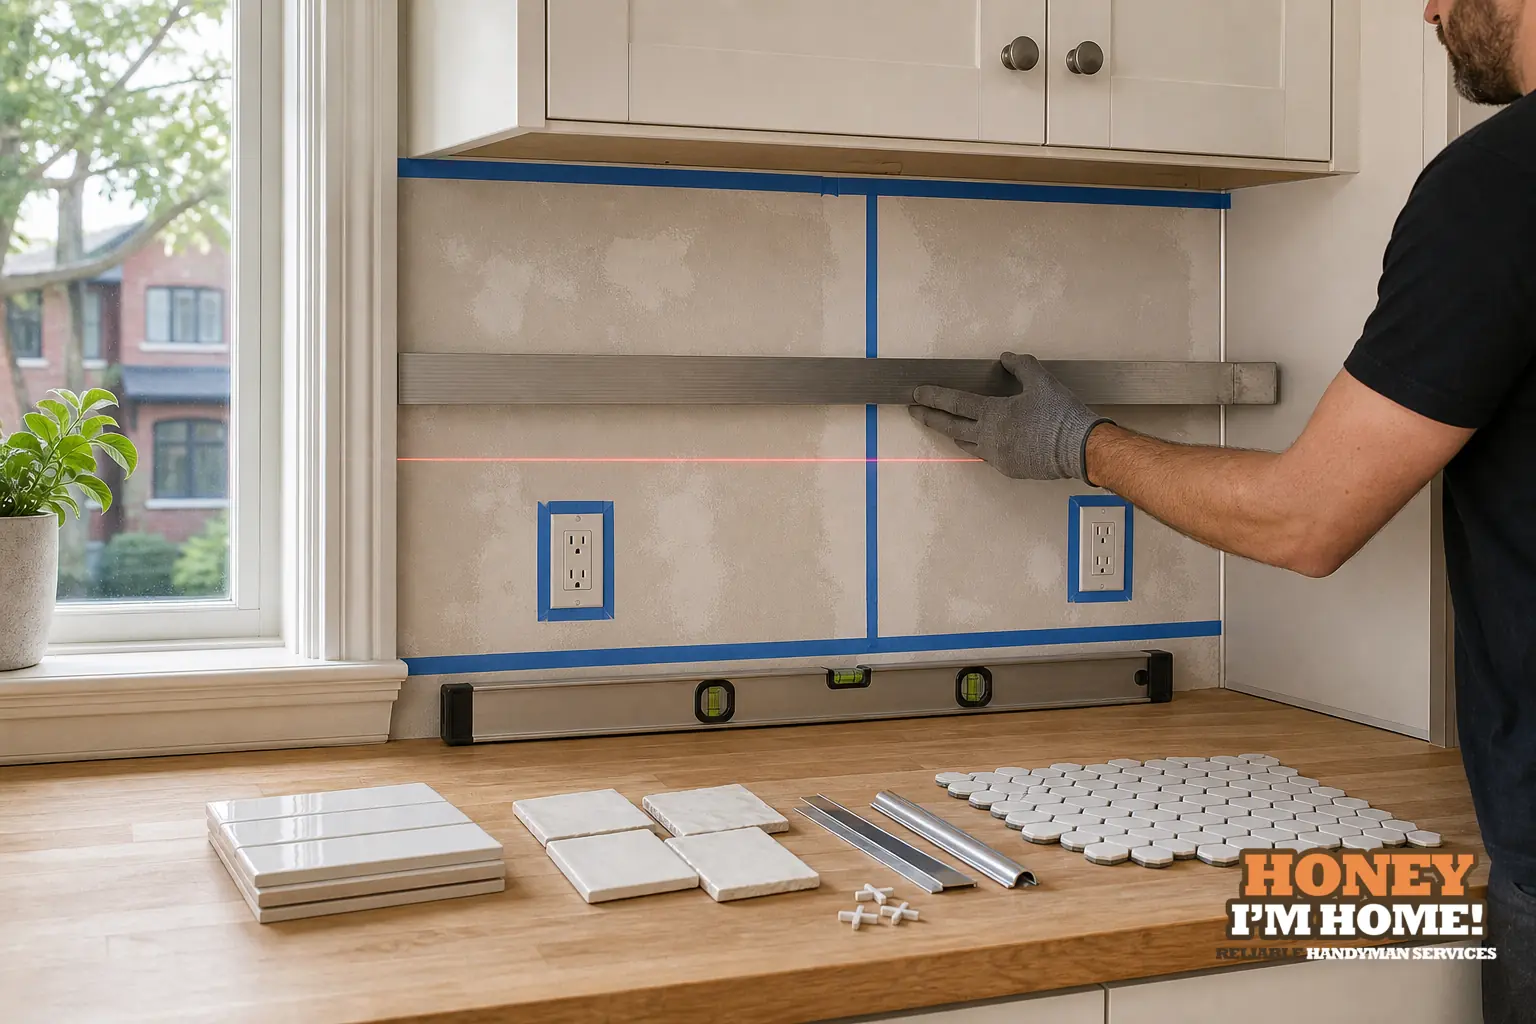
A backsplash is judged by its lines. Homeowners see the bottom course against the countertop and the top or edges against cabinets. If the counter rises or falls slightly across the run, that needs to be understood before the pattern is locked in.
I measure the visible boundaries and decide where small variation can be absorbed without making the tile look crooked. The same applies to cabinet bottoms. In an older kitchen, cabinets may have been installed during a different renovation from the countertop. The gap can change subtly across the wall.
I would rather make those adjustments deliberately in the layout than discover them when a final row reaches the end of the kitchen.
I have already done the kind of backsplash homeowners are picturing
One of the real kitchen projects shown in my portfolio has white cabinets, a herringbone backsplash and matte-black fixtures. I mention it because herringbone makes planning especially visible. The eye catches pattern drift quickly, and every outlet opening, cabinet end and corner interrupts the geometry.
That project is verified work from my own portfolio, but I do not attach it to a neighbourhood unless I have that location documented. What carries from that job to another kitchen is the practical lesson: a patterned backsplash needs a layout that is planned around the whole wall, not started from the first convenient corner.
With any pattern, I dry-think the wall first. I look for the main visual centre, the range or sink area, the most visible open end and the cuts that will land beside cabinets or trim.
Original carpentry changes how I finish the edge
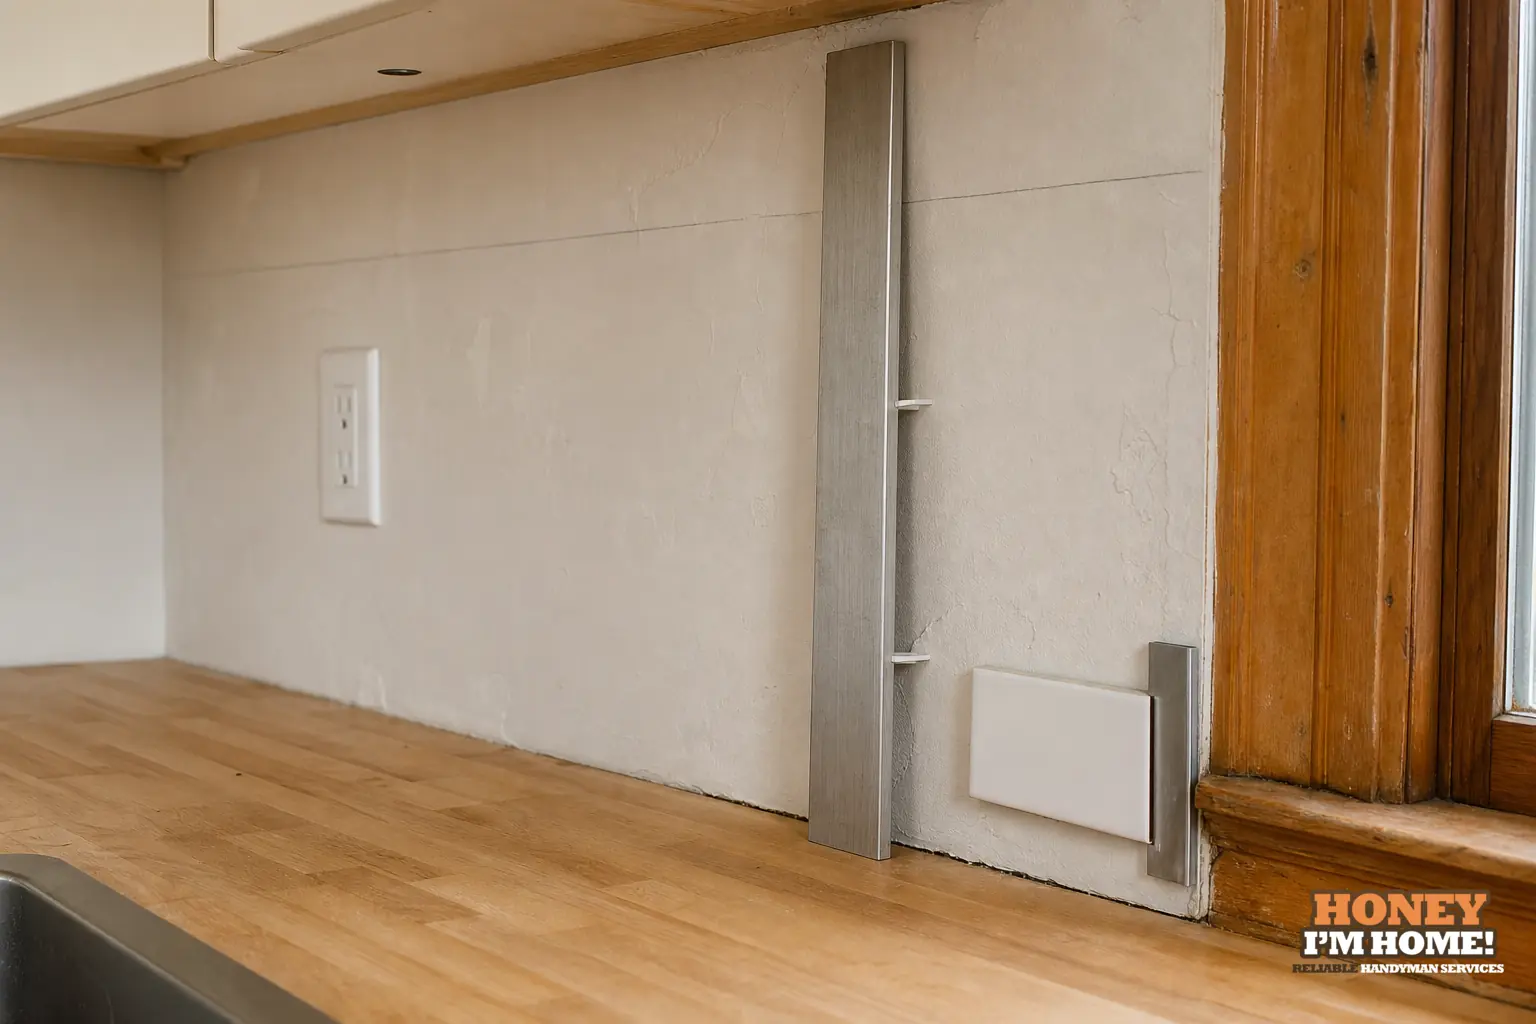
In Bloor West Village and Baby Point, some houses still have older casing, mouldings or custom wood details that survived later kitchen updates. If the backsplash approaches one of those elements, I do not want the tile edge to look like it was forced into the room without considering what was already there.
The stopping point can be as important as the field tile. A factory-finished edge, a compatible trim profile or another clean termination should be chosen before installation reaches the end. If there is original casing beside the backsplash, the detail has to respect its profile instead of burying or awkwardly overlapping it.
This is exactly the kind of small decision where familiarity with older West End homes matters. New construction often gives you crisp standard conditions. Older houses make you solve the transition between periods.
I decide what belongs to the backsplash and what belongs to the larger kitchen
A focused backsplash can stay a focused project when the cabinets, counters and surrounding wall are ready for it. If the wall needs broader repair, a cabinet end is unfinished or trim must be rebuilt, I want that identified before tile starts.
The same is true when another part of the kitchen is being updated at the same time. The sequence matters. A countertop that is changing should be settled before I treat its edge as the permanent reference. New trim should be planned before I decide exactly where the tile ends. Painting is easier when the boundary between painted wall and tile is already understood.
Good sequencing keeps a small renovation from becoming a series of corrections.
Grout and joint size change the finished pattern
Homeowners often select grout colour near the end, but I like to think about it while the tile is being chosen. A contrasting grout makes the geometry more visible. A closer colour lets the tile read more as a field. Neither is automatically better; it depends on what the homeowner wants the eye to notice.
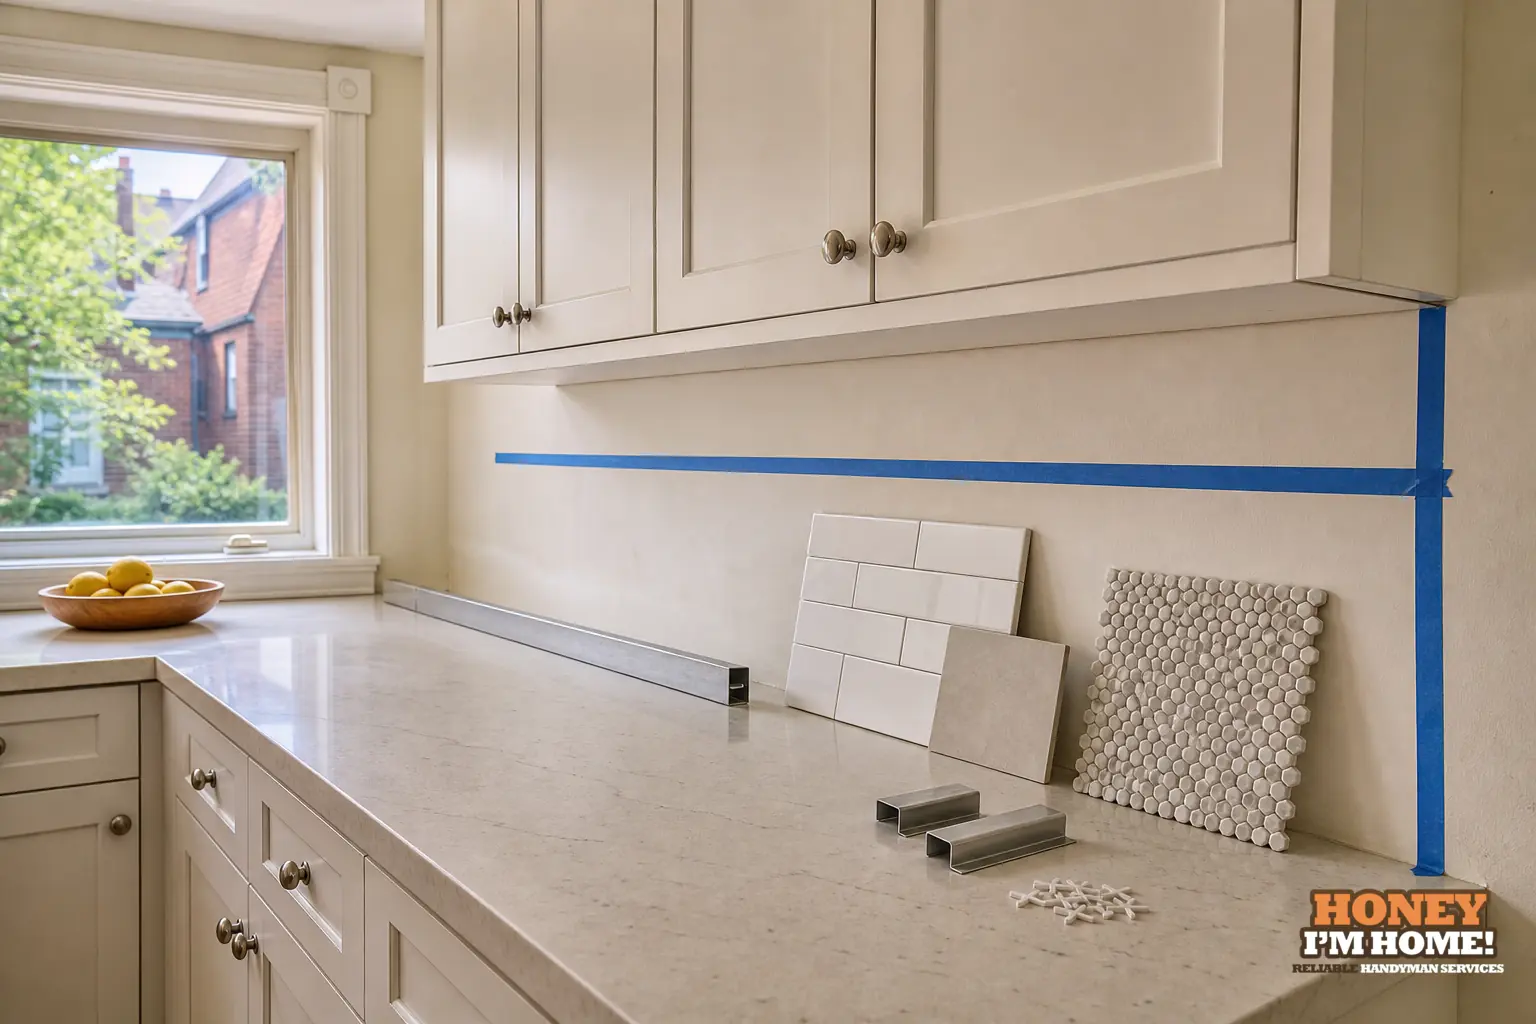
The tile itself can also influence joint width. Some pieces are extremely consistent. Others have slight dimensional variation that becomes part of the look. I use the actual product rather than assuming every subway tile, mosaic or decorative piece behaves the same way.
This is especially relevant in a patterned installation. A tiny difference repeated across a herringbone wall can become noticeable by the time the pattern reaches a cabinet end.
What I want to see before I quote the work
- A wide photo showing the full countertop and cabinet run.
- Photos of every open end, window, doorway or piece of trim the tile will meet.
- A close photo of the current wall or existing backsplash condition.
- The tile sample or exact product if it has already been selected.
- The approximate tile dimensions and intended pattern.
- Any area where the counter or cabinets visibly change height.
- Other kitchen work planned before or after the backsplash.
Those photos help me see the real job rather than pricing an imaginary flat rectangle. They are also useful for identifying whether a wall-repair or carpentry detail belongs in the scope.
I want the backsplash to look like it belongs there
A successful backsplash should not make you think about the cuts required to install it. The pattern should settle into the room, the visible ends should look intentional and the tile should meet older or newer finishes cleanly.
That is the standard I use whether the kitchen is a newer renovation or an older Bloor West Village house with several generations of work behind the cabinets. I am not trying to make every kitchen look historic. I am trying to understand the house I am in before adding another layer to it.
A Google reviewer whose comments are published on my site wrote, "This is a person whose number is worth saving." I value that kind of review because a backsplash is exactly the sort of project where homeowners want someone who notices the small things and can come back for the next repair too.
If you are planning a backsplash or another focused kitchen update, see my Kitchen & Bathroom Updates service or send me photos and project details for an estimate.
Frequently asked questions
Do you need to replace the wall after removing an old backsplash?
Not automatically. I assess what is actually left behind. If the wall is sound, localized preparation may be enough. Broader damage can require a larger repair before new tile is installed.
Should I choose the tile before the estimate?
It helps because tile size, thickness, pattern and edge options affect the layout and preparation. If you have not chosen it yet, photos of the style you want still give me useful direction.
Why do backsplash edges matter so much in older homes?
Because the tile may end beside original casing, uneven plaster, older cabinets or a later renovation. A planned termination lets the new work meet those existing details cleanly.