
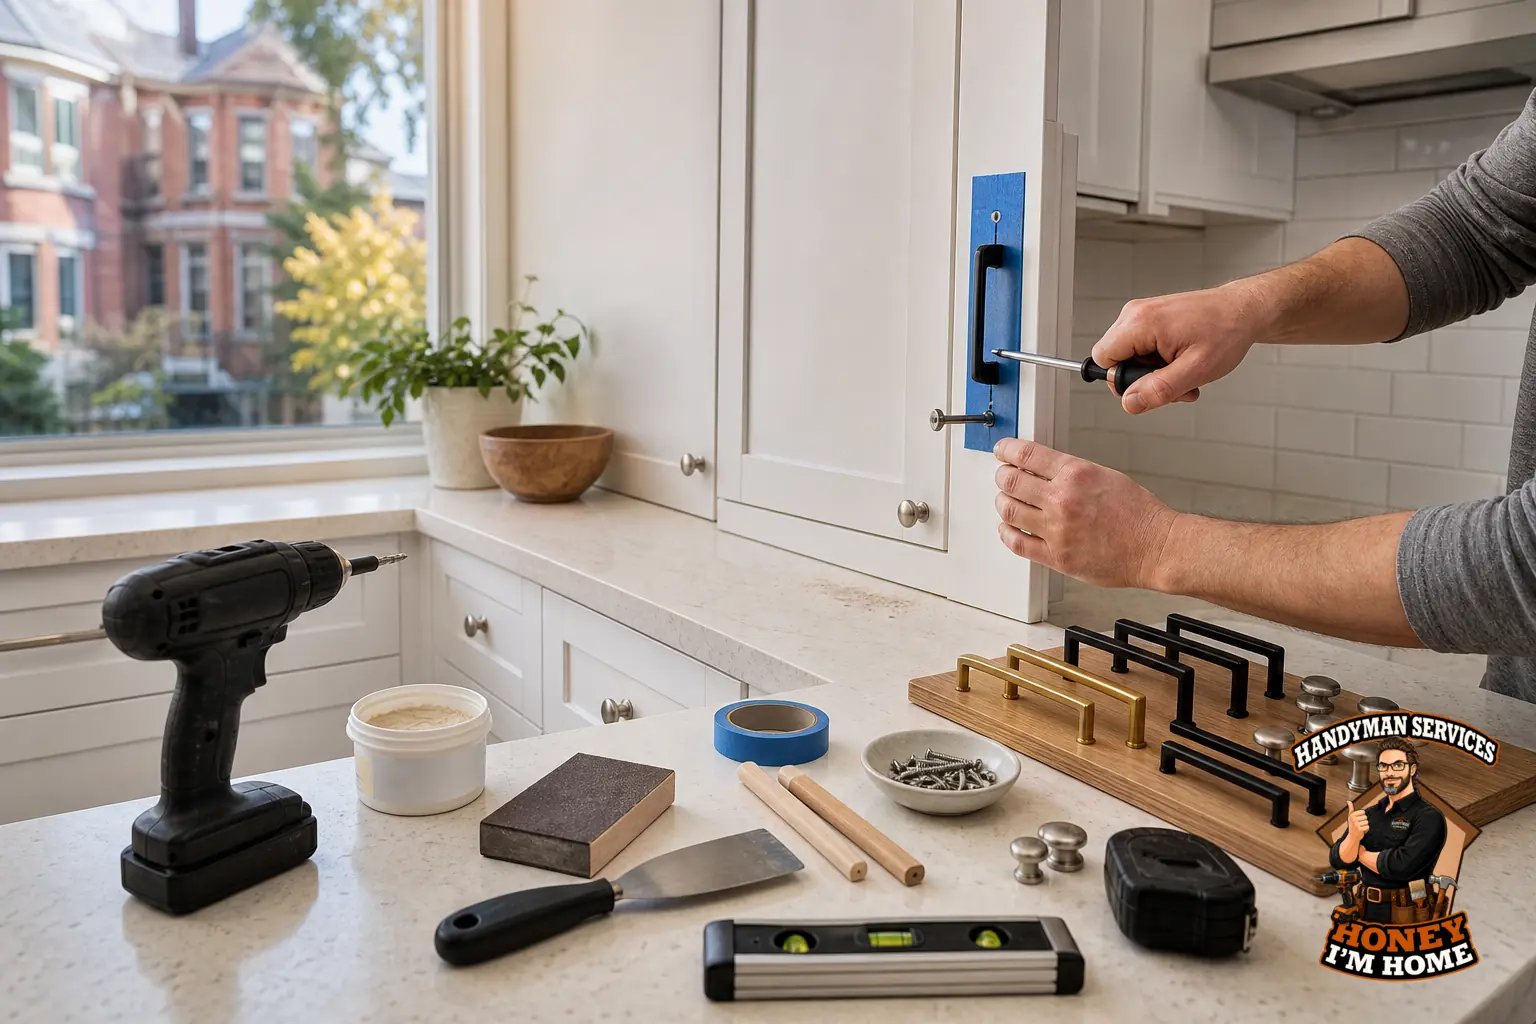
Yes — you can dramatically alter a kitchen’s look by swapping cabinet knobs and pulls without replacing the cabinets. I start with a site inspection to check door and drawer faces, existing holes and hinge fit, choose hardware that matches the doors and how people use the kitchen, and stage the work so the space stays functional while I handle holes, backing and finish touch-ups.
What I inspect first and why it matters
I treat a hardware refresh as a carpentry job. The first things I check are the cabinet face material (solid wood, veneered plywood or laminate), the condition of existing screw holes, and whether door edges or stiles are thick enough for the fasteners you want. That tells me whether to reuse old holes, fill and relocate them, or build backing behind thin faces.
Hinges and door alignment are part of the picture. A new pull won’t make a warped door operate well, so I flag binding or sagging doors up front. If I see previous routs or glued-on hardware, I evaluate whether a repair will show after mounting new hardware or whether moving the mount slightly gives a cleaner result.
Choosing style, scale and finish that work in use
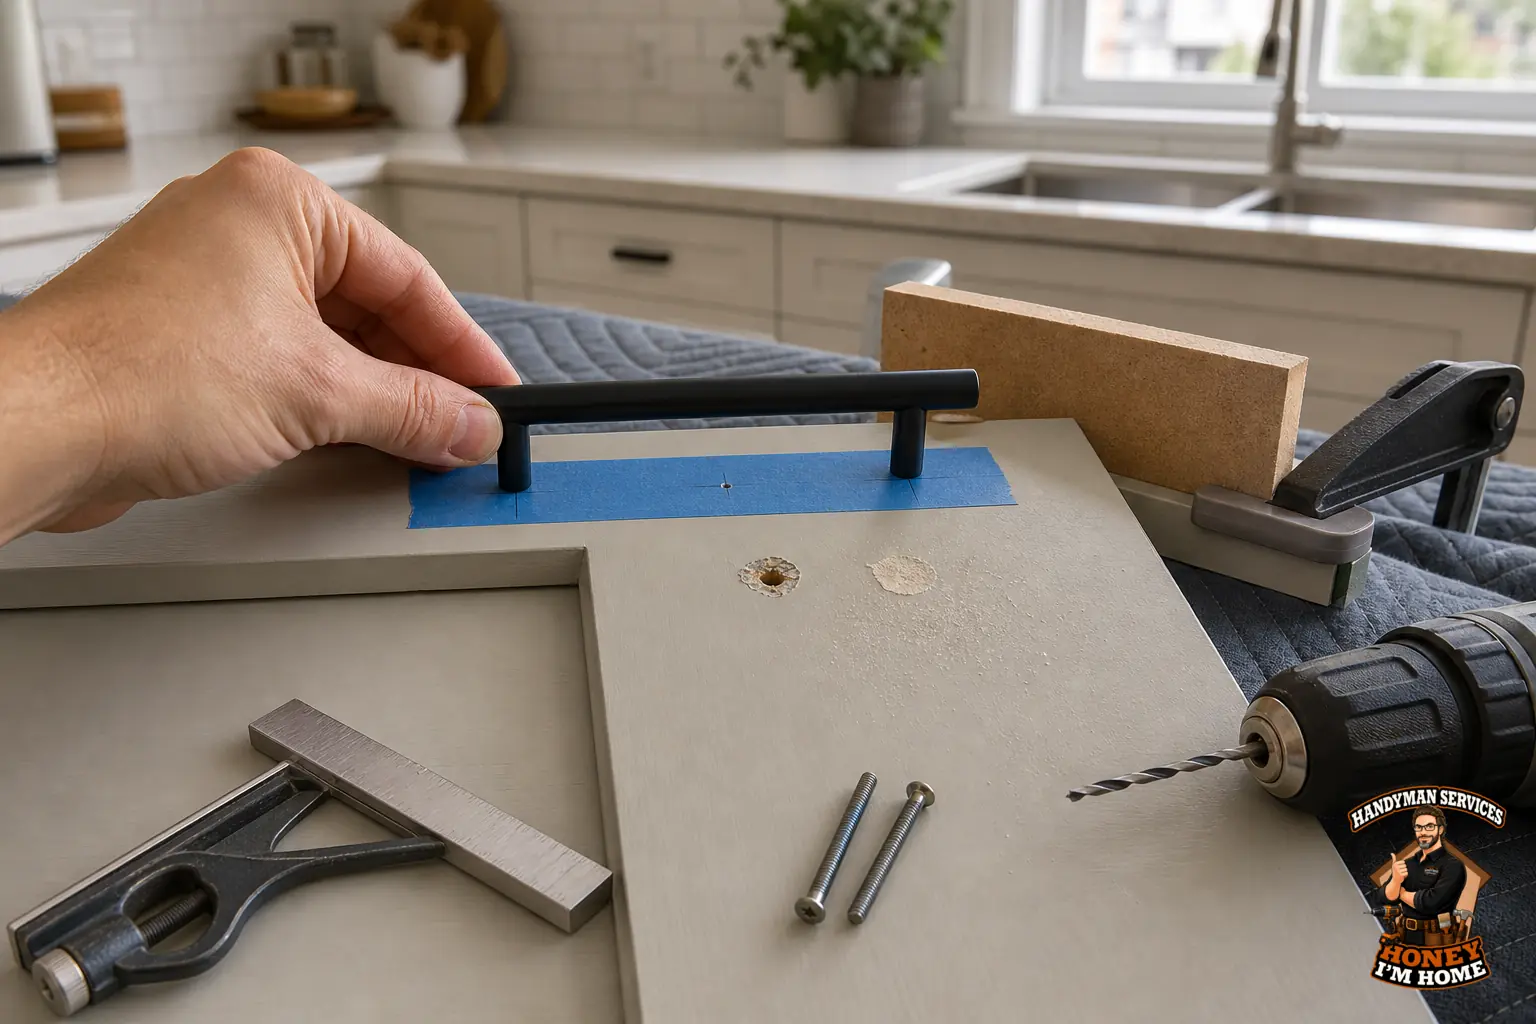
Proportion is simple: match the hardware scale to the door or drawer face. Slender vertical pulls read better on narrow doors; long horizontal pulls on wide drawers make opening easier. Beyond looks, I ask how people use the kitchen — are hands often full, do children access drawers — and choose shapes that work for daily use.
Finish is about wear as well as style. Matte and brushed finishes hide fingerprints differently than polished ones; some finishes patinate in kitchens. I talk through expected finish behaviour and maintenance with homeowners so the selection won’t be a surprise after a few months.
Mounting, hole repair and backing technique
My sequence is methodical: label doors and drawers, remove the old hardware carefully, and inspect the hole walls and the substrate behind them. For solid wood faces I’ll often re-drill or shift the hole slightly; for veneers and laminates I avoid aggressive drilling that can delaminate the face.
Where a screw hole is stripped or the face is thin, I use internal blocking or a small glued wooden patch to give the screw something to bite into, or I use a washer behind the face to spread the load. Those treatments improve the hold of a fastener without aggressive surface repair. After mounting I do small finish repairs — feather-filling and careful touch-up — so the area around a new handle blends with the original surface.
Access, staging and keeping the kitchen usable
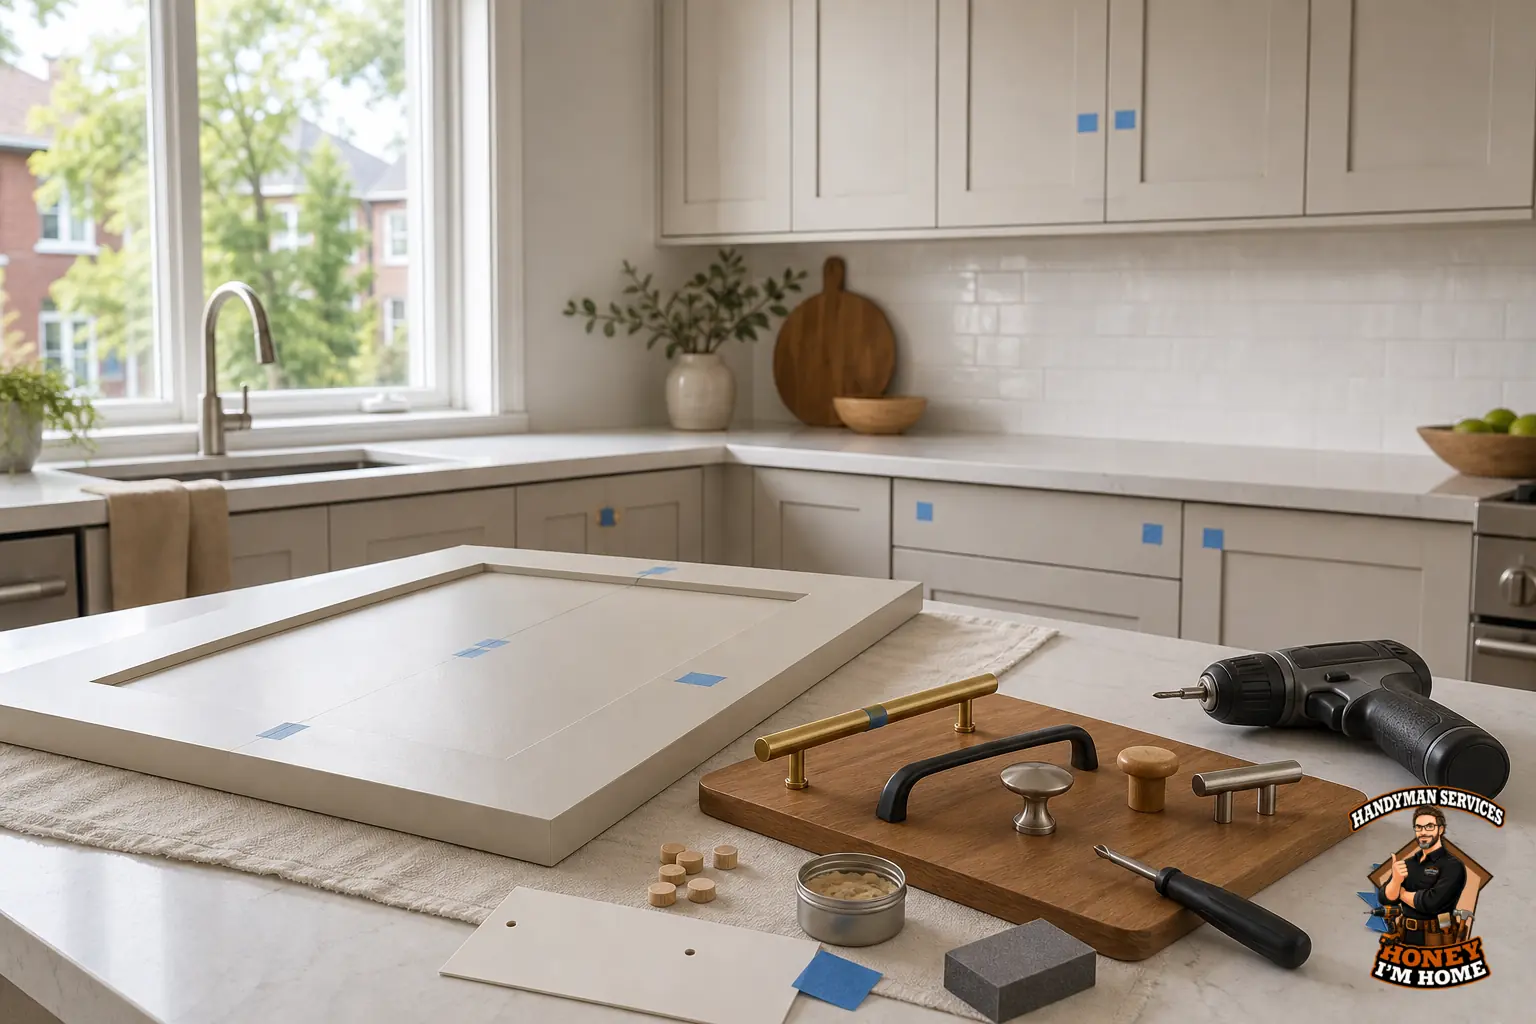
Access usually dictates the work flow. I clear drawers and remove items near the work zone so I can fasten screws squarely and clamp backing where needed. For kitchens with islands or constrained circulation I stage the instal in runs: complete one bank of cupboards first, then move to the next so homeowners retain most storage during the job.
If appliances or heavy items block access I plan brief moves and put things back as I finish each section. That approach limits disruption and keeps the kitchen functioning for cooking and storage while I work.
How High Park housing character changes my approach
The City’s 2016 profile for High Park-Swansea notes roughly 55 per cent of dwellings were built before 1960, and the area contains both older houses and a substantial apartment and condominium stock. That split matters for hardware work. In older detached homes I often find thicker stiles and traditional wood faces that accept through-bolts and solid backing; in apartments and newer condo kitchens I more commonly meet laminates and thinner cabinet faces that benefit from washers or glued blocks behind the screw point.
I explain these differences during the site visit. On older wood faces I prepare for countersunk screws and solid backing; in modern laminated cabinets I plan for minimal surface disturbance and use backing approaches that reduce the chance of delamination. Those choices change how I prep doors and indicate whether I recommend touching up trim around holes or simply blending repairs with a matched finish colour.
Project vignette from our gallery
On our homepage I show a completed Honey, I am home kitchen project that includes white cabinets, a herringbone backsplash and matte-black fixtures. I use that image in consultations to demonstrate how hardware finish interacts with backsplash, counters and overall contrast so homeowners know what to expect visually from a hardware change.
Common tricky conditions and how I handle them
Thin-faced drawers, previous routed pulls, and grouped runs of mixed door styles are common challenges. For thin faces I prepare internal backing or use threaded inserts where access allows. When previous routed pulls leave shallow voids, I evaluate whether cosmetic filling and a slightly different mounting position will sit flush and look clean. For mixed door styles I sketch sightlines and propose either a single consistent hardware style or a deliberate mixed approach for function and rhythm.
I don’t make the choice for you; I present the trade-offs so you can pick the visual direction and I’ll match the install method to that decision.
Practical checklist before I come to your home
- Photograph and label doors and drawers so every item returns to the right place.
- Clear drawers and counter-edge contents in the areas I’ll work on.
- Decide roughly on knob versus pull, and bring finish samples if you have them.
- If you can, point out doors that feel sticky or drawers that don’t sit square.
- Expect me to test a couple of candidate positions on a hidden door before I commit to all faces.
If you want help narrowing styles or planning the sequence, I go through options during a site visit. More about the small renovations I do is listed on the Kitchen & Bathroom Updates page at /services/kitchen-and-bathroom-updates/.
One Google review sums up how clients feel about practical, hands-on help: "This is a person whose number is worth saving." See that review and proof at /#awards.
If you want a straightforward, on-site assessment and an install plan, contact me through the estimate form at /contactruss/ and I’ll schedule a visit to look at substrate, hole condition and hinge fit.
How disruptive is a cabinet hardware swap to daily use of my kitchen?
I stage the work in runs so most storage stays available and disruption is limited during the install.
Will you reuse existing holes or fill and create new ones?
I inspect the existing hole condition and then decide whether to reuse, fill and relocate, or add backing to improve screw holding.
Can you match new hardware finish to my existing fixtures?
I compare samples in the kitchen and show options so the new hardware coordinates with your backsplash, taps and lighting finishes.