
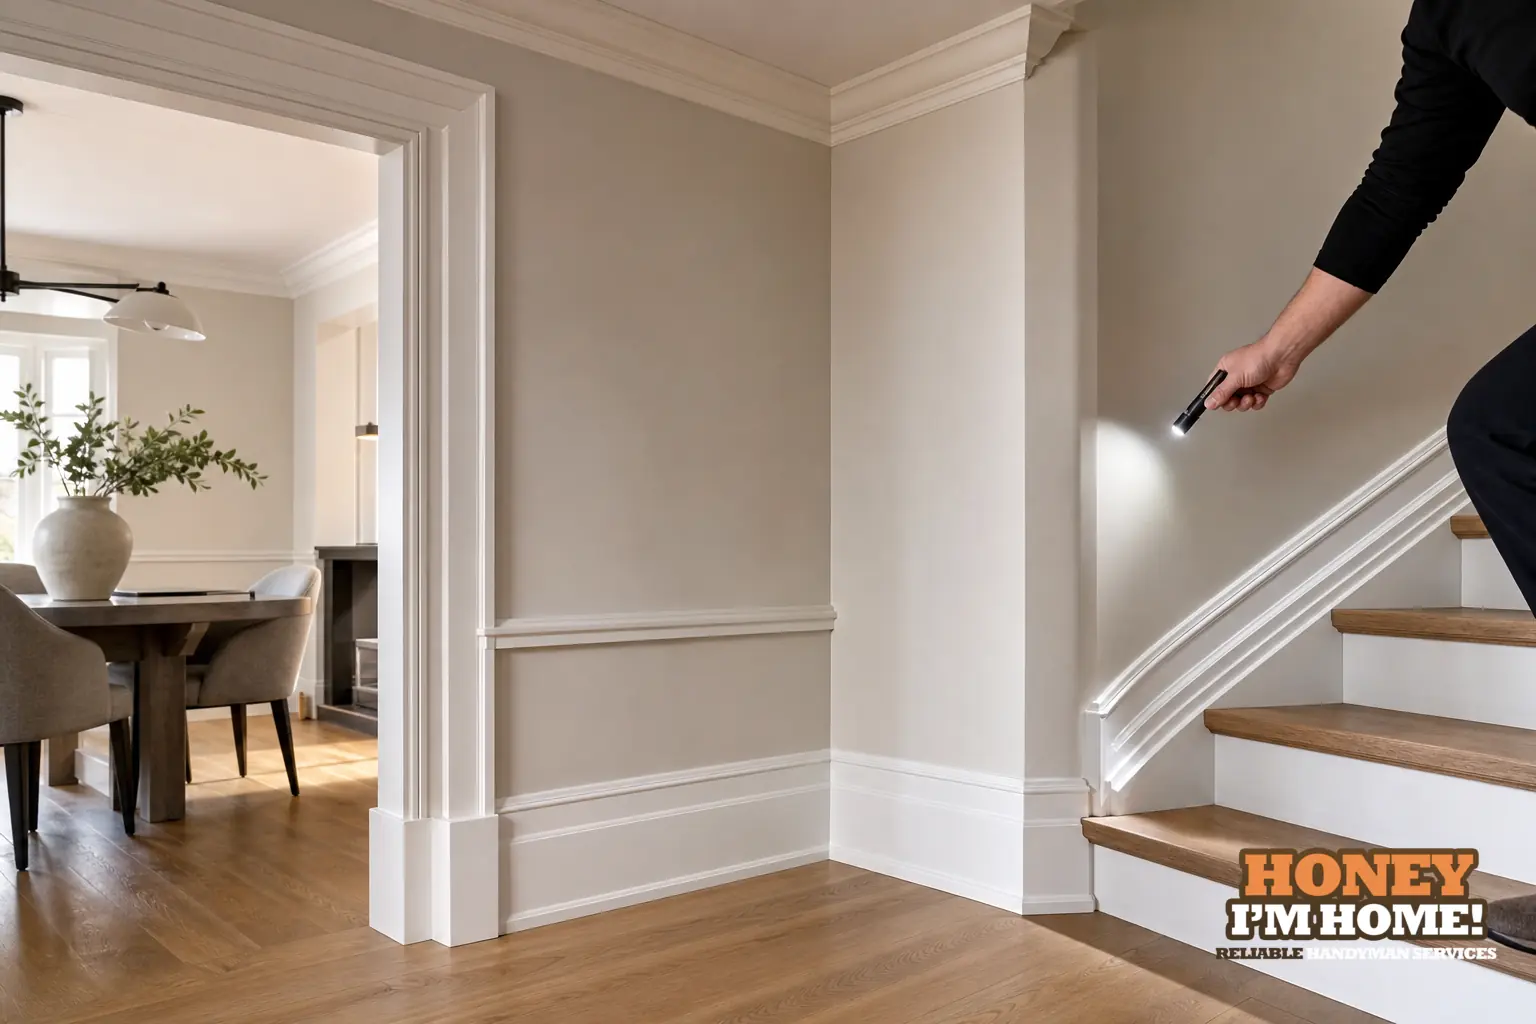
Corners and transitions concentrate the small tolerances and backing details that make trim read as precise or rushed. I examine joint technique, backing, profile match and how materials meet — those details reveal movement, past shortcuts and whether a cosmetic touch will hold or a hands‑on repair is required.
What I inspect first at a corner
When I step into a room I look at the corners and where mouldings change direction before I study the long runs. Those junctions expose the installation technique: mitered edges, coped seams, returns and whether the trim bears fully on the wall. I tap to feel for movement, check face registration so profiles align visually, and look for paint cracking concentrated at the joint rather than along the run. That pattern tells me whether a joint is simply drying‑shrinkage or a symptom of an unsupported backer or seasonal movement.
Those first checks set the repair plan. If a joint is stable but visible, filling, sanding and repainting can restore the look. If a joint shifts under a light tap or gaps reopen after a quick fill, I treat the problem as a systems issue: the fix must re-establish a solid seat and a durable joint rather than hide the symptom with surface work.
Common failures and how I decide the right repair
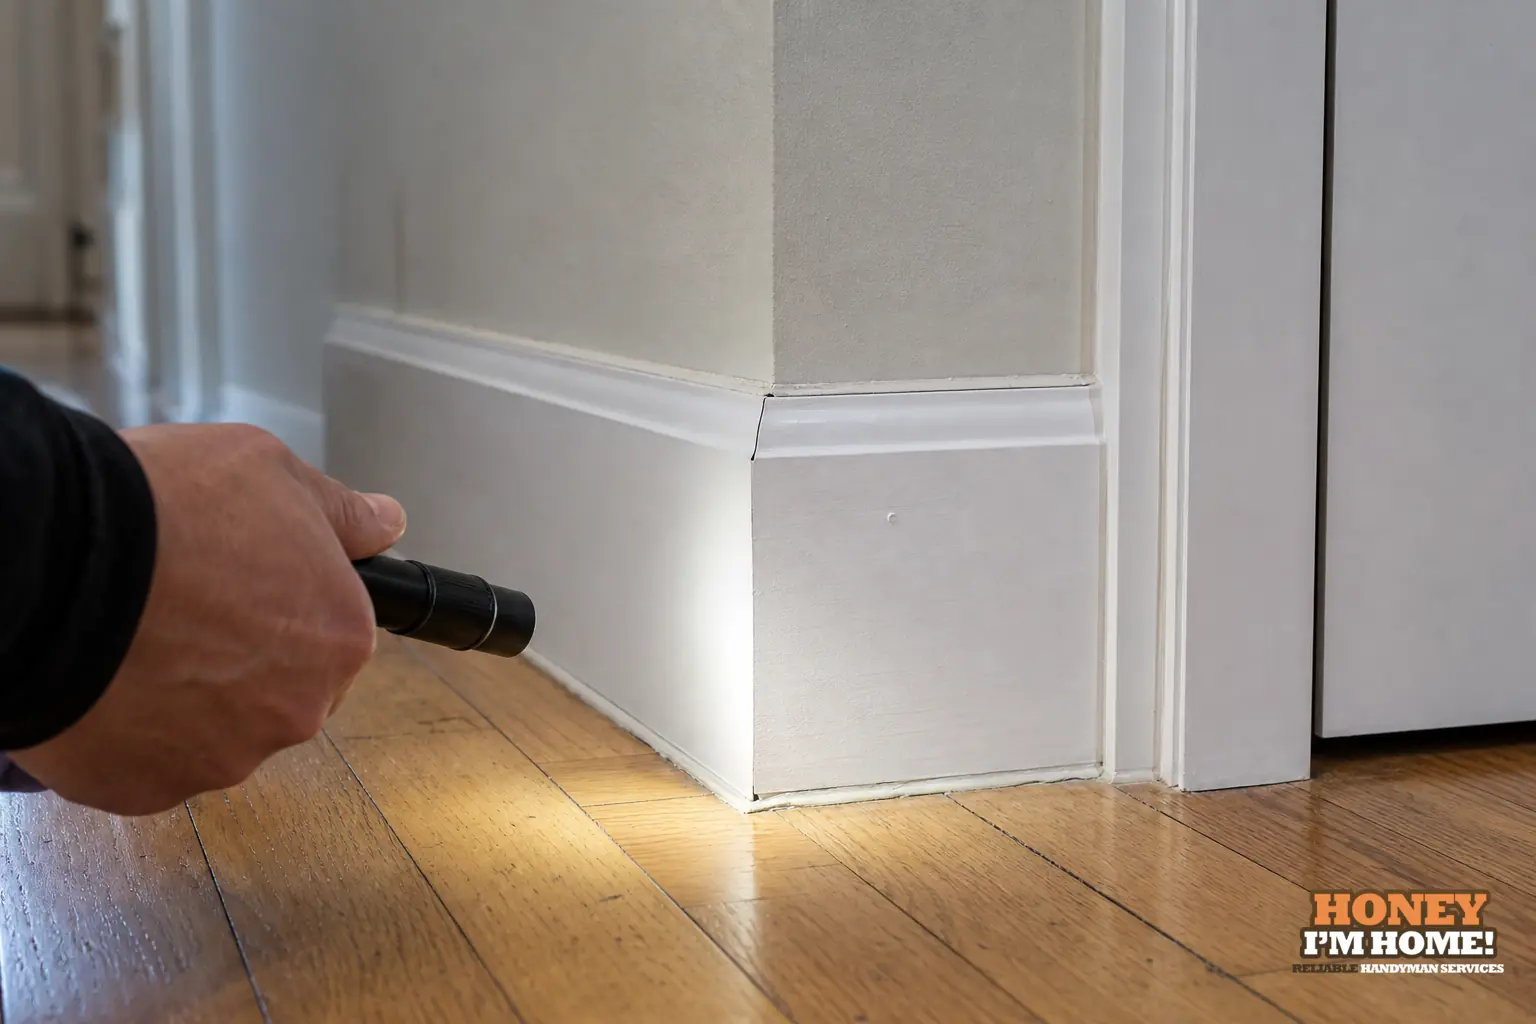
Failures show up predictably: open mitres, blunt or sloppy copes, short returns that let light read through, and transitions that ignore different material movement. I sort failures by behaviour — stable and cosmetic, moving and likely to reopen, or unsupported because the backer is missing or damaged. That behaviour drives whether I recommend a cosmetic patch, targeted rework, or full replacement of the offending piece.
For example, an open miter often signals the back of the joint lacks bearing. Filling a gap will temporarily hide it, but if the joint opens again the paint line will crack. In those cases I remove the moulding, restore a proper bearing surface, then reinstall the joint so it closes and stays closed. When a profile is badly worn and can’t be shaped back to a clean edge, replacing that piece with a matched profile produces a cleaner, longer lasting finish than trying to rebuild a ragged section.
Transitions: where moulding meets other materials
Transitions are small assemblies: baseboard to tile, casing to a built‑in, or new trim meeting older stock. Each pairing has distinct movement and finishing needs. Wood next to tile needs a detail that allows small movement while keeping a neat face; painted engineered trim next to old softwood will season differently and demands a joint that tolerates that mismatch.
My approach treats transitions as engineered details. I choose a joint style that suits the materials, prepare mating surfaces so they seat evenly, and finish with a paintable seal or a reveal where appropriate. In spots that may need future service I’ll use fastenings or removable returns so the finish stays neat without locking in a problem behind a fixed trim piece.
Why I favour coping in many older homes
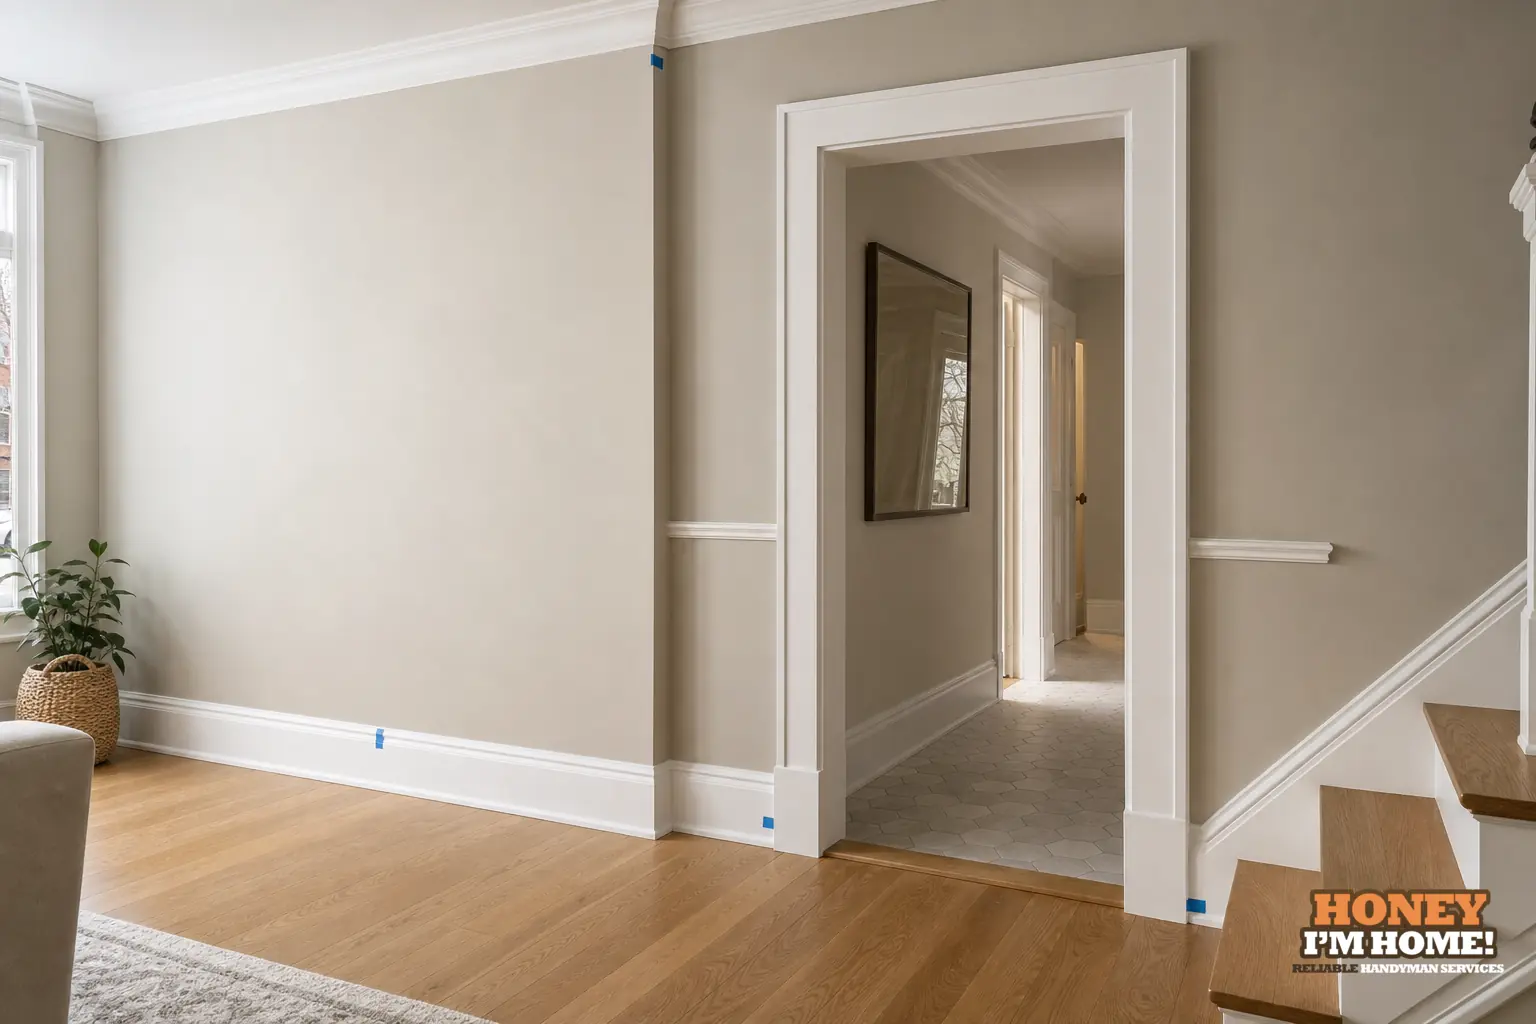
Older walls are seldom perfectly square. A miter cut that looks right on day one can open later when the wall and trim move in different ways. Coped joints register the profile cleanly on the face and tolerate small back‑to‑back movement, which helps the room read consistent over time. The trade‑off is execution: a badly coped joint looks worse than a good miter, so the workmanship has to be precise.
I favour coping where walls show out‑of‑plumb conditions or where profile continuity matters. When existing moulding is too worn for a clean cope, I’ll replace and match the profile so the join does the job properly rather than forcing a compromised solution that will reveal itself after paint.
Working with older houses in Swansea — how the neighbourhood character changes my decisions
In Swansea housing stock, I don’t treat every wall the same. The area developed from the late 19th into the early 20th century, so you can find workers’ cottages and row housing from the 1880s alongside two‑storey houses, bungalows and semis built between 1905 and 1935, plus later insertions and a Tudor Revival subdivision. That mix means original period trim can sit next to later additions on the same wall.
Given that variety, my first job on houses like these is to identify what’s original and what was added later before I open trim or remove casing. If the original moulding is sound, I lean to targeted repairs that preserve character. If an insertion is a poorly matched later piece, I’ll discuss sympathetic replacement that reads correctly for the era. The practical point is matching the repair to the piece’s provenance rather than applying a one‑size‑fits‑all fix.
A concise vignette from our portfolio
Our homepage portfolio shows a staircase refinished in dark stain with white spindles, plus custom interior woodwork. I point to that image because a single well‑executed transition — where the stair skirt meets the newel, or where the handrail meets the casing — lifts the perceived quality of the entire job. Visual continuity at those junctions is what visitors notice first, and that’s where I concentrate attention on finish details.
Practical things you can do before I arrive
Clear furniture away from corners and transitions so I can see full runs and test joints. Make a note of places where paint repeatedly cracks along the same line, where trim looks painted over multiple times, or where pieces were removed and reinstalled — those are clues about movement or past nail failures. If you believe a piece is original, tell me; preserving sound period material alters the repair approach.
Also flag areas you want left accessible later. I can fit reversible fastenings or removable returns so the finish remains neat while allowing future access. Gathering photos of the room’s earlier condition or previous repairs helps too — paint and repairs can disguise earlier decisions, and images give useful context.
When a hands‑on visit makes sense
Book a visit if gaps reopen after paint, if multiple corners show the same failure pattern, or if trim moves when I tap it. Those signs point to backing or movement issues rather than a surface cosmetic problem. If issues are isolated and stable, a cosmetic touch‑up can be acceptable; if they recur, an on‑site inspection is the only reliable way to choose a long‑term fix.
How I work and next steps
I prefer a short on‑site visit so I can inspect joins from several angles and test suspect corners. That tells me whether a targeted repair, recutting or replacement gives the best result. For a view of related work see Custom Carpentry & Interior Finishing. To arrange a visit or get specific advice, reach out through /contactruss/.
"This is a person whose number is worth saving." — Google reviewer. See the review proof at /#awards.
How do I know if a corner needs more than a cosmetic fill?
If gaps reopen after filling, paint cracks along the same joint repeatedly, or trim moves when tapped, these point to backing or movement issues rather than a surface problem.
Can original moulding be saved instead of replaced?
Yes. I preserve sound period material when a targeted repair is practical and the piece contributes to the room’s character and finish.
Will you match profiles from existing moulding?
I match profiles when needed so corners and transitions read consistent with the existing work, respecting the original profile and finish.