
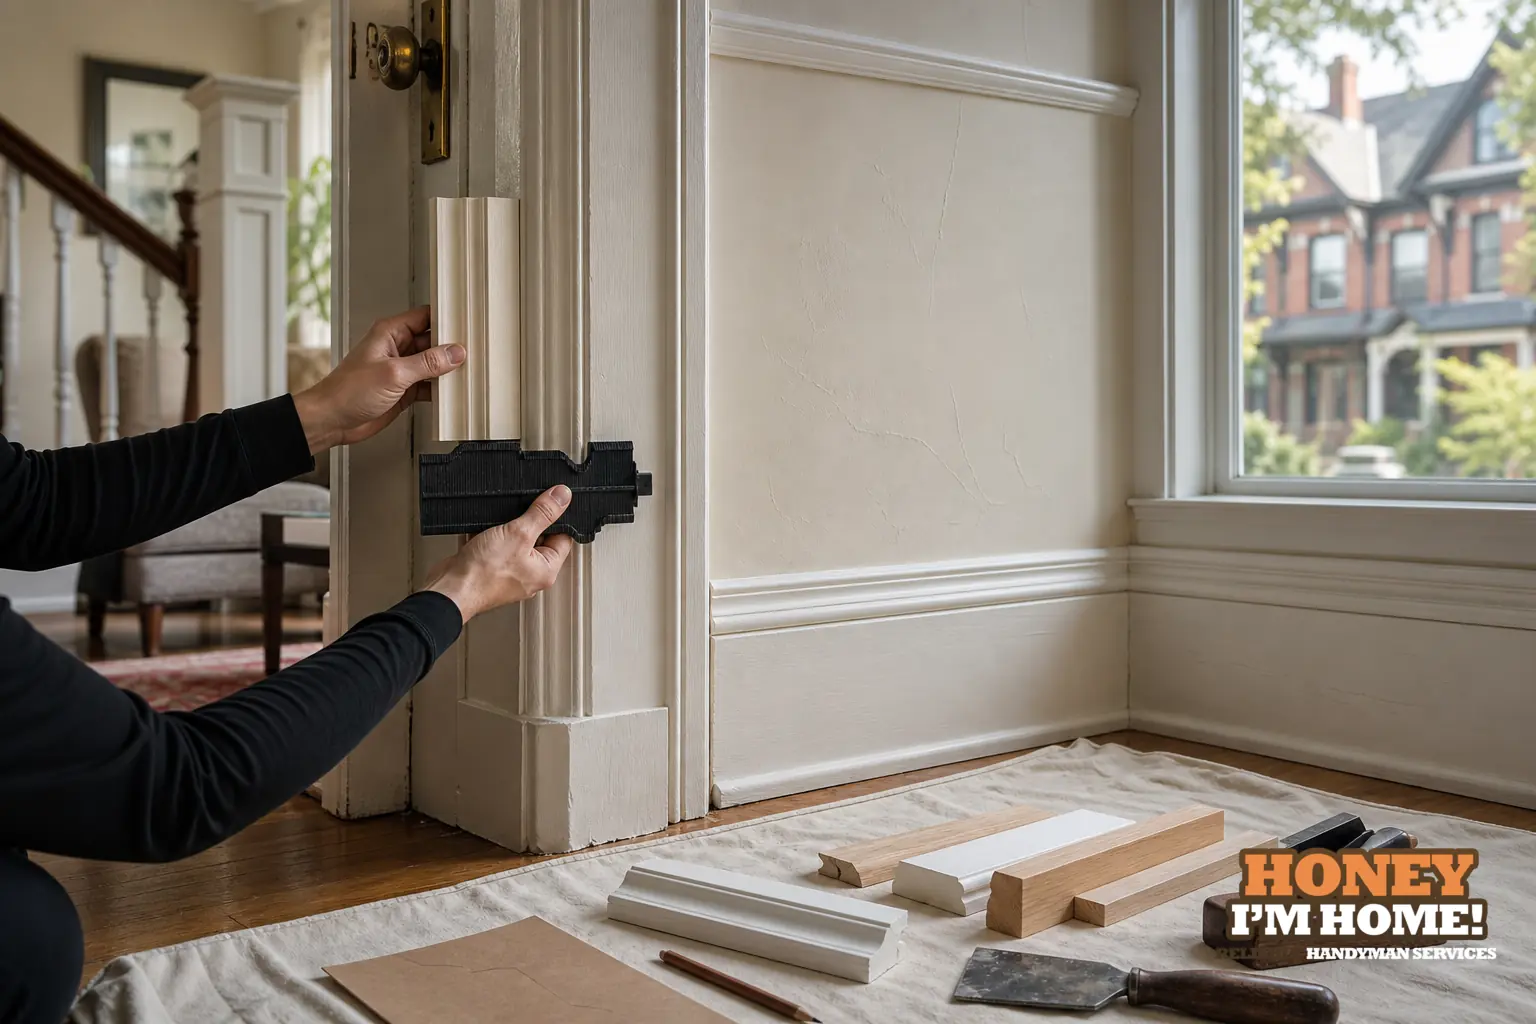
Start by identifying the original profile and installation details before deciding to replace anything. I trace surviving runs, photograph joint details, check paint build-up and surface character, then choose whether to repair in place, adapt a stock profile, or reproduce the moulding so new work blends into the old.
Identify-first: what I look for on day one
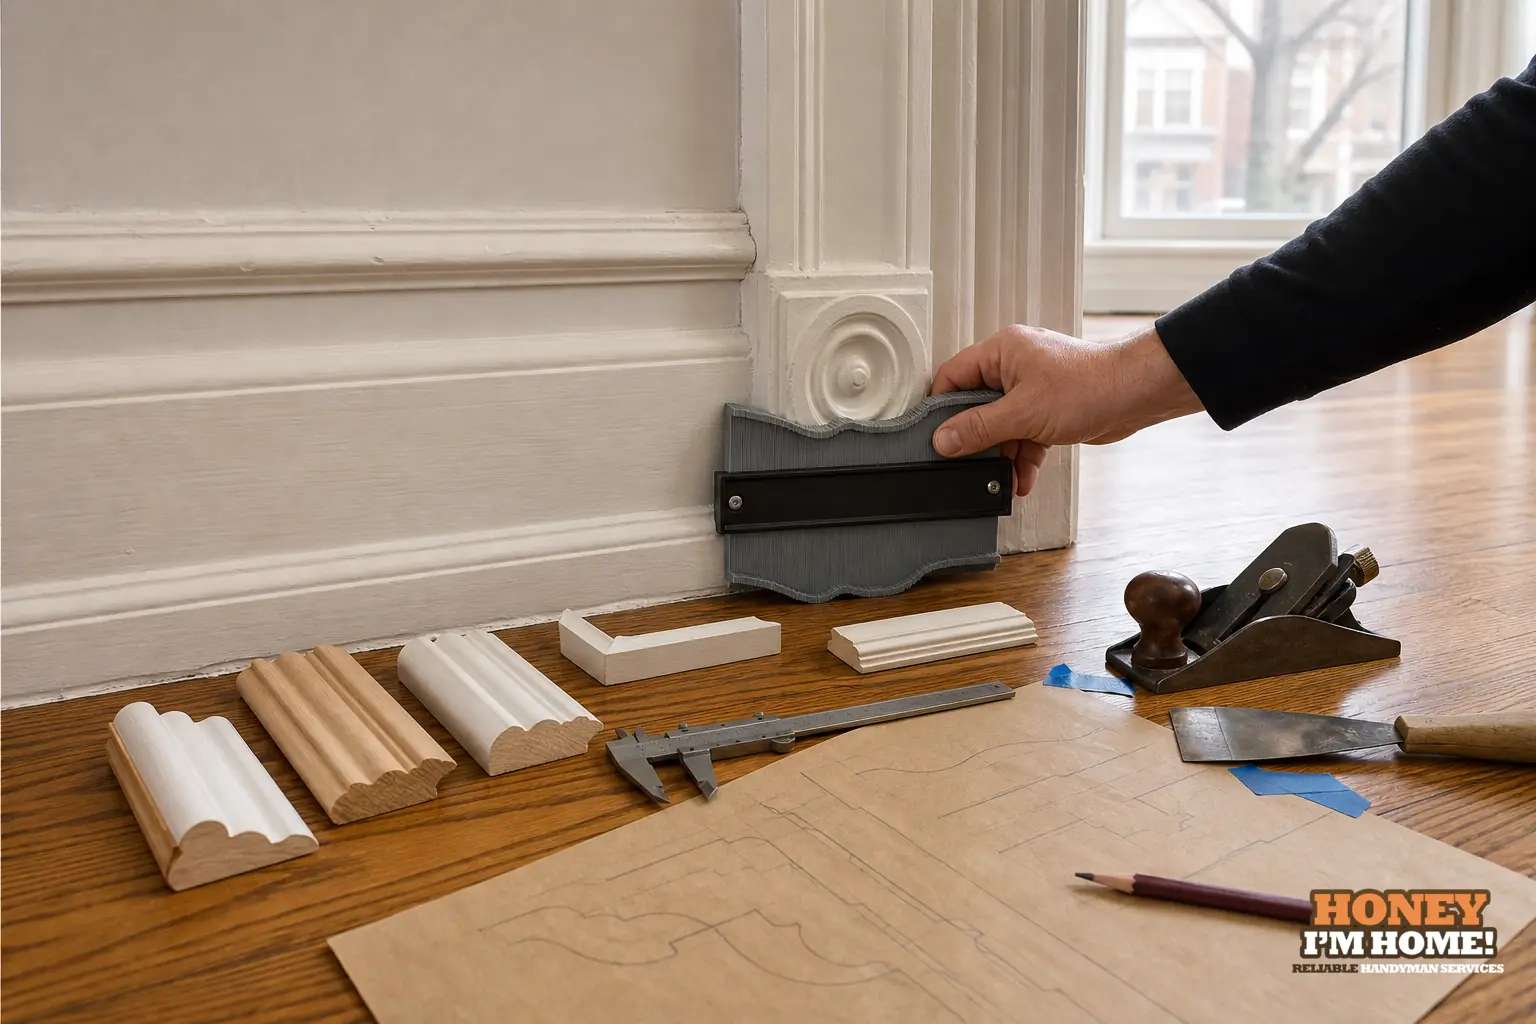
My first job on site is to see what’s left to work with. I photograph whole elevations and then focus on intact runs of baseboard, casing, cornice and stair skirting. Those intact pieces tell me the original profile, reveal dimensions and how the trim meets plaster or drywall. I trace profiles with a card or profile gauge and take close photos of returns, mitres and inside corners so I can compare the shape back in my shop or against stock profiles.
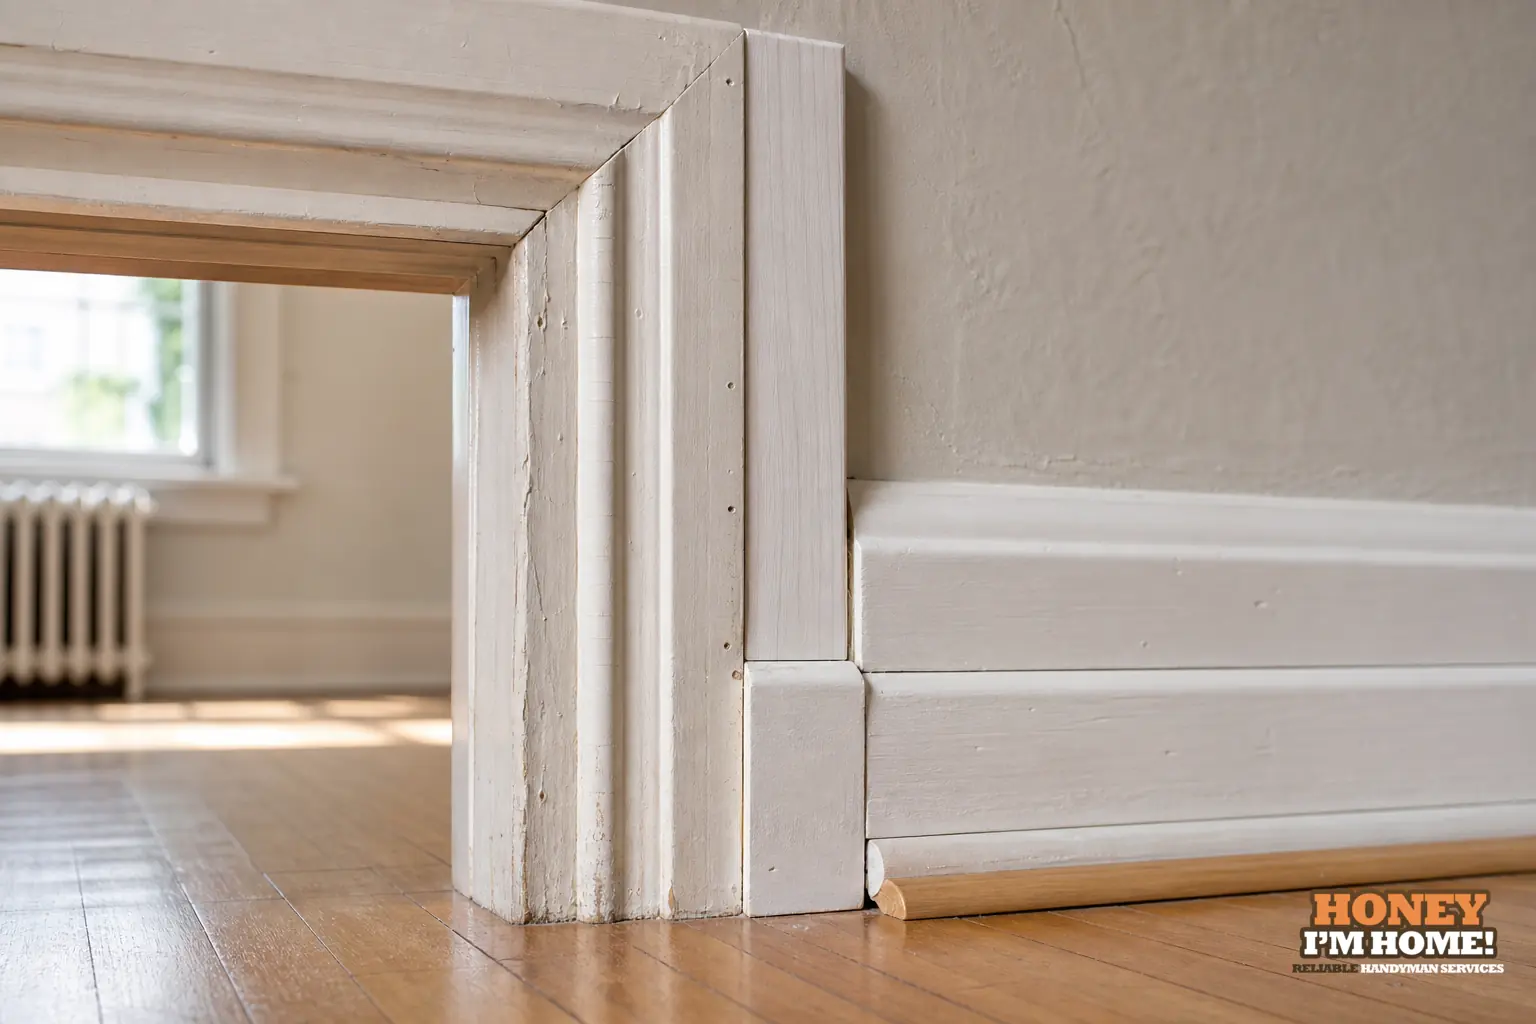
I also inspect installation clues: where the trim is scribed to the wall, whether back beads sit into a plaster reveal, and how end grain was hidden. If modern drywall was installed next to original finish carpentry, I treat that junction as a set of constraints—how the original installer dealt with offsets tells me how a new piece must tie in so the seam doesn't announce itself.
Profile, surface and species: match more than the silhouette
Matching the silhouette is the starting point, but surface character and species make the match read correctly when painted or finished. I identify wood species and surface texture on site and note whether the profile shows tool marks or machine marks. Paint build-up changes edge thickness and shadow lines; I record how many visible layers there are and whether edges are rounded by sanding or by original shaping.
When a reproduction is required I decide how the new piece should be finished to read like the old work. That might mean softening crisp mill edges, reproducing a slightly rounded nose, or adding a back bead so the new casing sits into plaster the same way the old one did. I also test paint on a scrap so you can see sheen and edge behaviour before full installation.
Blending new material into old work
My practical principle is blend, don’t shout. For a clean repair I match reveal widths, shadow lines and the way joints are finished. If the original had a small gap at the top of baseboard where it meets plaster, I reproduce that proportion rather than forcing a flush modern joint that will look foreign. Where old and new meet I feather fills, match caulk style and maintain consistent shadow lines so the eye doesn’t stop at a mismatch.
Installation details guide my joinery choices. If the original was shop-made and assembled in long runs, I’ll aim to reproduce that rhythm. If mitres or returns were cut on site and show particular scribing to uneven walls, I’ll replicate the scribe approach. The goal is a visual stitch: the new work should carry the same small variances that give the room its character.
Bloor West Village context and how it shapes decisions
In Bloor West Village the City identifies the early 20th century as the significant period of development, with most structures in the HCD study area built between the late 1910s and 1929. The City’s neighbourhood profile also reports that a large share of dwellings were constructed before 1960, and adjacent Runnymede–Bloor West Village streets show Edwardian and Arts and Crafts influences. I use those facts to frame an identify‑first strategy: assume the potential for older, more substantial trim and plan to preserve surviving runs rather than replace them out of hand.
Because many houses in that stock were built in the early 20th century, my default approach on inspections is conservative. I look to preserve original plaster, mouldings and woodwork where they survive, copy surviving runs when possible, and adapt modern drywall junctions so new pieces read with the same era of detail. That doesn’t mean every house is identical, but the neighbourhood character pushes me toward reproduction and careful blending rather than wholesale replacement.
Practical inspection checklist I use on every job
When I arrive I run the same checklist so decisions stay practical and repeatable. I identify intact runs to copy, trace profiles, photograph returns and inside corners, note species and surface texture, record paint build-up and examine how trim meets the wall. I check stair skirt assemblies and door head treatments because they often define the room’s original profile logic.
After that I map options for the homeowner: repair and blend, adapt a close stock moulding with edge work and installation tweaks, or reproduce the profile in new material. I explain the visible trade-offs and how each choice will look once painted or finished.
Shop versus stock: deciding when to adapt and when to reproduce
Stock mouldings can be a sensible solution when a close profile is available and the installation details can be adapted. I’ll test a stock piece against the tracing and then soften or distress edges to match the older surface. If a stock profile is clearly different in proportion or step arrangement, reproduction is the cleaner visual solution: a custom run from a router or a small mill order that mirrors the original steps and returns.
Either way, the installation method matters. I don’t install new pieces and expect paint to hide poor junctions. I fit returns, match reveals, and finish join lines so the new work reads like original carpentry rather than a modern afterthought.
Finish and visual stitching: how I complete the match
Paint and finish choices determine whether a good match reads as seamless. I neutralise paint build-up on retained mouldings before bringing in new pieces so edge thickness and sheen match. For visible joins I hand-skim small fills and feather the finish to match the original edge crispness or softness. I present a painted sample in situ when there’s uncertainty so you can approve the look before we proceed.
Decisions about sheen, primer approach and the number of finish coats are practical choices I test on-site. A trial piece painted in place is the simplest way to avoid surprises in how a new run reads against old, layered paint.
How I work with homeowners and next steps
I come prepared to trace profiles and to show options on the spot: repair and blend, adapt stock, or reproduce. If you want me to take a closer look and lay out a plan I’ll visit and document the details, then leave clear choices and a suggested path forward. For the range of restoration and trim services I do, see the overview at /services/trim-moulding-and-old-home-finish-restoration/. To arrange an inspection or ask about a specific room, reach me at /contactruss/.
What do you evaluate during an on-site profile read?
I inspect intact runs, trace the profile, photograph returns and joints, note surface texture and paint build-up, and check how the trim meets plaster or drywall to decide the best repair approach.
What makes a stock moulding workable instead of needing reproduction?
A stock moulding is workable when its steps and proportions are close to the original and the installation can be adapted so reveals and shadow lines match the room.
When do you repair a damaged section rather than replace a whole run?
I prefer to repair and blend when original material survives and the damage is local; if the run’s profile or installation method is inconsistent, reproduction may be the better choice.