
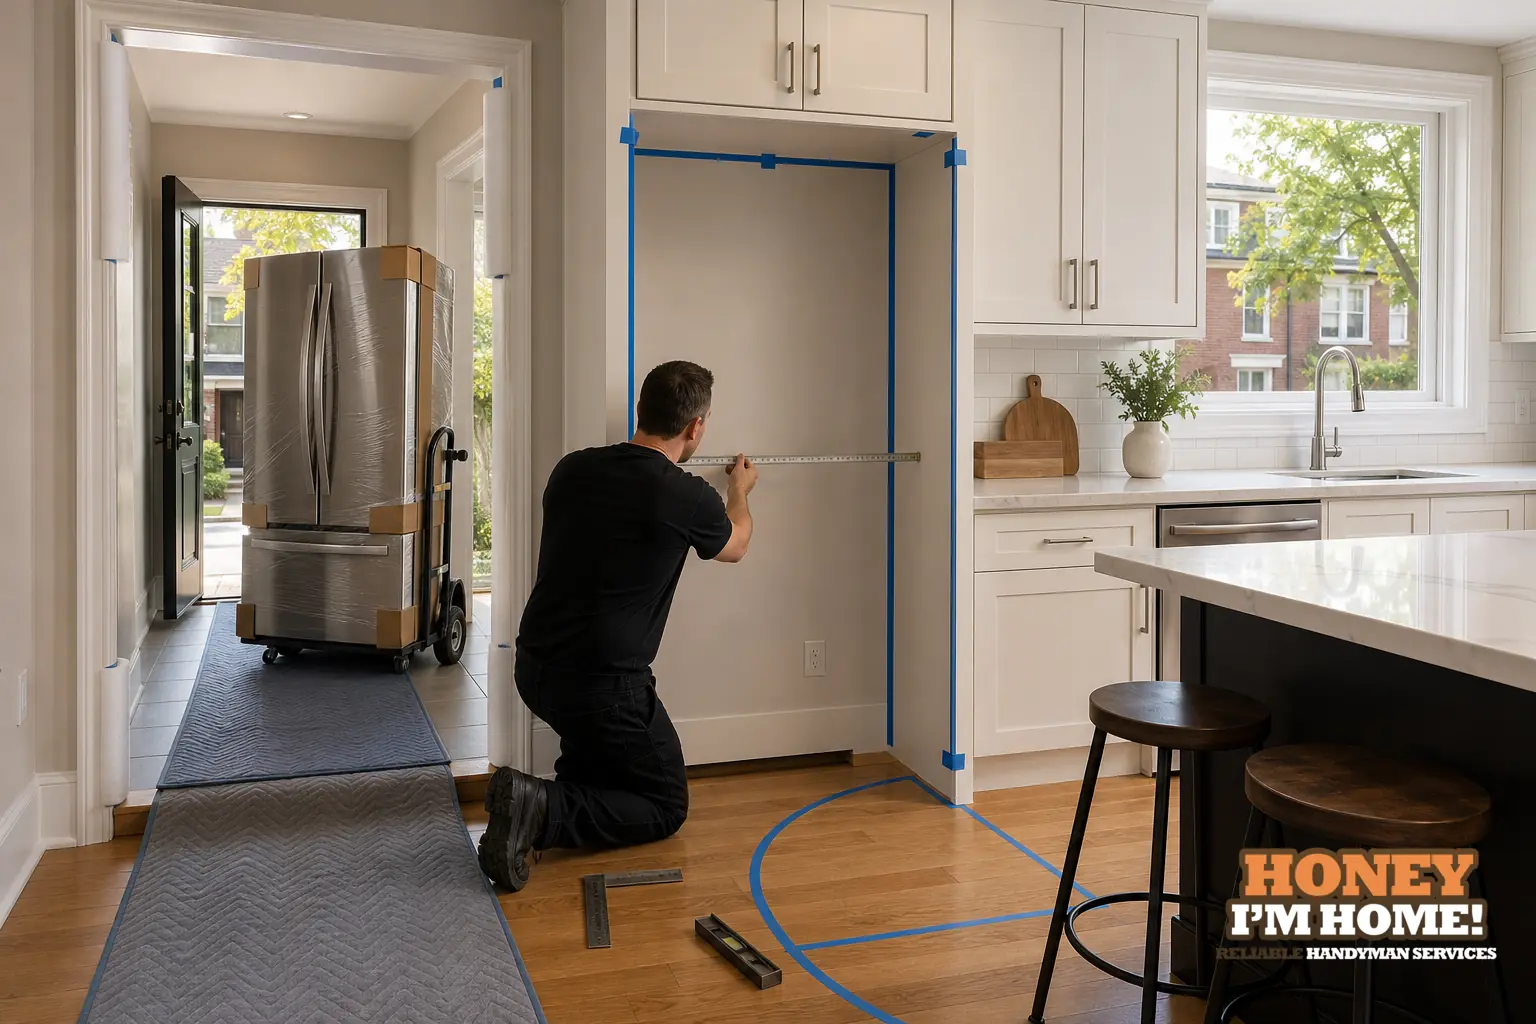
Before the delivery day I compare the fridge’s published dimensions with the measured opening and the delivery path, confirm the manufacturer’s minimum clearances for ventilation, and note any door swing, trim or floor transitions that will need temporary removal or protection so the unit can be set without damaging finishes.
Start with the model paperwork and the physical route
I always begin with the model’s spec sheet and the house walk-through. The spec sheet tells me the published height, width and depth and any required ventilation clearances. On site I match those numbers to the measured opening and then walk the route the crew will use — front door, side door, hallway, stair landing or from the garage. Appliances fail installs more often from route problems than from wrong openings.
On the path I look for narrow pivots, low railings, ornate newel posts and moulded door casings that might limit rotation. If the unit needs to be tilted or pivoted, I note where handles, glass doors or original trim could be at risk and whether reversible removals — a door leaf, a section of baseboard, or a hinge pin — would make the passage safer. I photograph the route and include those photos in the pre-delivery notes so the delivery crew knows exactly what to expect.
Manufacturer clearances and why I never assume
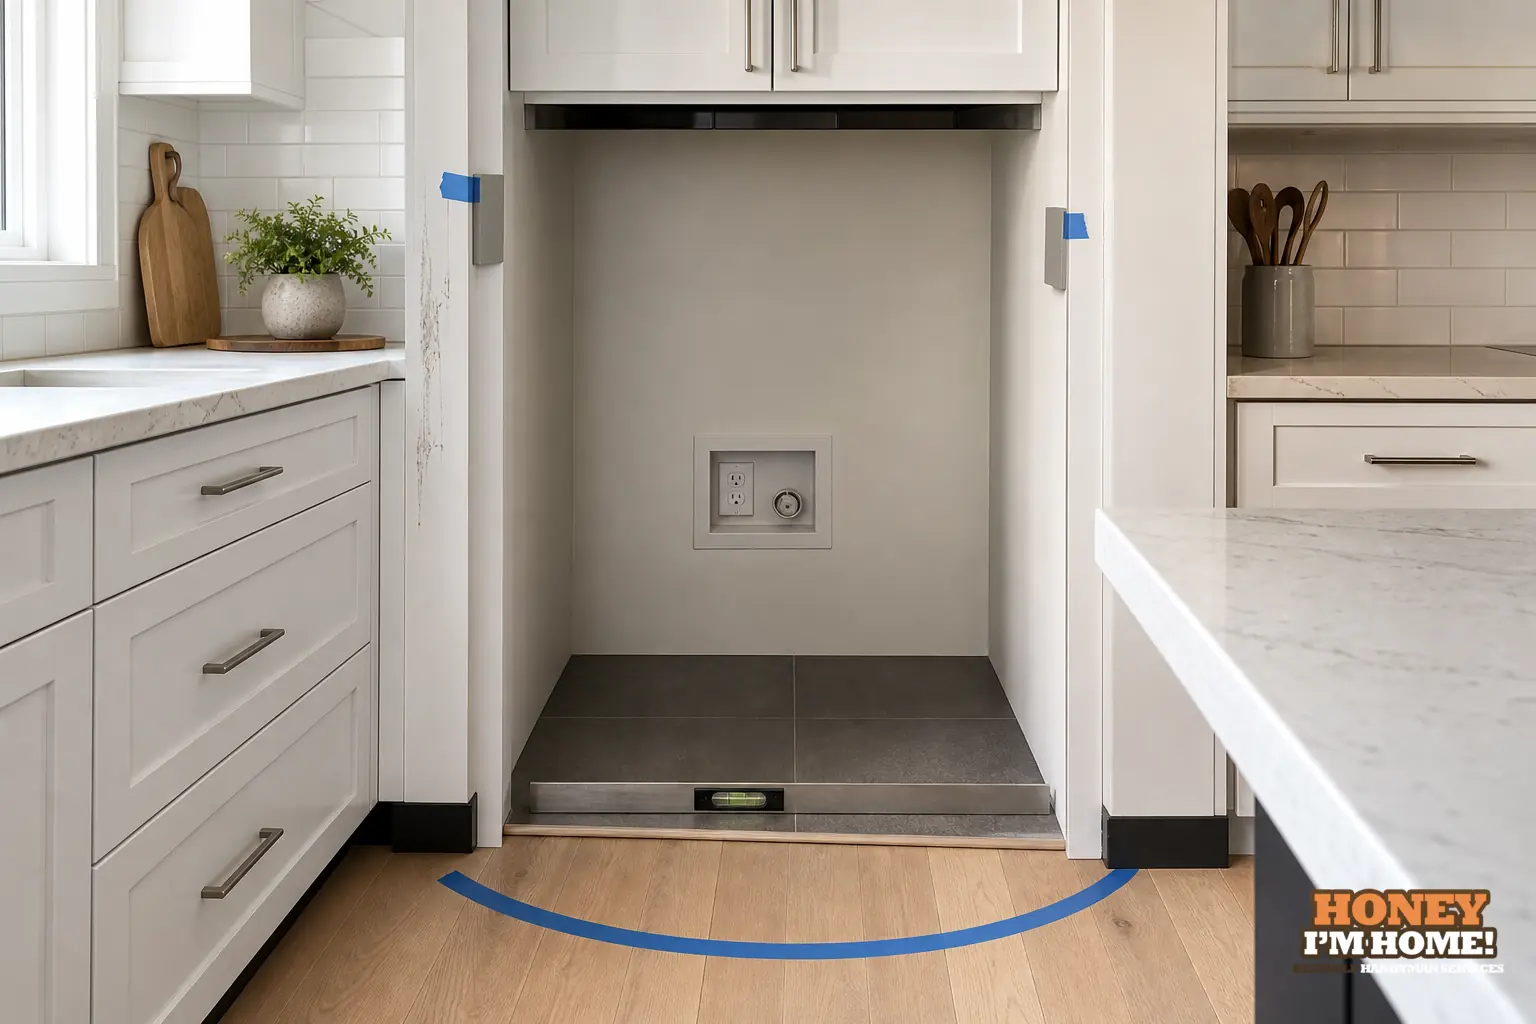
The manufacturer’s installation guide controls ventilation and performance. I confirm the recommended gaps at the top, back and sides and treat those as requirements, not suggestions. After that I check for practical clashes: will a neighbour cabinet door, a drawer, or a window sill hit the fridge when doors are opened? If the guide allows a small clearance for venting, I explain the trade-offs to the homeowner rather than guessing it will be visually acceptable.
When an aesthetic outcome is important, I propose reversible approaches that preserve ventilation: a discrete toe-kick grille, a narrow filler that respects the airflow path, or leaving a small, intentional reveal. I won’t recommend concealing required clearance behind cabinetry or trim that will block airflow.
Door swing, handle geometry and adjacent cabinetry
I check full door swing and the interaction with neighbouring components. Some kitchens are tight: a fridge door can collide with a pantry door, or its handle can scrape a painted casing. I simulate the swing myself if the homeowner doesn’t have room to test with the appliance on site. If there’s interference, options include swapping handles for lower profile alternatives, using a shallow filler, or planning a modest, reversible undercut to a doorstop.
When original mouldings are involved I favour minimal, reversible fixes: undercutting a jamb slightly so the fridge clears, or removing a small section of trim to be reinstalled afterwards. I avoid removing or altering original joinery unless the homeowner explicitly approves that approach.
Floors, thresholds and protecting historic finishes
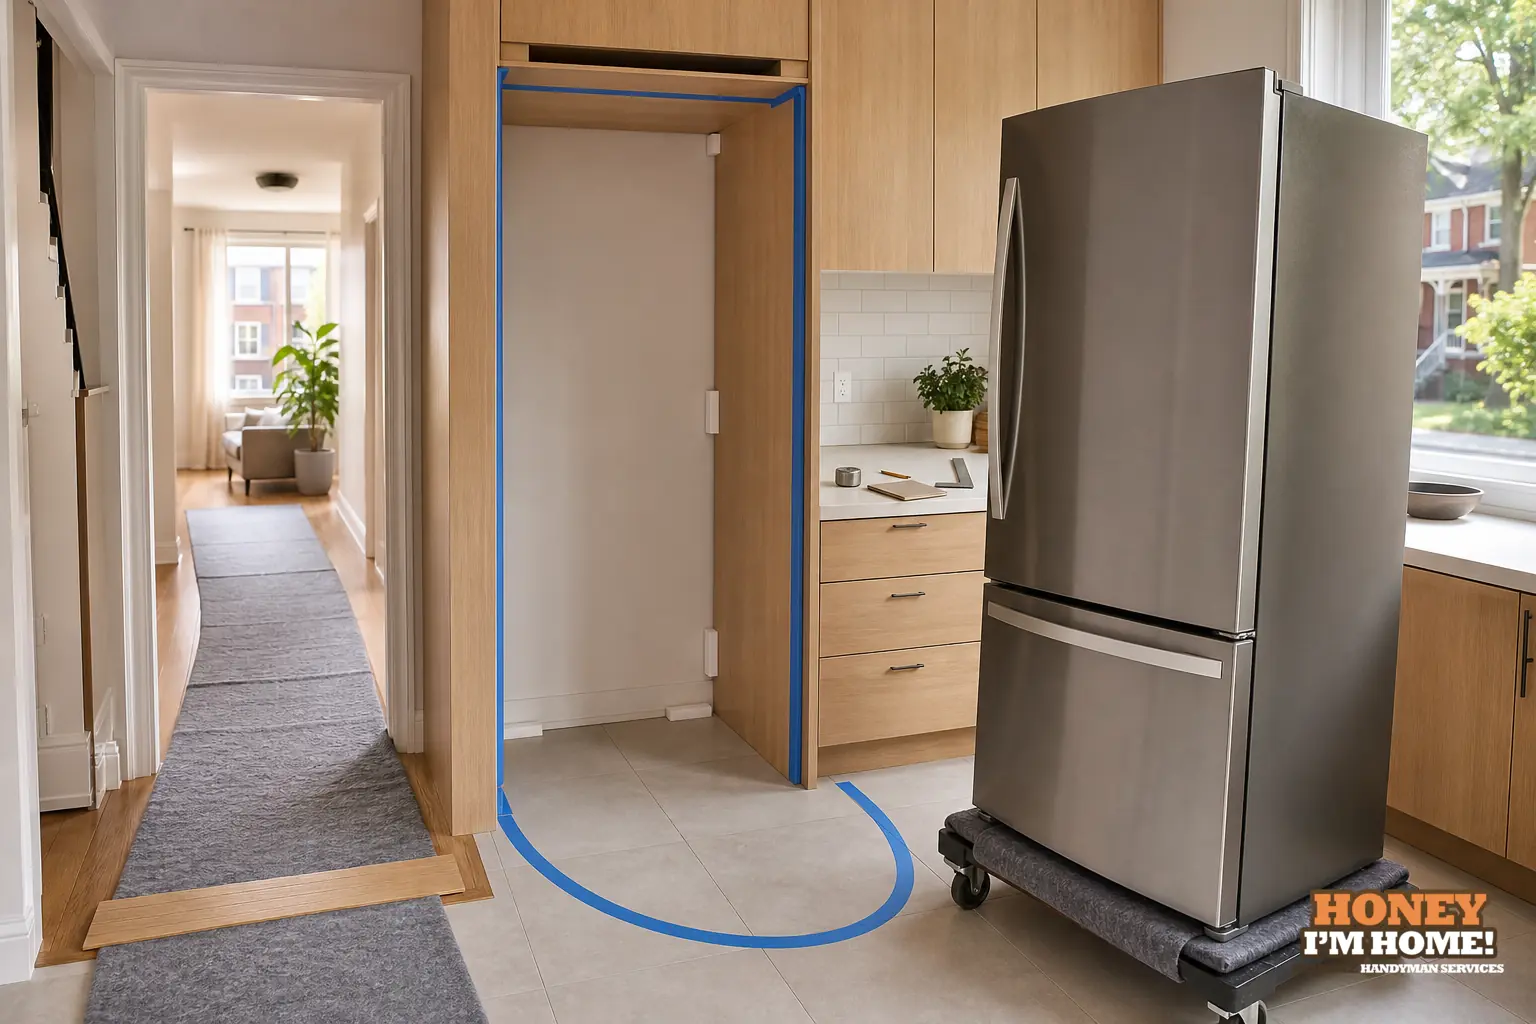
Many older houses have layered floors and multiple thresholds in the delivery line. I check for tile noses, wood-to-tile transitions, uneven patches and original hardwood that could catch the fridge rollers. I bring moving boards and protective runners to bridge shallow thresholds and protect finishes during the move. If a floor is noticeably out of level I use adjustable feet or stable shims so the appliance sits plumb without altering the subfloor.
Where original finish is at risk — a painted baseboard, a hand-planed stop or a historic plaster edge — I recommend temporary removal rather than forcing the unit past fragile material. Removing and reinstalling trim or a doorstop is usually less invasive than damaging a long-standing finish.
Water connection: what I do and what needs a plumber
I locate the existing shutoff and confirm the factory-supplied hose reach and routing. I make sure the shutoff will be accessible once the fridge is put in place and that the hose won’t kink. I will run the hose along a visible path and show the homeowner where it sits after installation.
If the project requires a new shutoff, rerouting behind finishes, or concealed lines, those are plumbing tasks. I document the routing and recommend a licensed plumber for any concealed or permanent supply changes; I don’t perform concealed plumbing work myself.
Documenting prep items and communicating with delivery crews
I prepare a short pre-delivery packet for homeowners and the delivery team: measured opening and any height or ceiling considerations, photos of the route with choke points marked, notes on temporary removals and where the water shutoff sits. I also mark any required protective measures for floors and trim.
Deliveries run smoother when everyone has the same expectations. If a homeowner asks for a flush or integrated look, I include the visual trade-offs in the packet so the delivery crew and the homeowner agree on whether a visible gap, a grille or a simple filler panel is acceptable before the crew arrives.
Runnymede housing character and practical repair choices
In Runnymede I often find early‑20th‑century detached houses with Edwardian or Arts and Crafts details and layered floors because most houses there were built before 1960. That means original plaster, moulded trim, and older thresholds are common on installation days.
When I work in those homes I measure existing profiles and transitions rather than assuming modern standard dimensions will hide behind new cabinetry. If original trim is sound, I aim to preserve it: that might mean fitting a thin filler strip instead of shaving a casing, undercutting a doorstop to allow clearance, or doing a tidy touch-up after the set so the repair matches the existing profile. Those are modest, deliberate choices that keep original material intact when it’s still useful.
Common small repairs and finish work I perform after fit
Once the refrigerator sits correctly I do minor tidy-up work: fit a small filler to conceal a ventilation reveal maintained to the manufacturer’s instructions, repaint a tiny area where a trim was undercut, or reinstall removed moulding. I favour repair over wholesale replacement when original material is sound; it maintains character and keeps the look consistent with the home.
If a homeowner wants an integrated panel look but the opening is slightly off, I can specify a visible grille or a slim filler panel and measure for handle clearance options. Those decisions come after confirming required clearances and the delivery method so there are no surprises on set day.
How I charge and schedule a pre-delivery check
I offer on-site checks that document the opening and the route and that include photos and a short notes sheet for the delivery crew. If you’d like that service or a coordinated multi-appliance plan, you can read about my broader offerings at Appliance Installation & Home Setup or reach out directly at /contactruss/ to arrange an on-site review.
What if my new fridge won’t fit through the delivery route?
I inspect the path and recommend reversible options like door removal, temporary trim removal, or a planned tilt; I document and photo the approach before any work begins.
Should original moulding be removed to make room?
I preserve sound original moulding whenever possible and only recommend minimal, reversible removal when it prevents damage during a safe installation.
Will the fridge still ventilate if I add a filler panel?
You can add a filler panel as long as the manufacturer’s specified ventilation paths and minimum clearances remain unobstructed after the panel is fitted.