
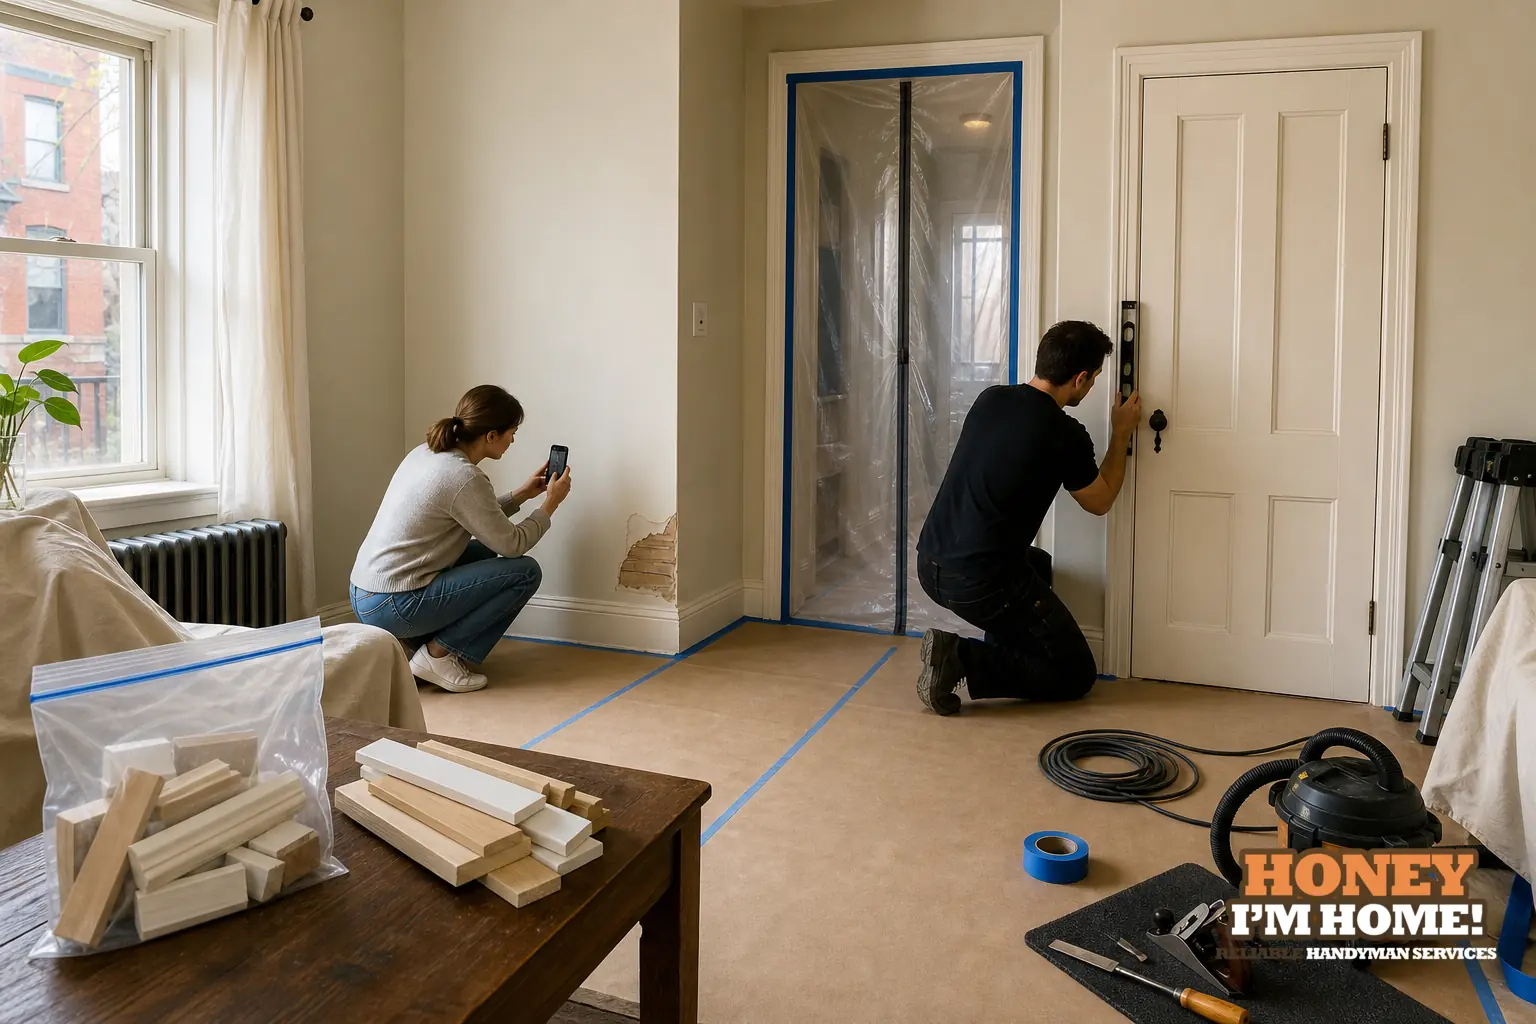
Clear the immediate work area, bag any trim offcuts or painted samples, and send clear photos of where trim meets wall and floor. Note odd conditions—sticky doors, plaster returns, uneven reveals—so I bring the right tools and can give a realistic plan on the first visit.
I’m Russ, owner-operator of Honey, I am home. I handle small interior carpentry jobs—trim repairs, casing and baseboard work, door and stair touch-ups—and I prepare differently for older houses than for new finishes. Below I explain what I check up front, what I ask you to do before I arrive, the day-of routines I follow to keep your home tidy, and how the local housing character changes the choices we make on site.
What I check before I accept a job
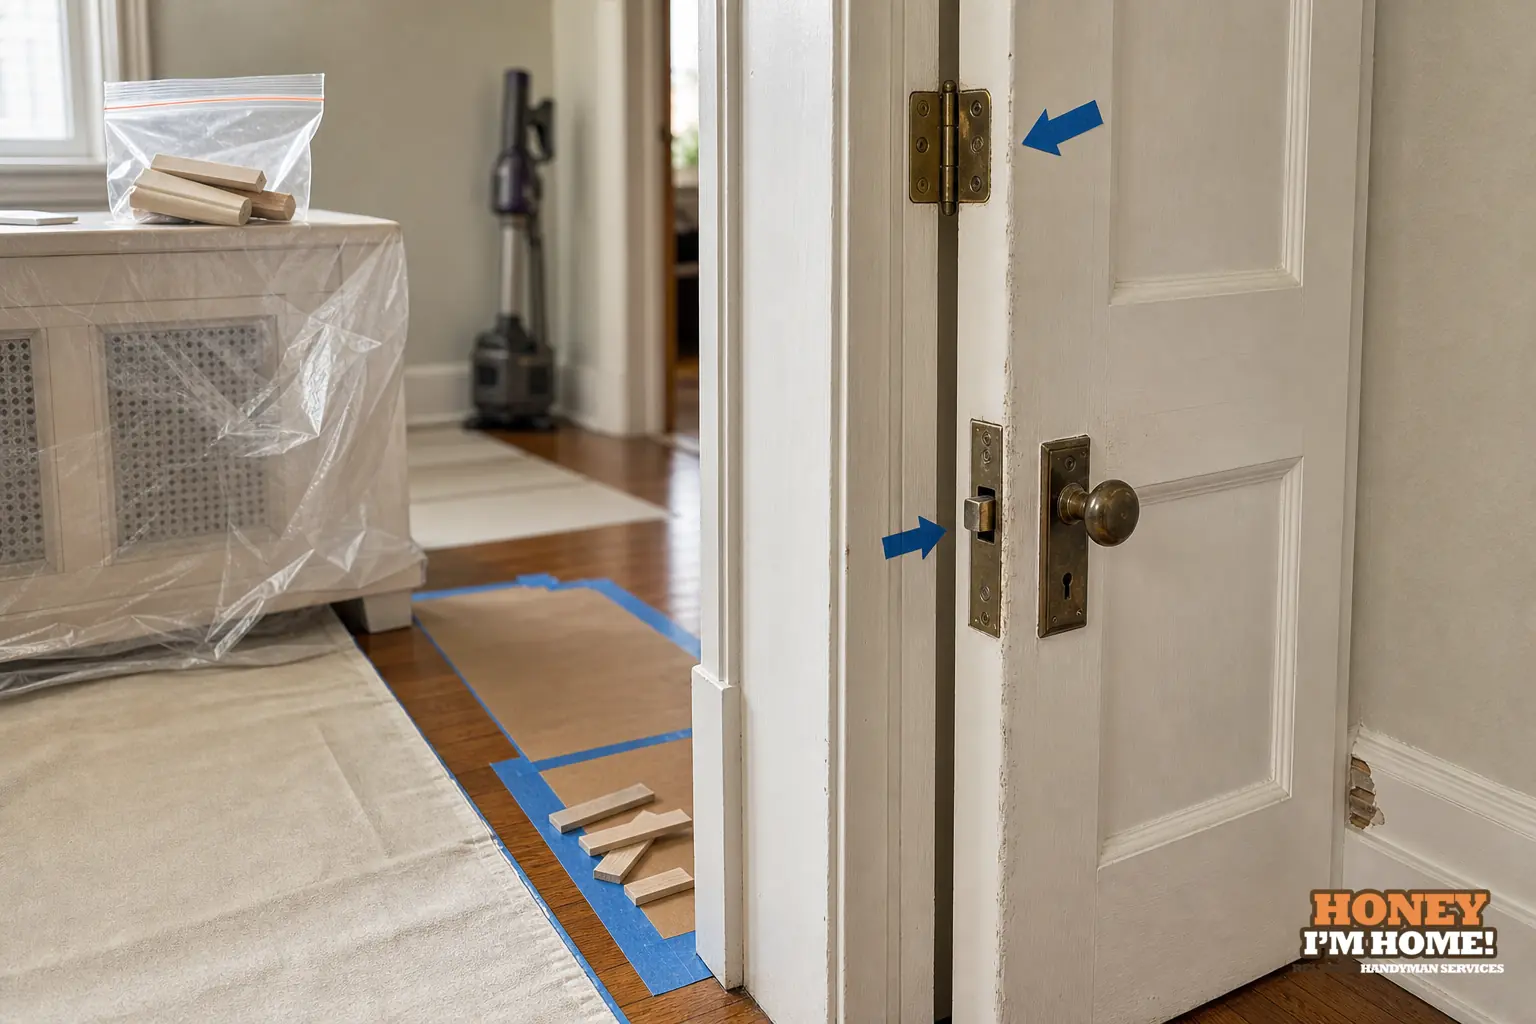
Before I confirm a visit I ask for at least three photos: a close-up where trim meets the wall, a wider shot of the run or door, and an image of the floor right beside the trim. Those views tell me whether I’m dealing with painted-over original moulding, a plaster return, or modern drywall and base. Photos help me determine if I’ll need hand tools for fine fitting, a coping approach, or simply a few replacements and finish nails.
I also ask you to describe access constraints: narrow entries, stairs, or a path I’ll need to protect. If a job sits beside a treasured rug, built-in bookcase or a stair landing, mention that. Good photos and an access note reduce visits and surprises.
How to prepare the space so work goes smoothly
Move small furniture, lamps and breakables out of the immediate area so I can lay down protection without risk. You don’t need to empty the whole room—just give me a clear rectangle to work in and a path to the front door for waste and materials. If you prefer a particular way to cover furniture or rugs, tell me ahead of time and I’ll follow your preference.
I bring floor protection—drop cloths, soft boards and rosin paper—but removal of delicate items is the homeowner’s best protection. If you have original trim scraps, a painted-off length of baseboard, or a small cut of casing saved in a drawer, put those in a marked bag. Those samples are often the fastest way to match profile and paint build-up and can save a return visit.
What I measure and inspect on site
I’ll check reveals, the relation of trim to the finished floor, and the profile of existing mouldings. I look for telltale signs: doors that rub, baseboards that lift near moisture, or uneven edges where later flooring meets older trim. You don’t need to take exact measurements beforehand—notes about behaviour (doors that stick, squeaks, or loose trim) are more useful than imperfect tape measurements.
If I encounter a plaster edge or a heavy paint build-up, I’ll reveal a small section to understand grain and joint behaviour before committing to a method. Those details change how I remove or reinstall trim to avoid damaging surrounding surfaces.
Materials, matching and preservation choices I discuss with you
I lean toward repair and splice work when original material is still sound. For period-style baseboards and casings a splice or short repair can keep the visual read correct without replacing entire runs. If original moulding is too deteriorated, we choose a replacement profile that reads sympathetically with the room.
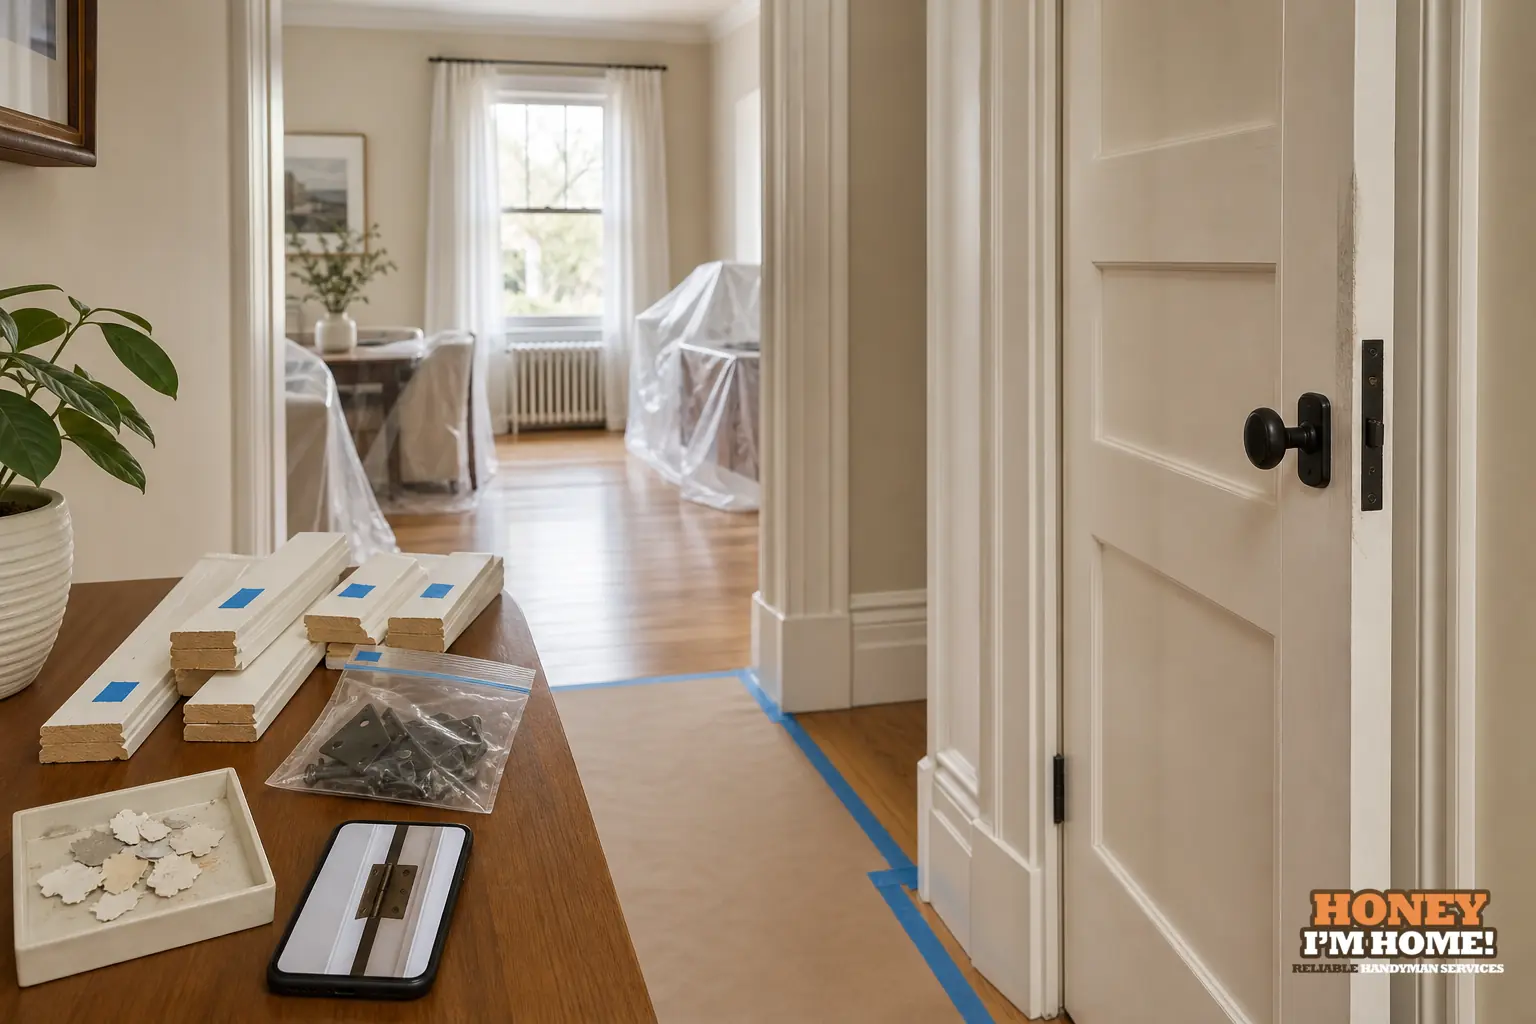
Bring paint chips or offcuts when you can. When no sample exists I will bring a close stock profile or arrange to have a matching piece milled, depending on what best preserves the room’s look. I’ll talk you through the visible trade-offs so the result matches your priorities—preserve original fabric where it still works or switch to a sympathetic replacement where it doesn’t.
How the local housing character changes practical decisions
Runnymede-Bloor West Village is dominated by early 20th-century detached housing near Bloor Street with Edwardian and Arts and Crafts influences, and the city’s 2016 profile reported 87 per cent of dwellings there were constructed before 1960. Practically, that means I often find thicker baseboards, original casings and plaster walls under later paint layers in these homes.
Because of that local character I plan for hand-coping, careful splicing and preserving sound original material instead of assuming modern stock will sit neatly into place. I measure existing profiles and transitions on arrival rather than assuming standard dimensions; where original moulding remains useful, preservation usually gives a cleaner visual result than wholesale replacement.
Day-of-job routines I follow at your house
I set up a dust-control zone and lay continuous floor protection before any cutting or sanding. My kit for small interior jobs includes handplanes, a coping saw, joinery clamps, finish nailers and sanding tools. I keep a tidy staging area so offcuts and waste don’t get mixed with your household items, and I sweep and vacuum the immediate zone before I leave.
If I uncover an unexpected condition—plaster returns, layered painted jambs or uneven reveals—I stop and show you the issue and practical fixes. I’ll outline options: repair and blend, splice a matching section, or replace with a sympathetic profile. You choose how visible the repair should be, and I proceed with the agreed approach.
Portfolio example
The homepage portfolio shows a staircase refinished in dark stain with white spindles, plus custom interior woodwork.
How to scope a small project so it actually finishes
Keep small projects narrow: a run of baseboard, one door casing, a set of stair tread repairs, or a single built-in shelf. Broad ambitions tend to expand unless they’re scheduled in phases. If you have a longer list, we prioritise performance items first—loose or safety-related pieces—then cosmetic work in a follow-up phase.
If you want an on-site estimate, send clear photos and note historic features you want preserved. For background on the kinds of interior finishing I offer, visit /services/custom-carpentry-and-interior-finishing/. When you’re ready to book a visit, you can request one directly at /contactruss/.
One client put it plainly: "This is a person whose number is worth saving." — Google review. See the review on the site at /#awards.
What should I move before you arrive?
Move small furniture, rugs and breakables out of the area so I can set up protection and work without risking damage to household items.
Will you match my existing moulding profile?
I measure existing profiles and either use saved trim, bring a close stock profile, or have a matching piece milled to blend with original moulding when needed.
What happens if you find unexpected plaster or paint layers?
I stop to show you the condition and explain practical repair, splice, or sympathetic replacement options so you choose the preferred visible outcome.