
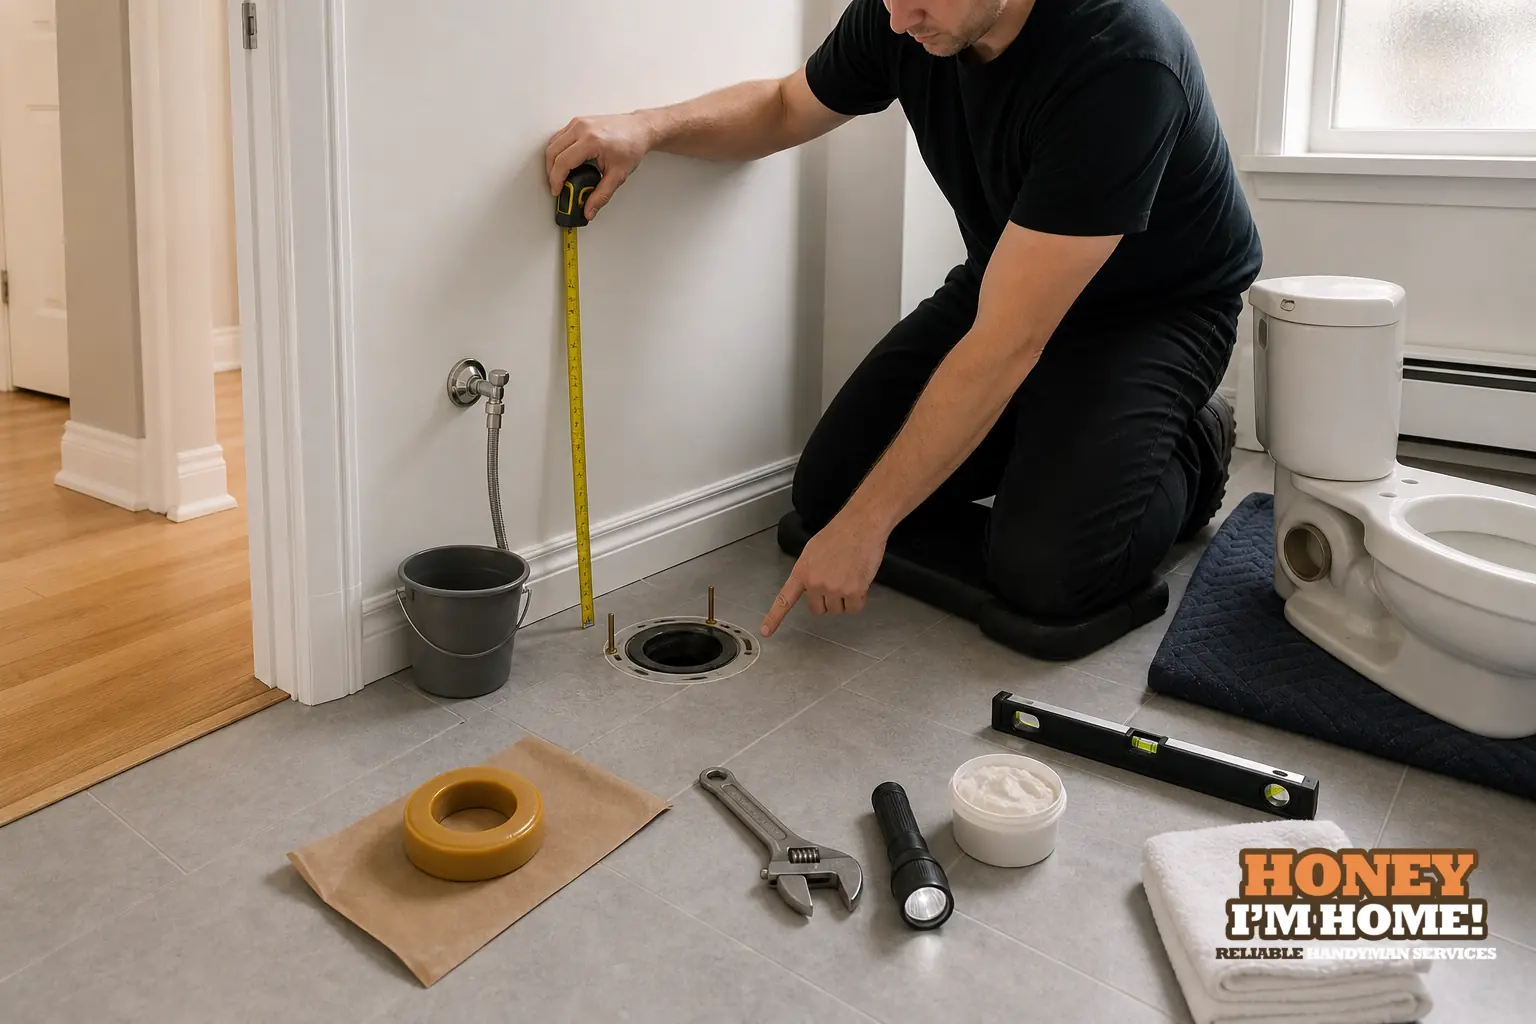
Before you swap a toilet I inspect the flange and floor integrity, confirm where the waste outlet sits (the rough‑in), check water supply access and valve condition, and measure how the new bowl will meet trim, flooring and the door swing. These checks prevent surprises and guide the right replacement choice—if you'd rather I can inspect and advise; see /services/plumbing-and-fixture-installation/ or contact me at /contactruss/.
Start with the flange and floor interface
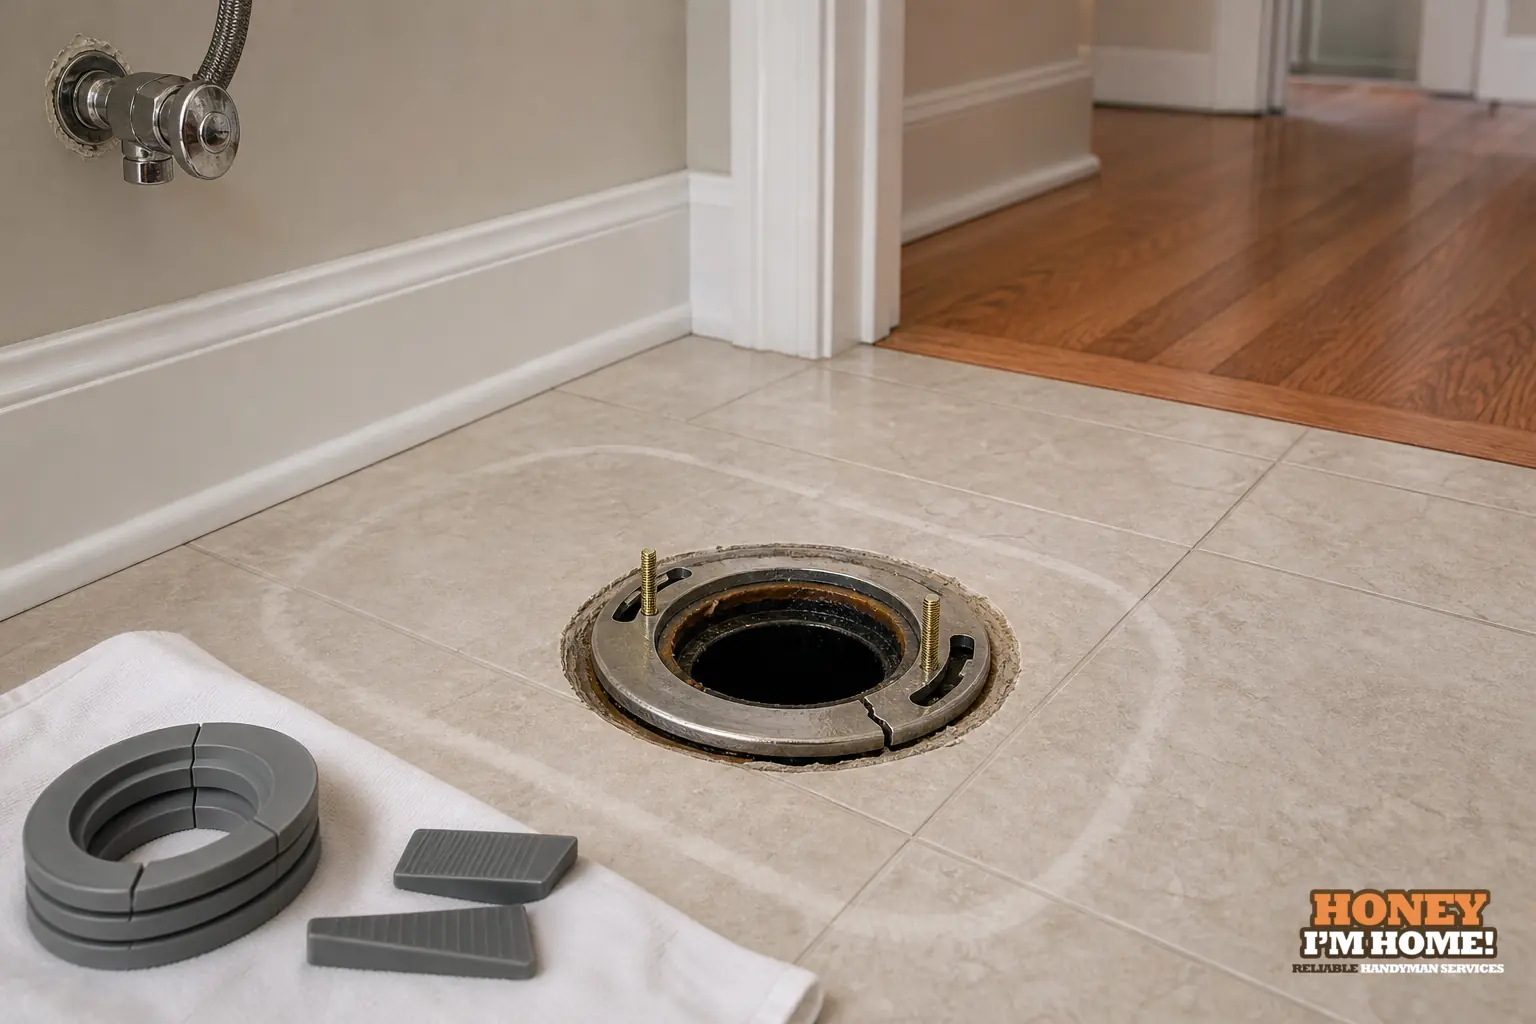
I always begin at the base. The flange is the interface between the pan and the drain; if it’s corroded, cracked, loose, or set lower than the finished floor the new bowl won’t seal or will rock. I look for movement at the closet bolts, signs of previous patching, and any staining that suggests intermittent leaks.
Where the floor finish meets the bowl base is as important as the flange itself. Old finish layers, uneven tile edges, or a raised hardwood plank can stop a bowl from sitting flat. I probe the floor around the attachment points for softness and check whether the floor layers have been altered during past renovations. If I find a soft spot I describe repair options so you know whether I’ll need to plan a local repair before setting a new toilet.
Confirm the rough‑in and bowl fit
Not every replacement bowl will fit every outlet position. I confirm the waste outlet location relative to the finished wall and the offset of the trapway so the replacement bowl aligns without forcing plumbing or trim. I also consider bowl height and shape in relationship to the room: bowls sit differently against vanity cabinets, freestanding trim, and baseboards, so I visual‑fit a few models before recommending one.
On older installations I look for past modifications that changed the outlet position or used odd adapters. Those can still work, but they influence the plumbing parts I bring and whether I recommend a straight swap or a different approach. If there’s tight clearance to a door or vanity I point that out; sometimes a different bowl shape, not a different brand, is the least disruptive fix.
Water supply, shutoff access and tank compatibility
I check the shutoff valve and supply line orientation early. A valve tucked behind a narrow pedestal or sitting at an odd angle limits the replacement models that will fit without a flexible connector or minor trim adjustments. I test the valve for easy operation and look for signs of mineral buildup or past leaks.
Tank connection points on two‑piece bowls can differ, and some replacement tanks or one‑piece bowls sit closer to the wall. That affects the final clearance and whether a new tank will crush existing trim or require trimming the drywall base. I plan around the supply hose routing so there’s no pull or kink behind the bowl after installation.
Finishes, trim, door clearance and transitions
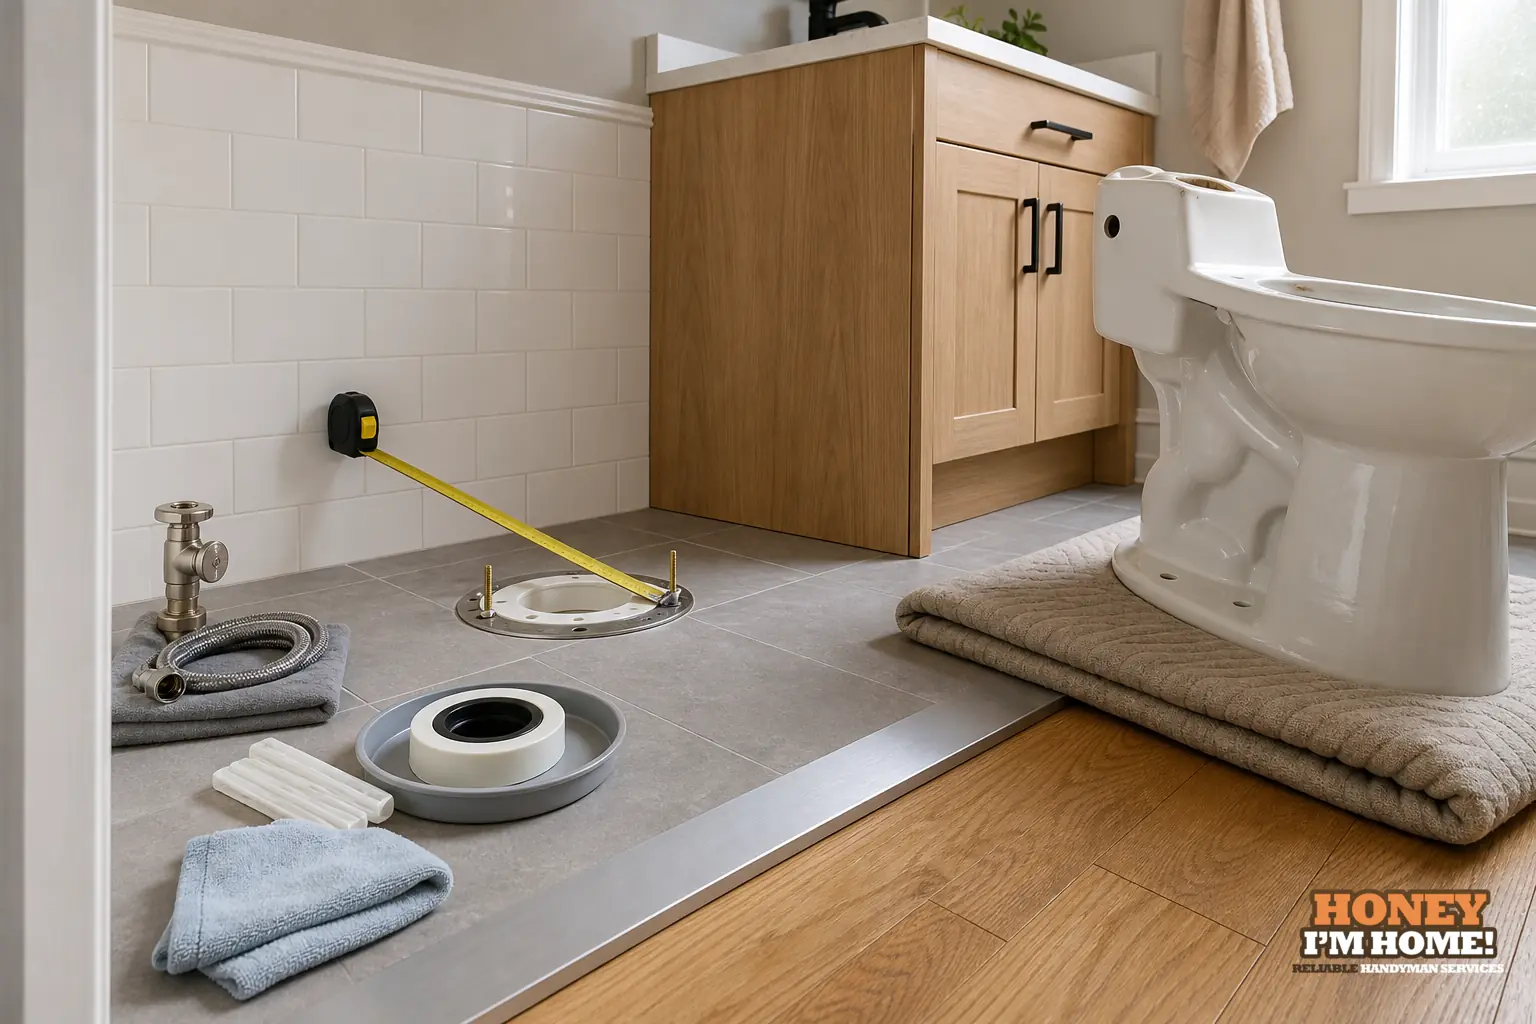
Paint, trim, tile edges and the door swing determine whether a straight replacement is clean or looks altered. In neighbourhoods where houses have had many incremental renovations, tile or hardwood transitions can be uneven. I measure transitions and check trim profiles rather than assume the new bowl will 'disappear' into the space.
Caulking and seal lines tell a story: repeated caulking over a failing flange, for example, is a red flag. I document existing finish conditions and discuss whether we preserve original materials or adapt the new toilet to them. That lets you decide if the installation should prioritise preserving old finishes or achieving the neatest visible result.
How the local housing character changes the decision
In Runnymede many houses were built in the early twentieth century and show Edwardian and Arts and Crafts influences; the neighbourhood profile notes that most dwellings were constructed before 1960. That history shows up as original floor layers, older trim and plaster, and non‑standard transitions between rooms. I treat those details as features to respect rather than problems to erase. For example, where original wood flooring runs under a bathroom I check how a new flange will sit without removing useful original material. Where door openings and baseboards have been altered over decades, I measure existing profiles and nail lines before selecting a bowl so the visible trim work stays intact.
These realities can change what I recommend: a bowl that tucks closer to an original baseboard, a flexible supply line that won’t stress a historic valve, or a plan to preserve a sound original floor patch instead of cutting more material. I discuss those trade‑offs up front, so the installation fits the house’s character and the household’s expectations.
What I inspect, test and record on site
When I’m on a job I follow a simple ritual so nothing surprises the homeowner. I check for movement at the base, probe the floor for softness, operate the shutoff valve, and flush the bowl while watching the tank refill. Those actions reveal hidden problems: a soft floor under the bowl, a sluggish fill valve, or a flange that lifts when the bowl is rocked. I also map how the bowl meets adjacent finishes and note any odd fittings under the bowl that will need a different connector.
If anything looks suspect I photograph the area and lay out the options with you. Sometimes the best path is a straight swap. Other times we plan a short repair—reinforcing a subfloor patch or replacing a fatigued flange—before we set the new bowl. I explain the reasons clearly so you can choose the approach that makes sense for the house and your priorities.
Practical tips before the installer arrives
- Clear the bathroom so the flange area and access to the shutoff valve are visible.
- Note any recurring drain problems or smells; those details help me target the inspection.
- Keep copies of your current toilet model or photos of the bowl and tank if possible; that speeds model‑matching.
If you prefer I’ll come by to look and explain what I’d do. I provide advice that’s specific to the space instead of generic checklists; see more about the work I do at /services/plumbing-and-fixture-installation/ or reach me directly through /contactruss/.
Will a new toilet fit my existing flange and drain?
I examine the flange height and outlet alignment to confirm fit; sometimes minor adjustments let a new model work without altering the drain arrangement.
What causes a toilet to rock after replacement?
A toilet rocks when the flange or floor under the bowl is uneven or when the bowl wasn’t seated to the finished floor profile; I check both and describe repair options.
Should I replace the shutoff valve at the same time?
If the valve is stiff, leaking, or hard to access I often recommend replacing it while the bowl is out so the connection is secure and easy to service later.