
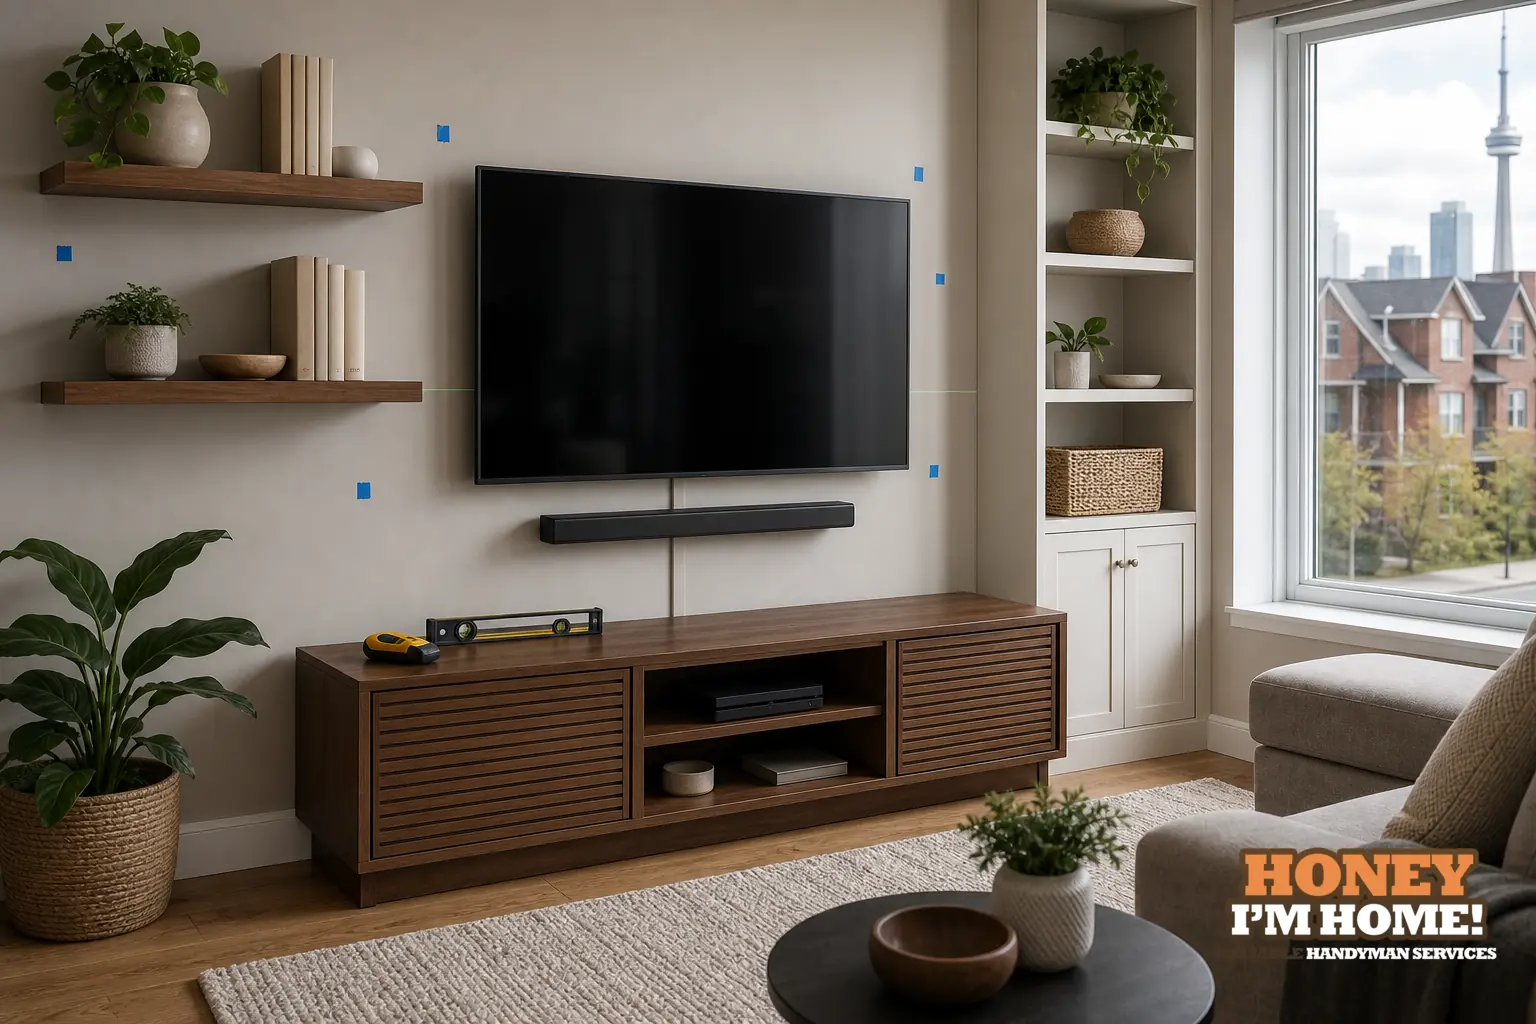
Start by fixing the viewing axis and then design clearances for consoles, shelves and service access. I mock up the screen, check wall finish and backing, plan cable routing, and only then pick anchors and bracket type so the TV, console and shelving read as one piece rather than three separate objects.
Begin with sightlines and a mock‑up
I always stand where you'll sit and tape cardboard to the wall to represent the screen. That lets me confirm the vertical placement relative to the top of the console and the horizontal centre between seating and any built‑in shelving. The mock‑up makes obvious whether a shelf will crowd the corner during tilt or whether a console will force the TV higher than the sightline requires.
I talk through seating habits: do people recline, do kids play on the floor, will the sofa move? Those answers change how I position the screen and how much breathing room I leave above a console or under a shelf. When clients want a cohesive wall composition, I aim to align at least one strong horizontal line—usually the console top or a dominant shelf—to anchor the TV visually.
Match depths, clearances and component access
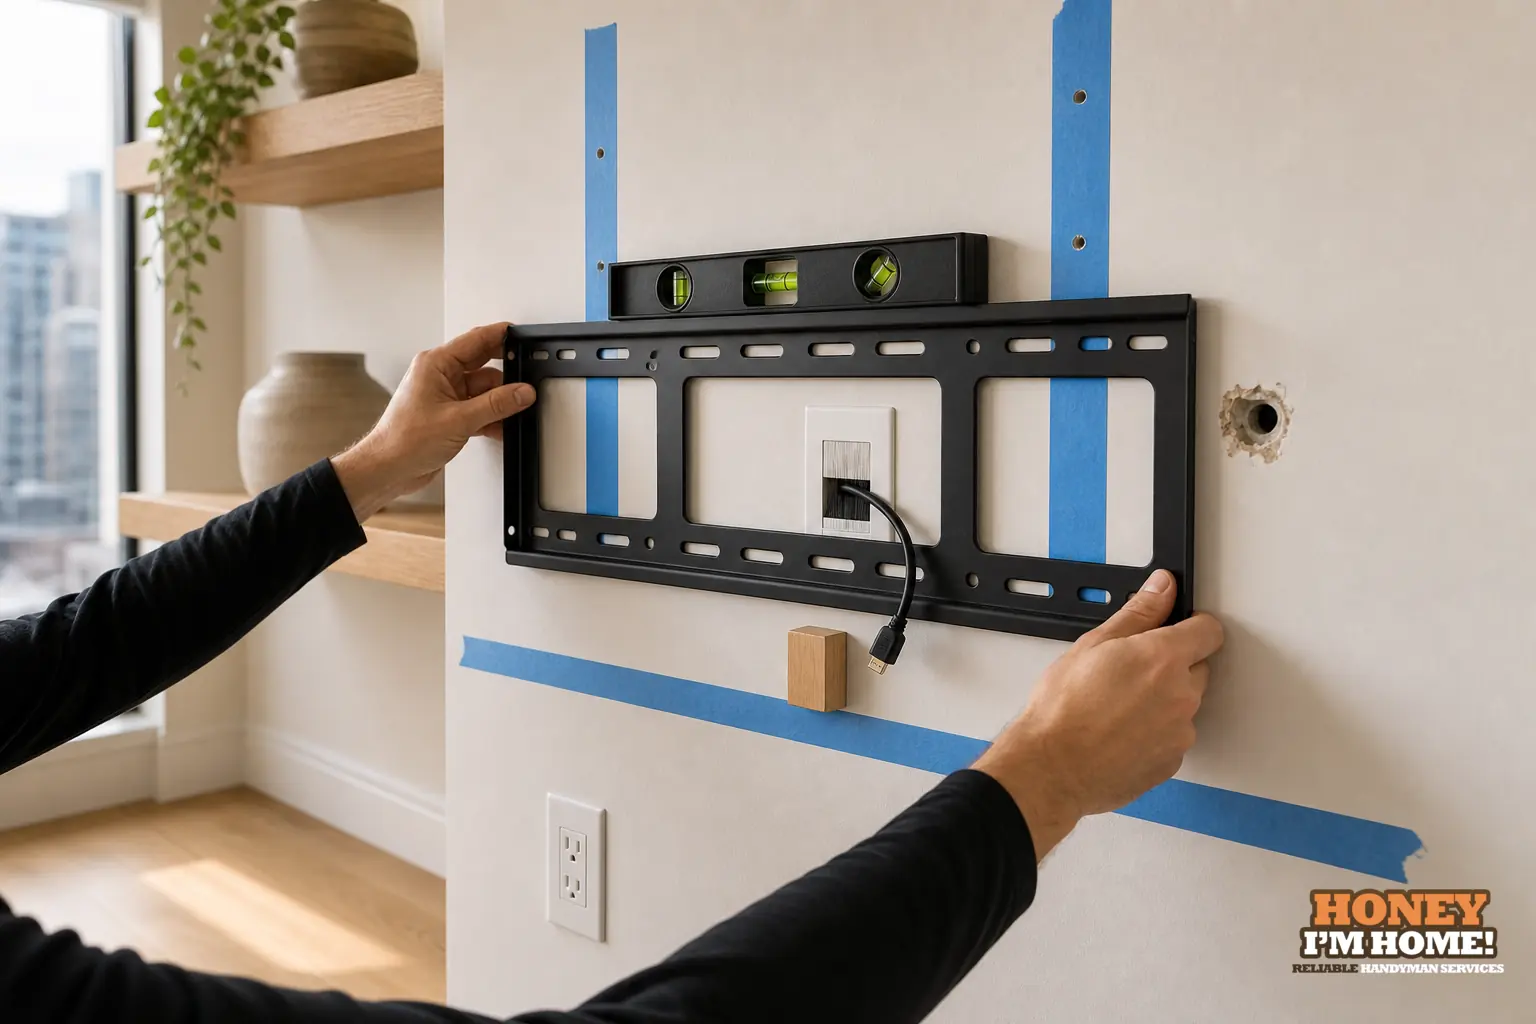
Depth relationships are often the technical surprise. A deep console pushes the TV forward; a shallow floating unit keeps the screen closer to the wall. I check that any shelf next to or above the TV doesn’t obstruct ventilation, remote sensors or access to HDMI and power connections. If a soundbar or AV box sits on a shelf, I make sure it has an unobstructed front face and adequate airflow.
My practical checklist for clearances includes reachable ports without moving heavy furniture, enough vertical space for the TV to tilt, and a service path for future cable changes. If you want cables hidden, I decide the route before drilling so the final finish stays serviceable rather than purely cosmetic.
What I inspect on the wall before choosing anchors
Before I pick anchor points I test the wall finish and backing. In the High Park area the City's profile reports that 55 per cent of dwellings were built before 1960 and the neighbourhood mixes older houses with a substantial apartment and condominium stock. That means I regularly encounter original plaster and trim in one unit and modern drywall or partition walls in the next. Each finish changes how I approach fastening and where I place shelves and consoles to avoid damaging historic mouldings or running into tight service cavities.
On older plaster I probe for solid backing and plan multiple small checks rather than trusting a single stud reading. In newer partitions I check whether the wall feels like a timber stud system, metal stud, or a separation assembly and adapt anchoring choices accordingly. Those checks also tell me whether a low‑profile bracket or a deeper mounting arm is the better option to keep shelves and the TV visually balanced.
Layout rules I use in the field
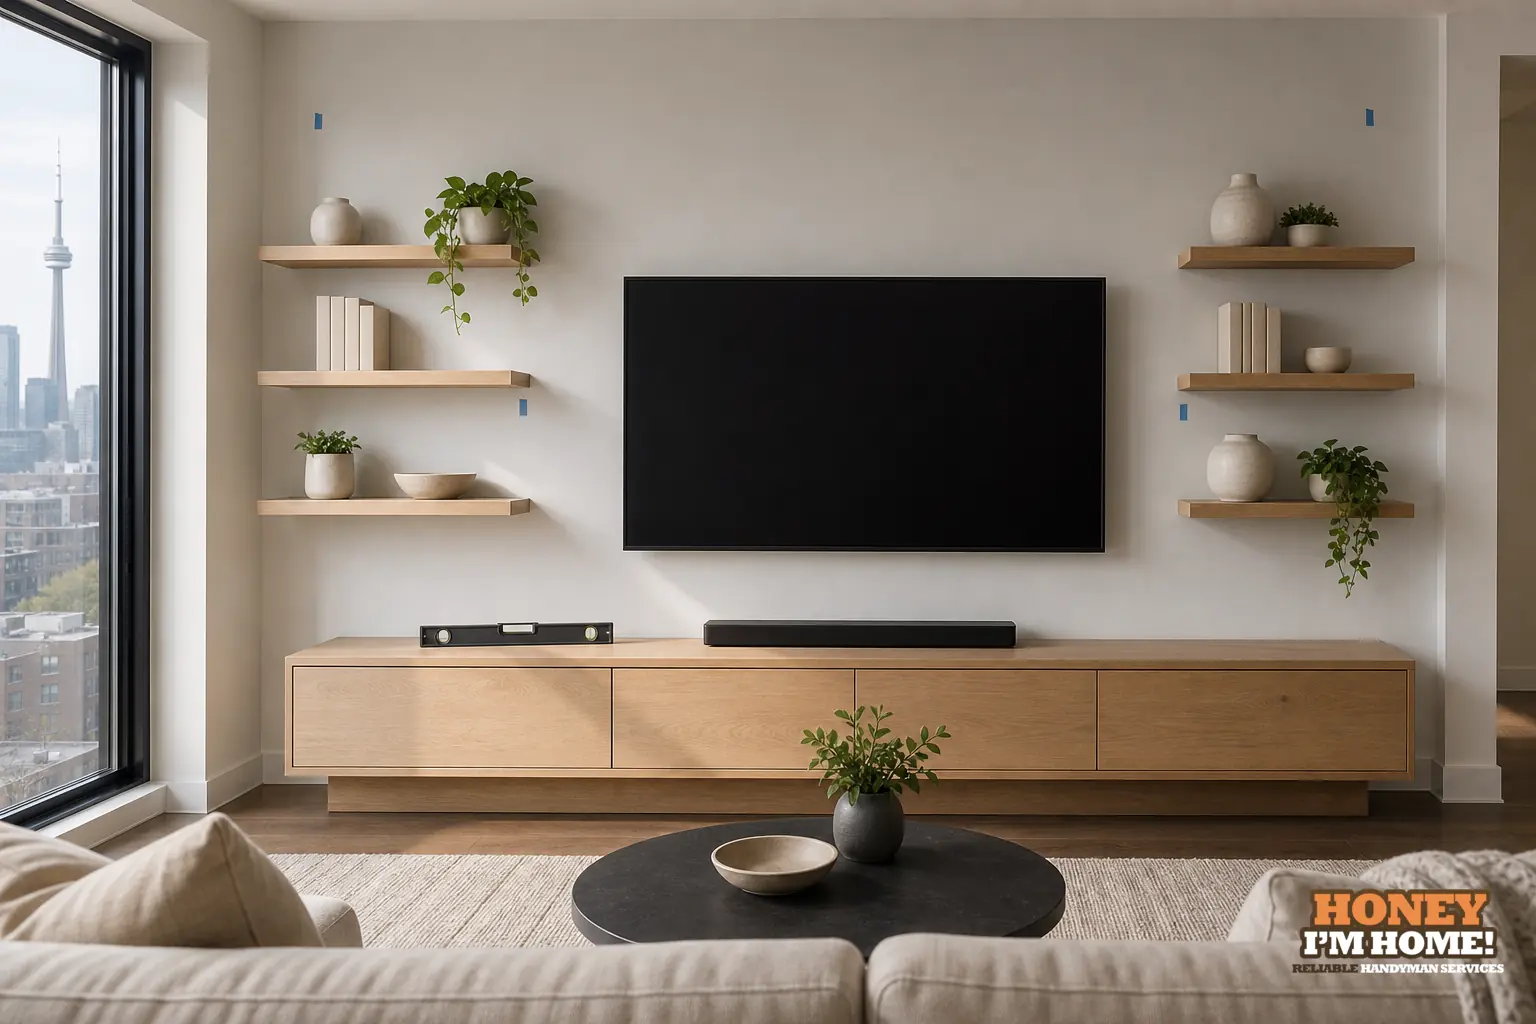
I don’t use one fixed formula. I work from three priorities: preserve the viewing axis, keep service access simple, and make the wall composition read as a single unit. If shelves frame the TV, I align their bottom or top edges with the console to create a continuous horizontal datum. If shelves are staggered, I maintain a margin so they never intrude into the TV’s tilt/swing envelope.
When consoles are used to hold AV gear I plan the console’s top as the primary service access point. Removable backs or inconspicuous access panels give the neat finish most homeowners want without forcing me to hide connectors in permanent cavities where they become impossible to reach later.
Concealing cables without blocking service
Fully concealed runs look clean but can trap connectors. I prefer a compromise: a recessed low‑voltage plate behind the console top or a removable panel inside the console that leads to a short concealed channel behind the TV. Surface raceways are the least invasive way to preserve original trim in older homes while keeping cables tidy and reachable.
If you want a totally clean face, I’ll point out the access points we need to leave. A neat finish and future serviceability aren’t mutually exclusive; I plan the route so a technician can replace an HDMI cable without removing the entire TV or dismantling built‑in shelves.
Shelves above or beside the TV: what I check
Shelves create a strong architectural look but I’m careful about spacing. I avoid putting a shelf right above the TV’s top edge so the display has room to tilt and disperse heat. Heavy objects belong on supports that are independent of purely decorative shelf fixings; I never rely on decorative brackets alone when heavy items hang above a screen.
When clients want shelves that overlap the TV edges slightly I check tilt clearance and the TV’s bezel before committing. For floating shelves that align with the screen edges I make sure the shelf projection won’t end up visually slicing the display’s corners when the TV is viewed from the primary seat.
Tying the plan to local building character
Because High Park contains both older detached houses and a substantial apartment and condominium stock, I bring a toolkit and workflow that cover both worlds. In older homes I protect original trim and avoid cutting into historic mouldings; in condos I account for partition cavities and tighter access to services. That local reality often determines whether I recommend a reversible surface raceway, a recessed low‑voltage plate, or a specific bracket type to keep shelves and consoles aligned with the TV without damaging the finish.
Those choices are practical: preserving original woodwork usually means I shift the TV a little to keep mouldings intact, while working in newer units often lets me centre the TV exactly over a console because the wall finish is consistent and easier to adapt.
My on‑site checklist and what I confirm
- Confirm main seating sightline and test with a mock‑up.
- Inspect wall finish and locate solid backing or partition characteristics.
- Measure console depth and shelf projection against tilt and service access.
- Plan cable route and choose where to leave removable access.
- Verify ventilation and IR sensor access for components.
I walk clients through those steps so the wall looks intentional and serviceable. If you want me to handle the physical mounting and finishing, check the options on /services/tv-and-shelving-mounting/ and book a visit through /contactruss/. I explain tradeoffs on site before any holes are made.
Field tips that save rework
Mock up the screen position first. Keep consoles removable where possible. For older finishes start with exploratory anchors and small holes—you can hide a tiny test much more easily than undoing a large misplacement. Finally, account for future changes: leave service access that lets you upgrade components without redoing the whole wall.
One short Google review I keep in my notes says, "This is a person whose number is worth saving." You can see that and other feedback on my proof page at /#awards.
How high should I place the TV relative to the console?
I position the TV so the viewing axis aligns with main seating and leave comfortable clearance above the console for ventilation and access to plug‑in ports.
Can I hide cables if I also want easy access later?
Yes. I plan removable panels or short concealed channels that hide cables while keeping connectors reachable for future changes.
Do wall type differences change where I mount shelves?
Yes. Wall finish and backing influence anchor choice and placement, so I always inspect walls before finalising shelf and TV locations.