
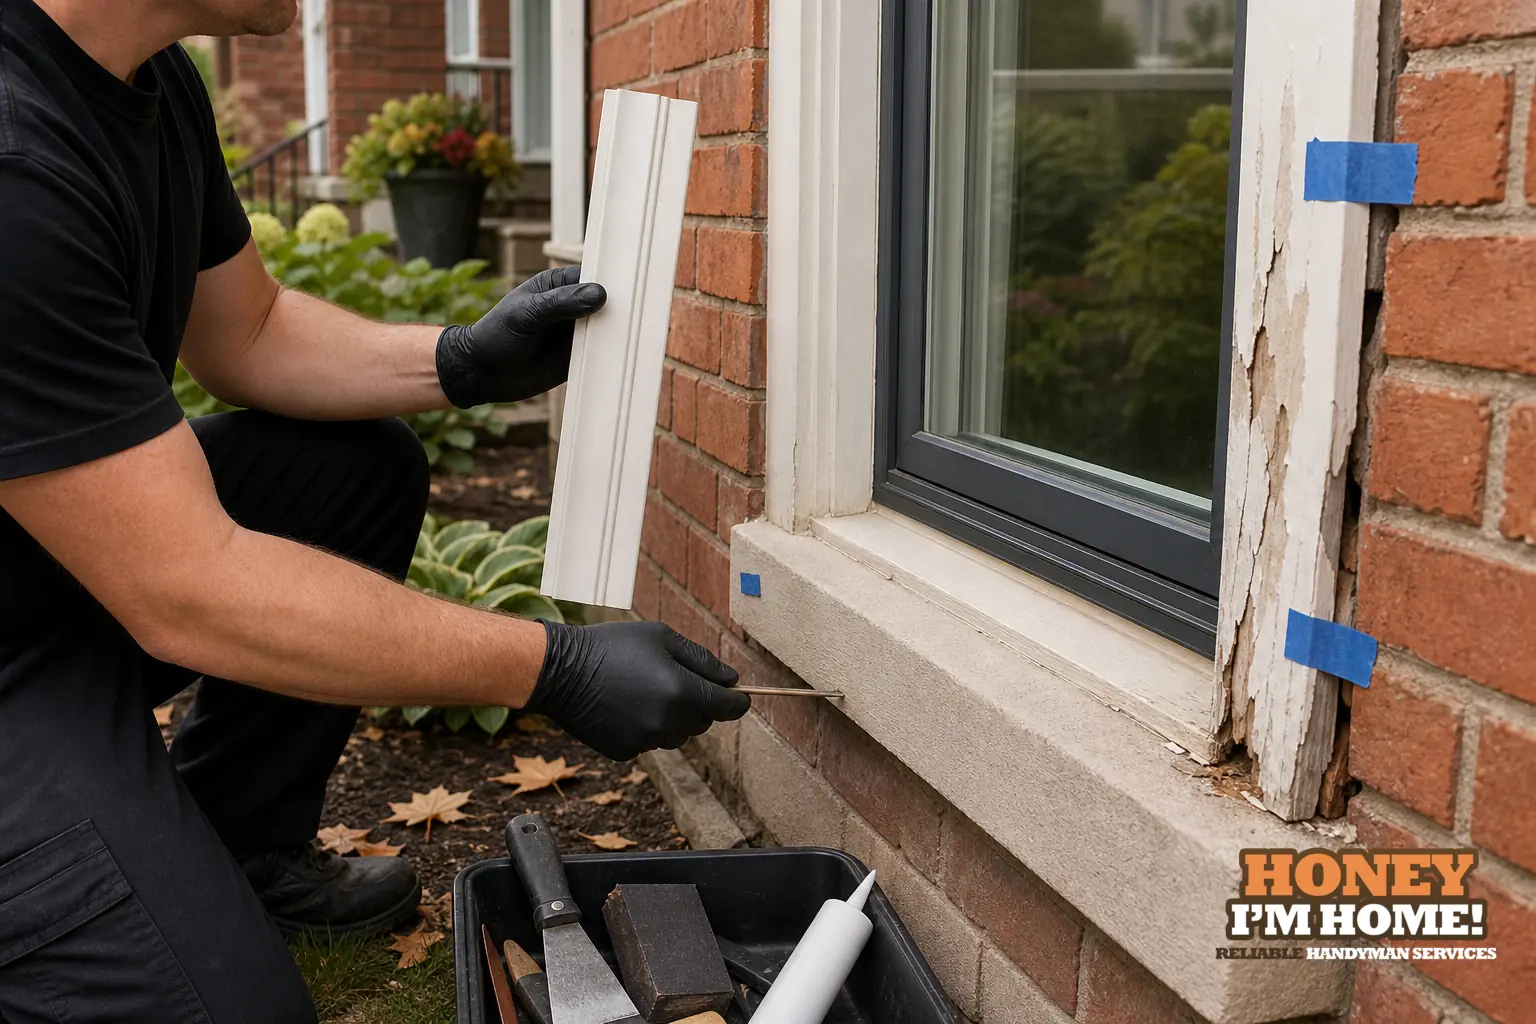
If the sash, glass and main frame are sound while the surrounding trim is soft, split or pulled away, you don’t automatically need a full window replacement. I inspect for the moisture path, remove loose material to see how deep the decay runs, and choose a trim-only repair when the frame and sash remain stable and weatherproof once the joint is fixed.
How I inspect trim damage on arrival
I start from the inside and work outward. That means prying gently at unseen corners, pressing along casings and sills, and checking whether paint flakes off in a single skin or the wood itself gives. Tactile checks reveal what a visual sweep will miss; intact paint can still hide soft rot. Outside, I check caulking lines, the junctions with adjacent cladding, and look for paint checking that follows the joint line — those are where water usually penetrates.
I also look at how the trim ties into the window rabbet and the sill. If the rot is limited to the outer face and the rabbet where the sash sits is solid, a trim-only approach usually makes sense. If decay runs back into the rabbet or the sill shows bearing loss, we have a different conversation.
Typical causes when the trim fails but the window doesn’t
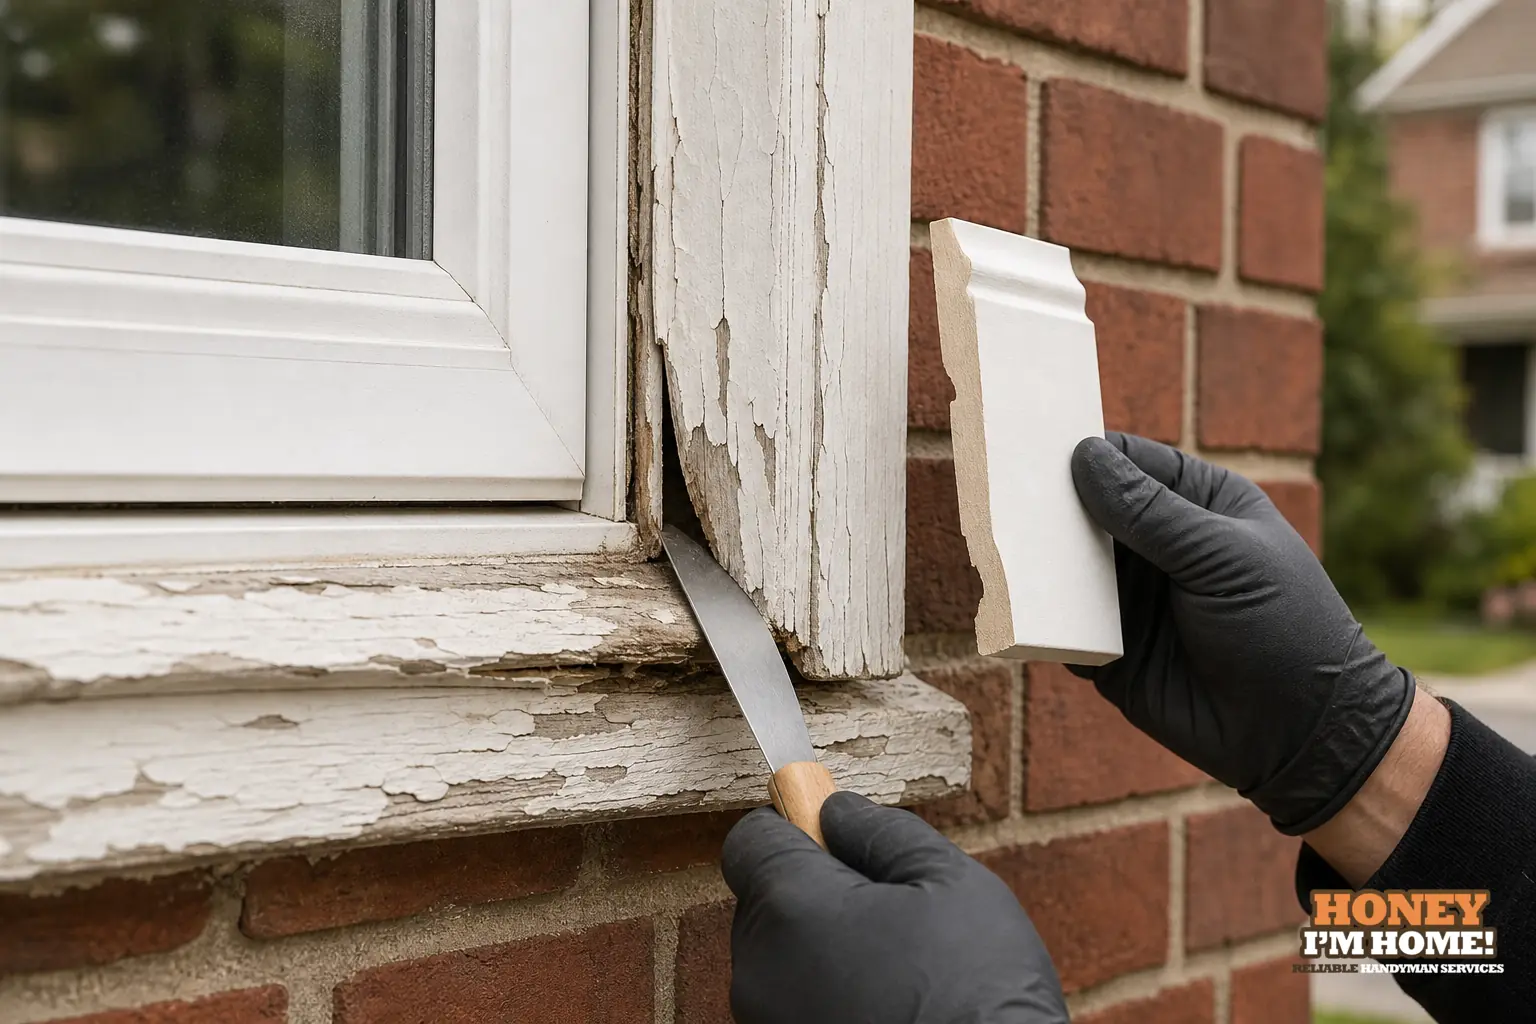
Trim carries the first punishment from weather and finish failures. Common failures I see include cracked or missing exterior sealant, cut ends left unprimed, absent flashings, and layered cladding that traps moisture against the wood. Sometimes earlier renovations shifted the reveal or buried the drip detail, turning a previously sound junction into a leak path. Inside, condensation or a past leak that wasn’t allowed to dry will show up as soft casing edges.
Trim-only repairs I use in the field
When the window assembly is otherwise serviceable, I favour targeted, durable repairs that preserve original material when it’s still useful. My typical approaches are:
- Remove only the decayed or deformed trim and scarf-in new stock to match the profile rather than ripping out entire assemblies.
- Replace shallow surface losses with consolidants or epoxy where the substrate is stable and sound behind the fail.
- Renew sealants and install or repair small flashings and drip details that divert water away from the trim face.
- Prime and treat all cut ends before installation, then repaint to restore a continuous paint film and mechanical protection.
Those steps stop the water, restore sight-lines and keep original details if they still contribute to the look and function of the opening.
When trim work turns into a bigger decision
Sometimes the cut-back reveals deeper issues: rot into the frame rabbet, a compromised sill, or a flange that no longer sheds water. When I find those conditions I show you the exposed area, explain what the signs mean, and outline options. I don’t recommend a larger replacement lightly — I present the practical trade-offs so you can choose whether to extend the repair or move to a broader assembly replacement.
Matching historic trim and why it matters
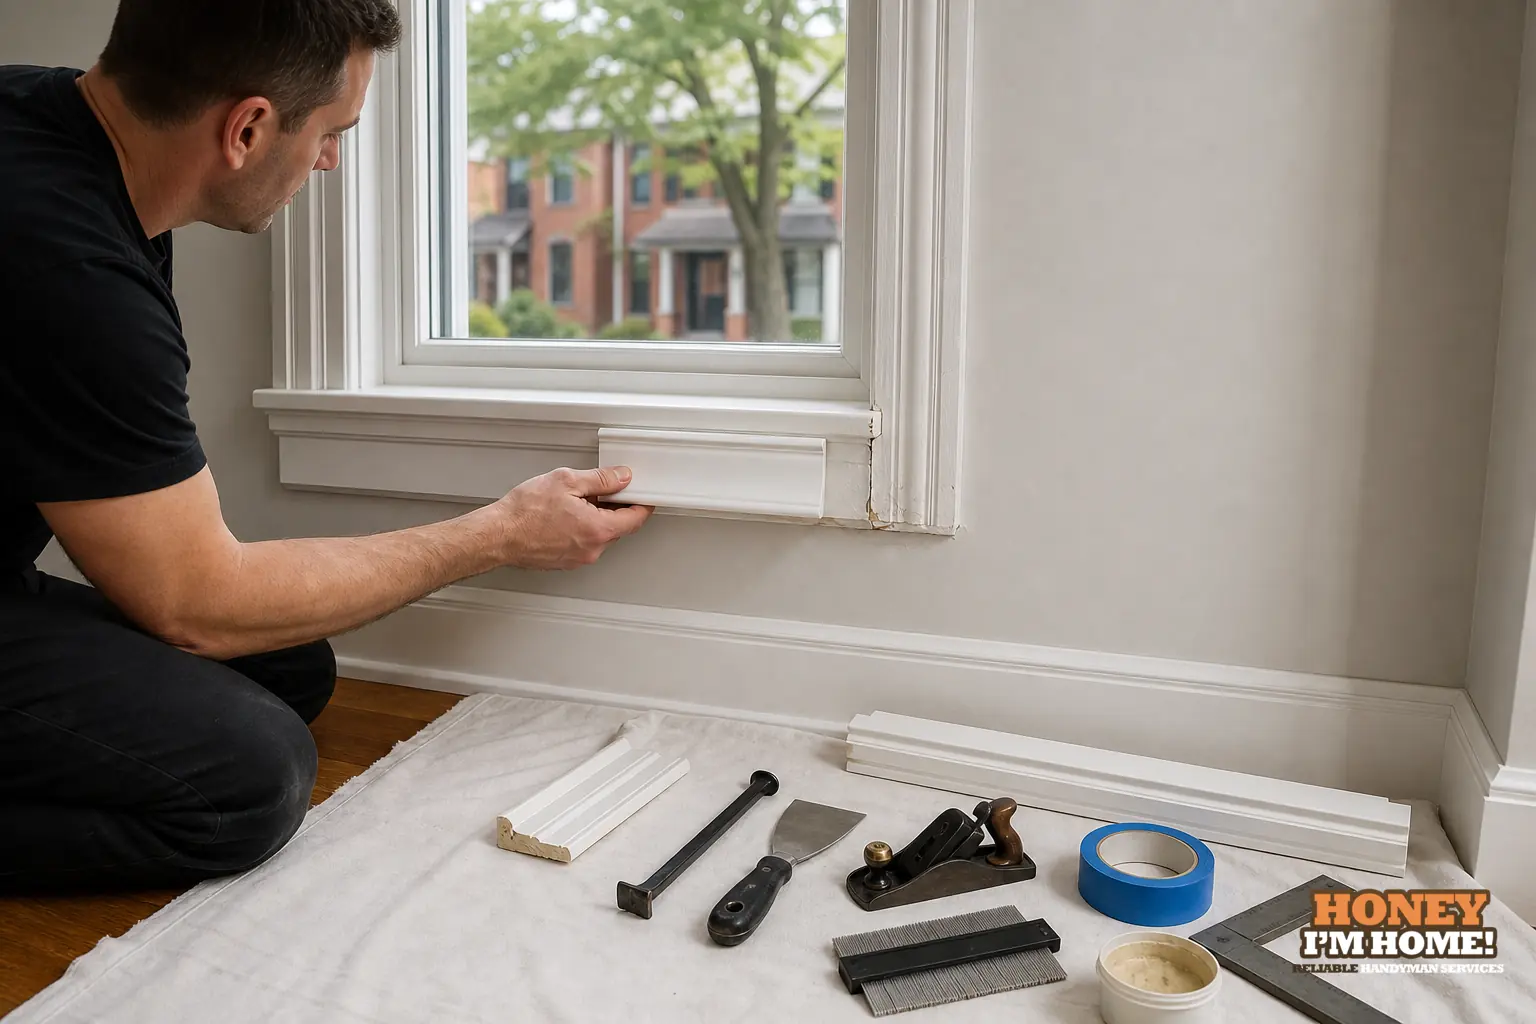
Matching profiles matters for both looks and function. A mismatched apron or casing can create odd sight-lines and let water pool where it didn’t before. I measure the existing profile, trial-fit new stock, and scarf or mill pieces so shadow gaps and sight lines read correctly. For finish, I focus on sealing cut edges and creating a continuous paint surface; the right prep extends the life of the repair more than a particular sheen does.
How local housing character changes repair choices
In Runnymede the housing stock often dates to the early 20th century with Edwardian and Arts and Crafts influences and many homes retaining original trim details. Because about 87 per cent of dwellings there were constructed before 1960, you'll frequently find layered finishes, unique moulding profiles and non-standard reveal depths. On those houses I measure and match instead of assuming modern stock will drop in neatly; preserving useful original elements keeps the appearance consistent and avoids awkward transitions at sight-lines.
A short vignette from a related project
I recently completed a front-porch and storm-door project where we replaced deck boards, reinforced where needed, painted and installed the storm door, then cleaned up the site. That job reinforced how small trimming and flashing decisions around an opening change how water runs and how well an exterior closure performs over time. I bring the same attention to sealing, flashing and finishing on trim-only window repairs.
What I ask homeowners to prepare
Clear the immediate work area inside and out so I can access the sill and surrounding trim without moving personal items. If you have original trim pieces or photos, bring them — they help me match profiles and finishes. Tell me about any past leaks, cladding changes, or work done at that elevation; previous repairs or changes are often the source of recurring trim problems.
How I write a trim-only scope and quote
I itemize the scope so you see what’s removed, what gets replaced, and what sealing and finish prep I include. The document separates trim work from any window replacement options so you can compare them. If my inspection uncovers conditions outside the agreed scope I present options rather than surprise you with extras. For an overview of services related to this work see our Door & Window Installation page at /services/door-and-window-installation/.
Real questions homeowners ask and how I answer them
One common worry is whether a new piece of trim will last. I tell homeowners that stopping the moisture path and treating cut edges has the biggest impact on durability. They also ask if matching old mouldings is worth the trouble; in houses with original detailing it’s often the better visual and functional choice. A Google reviewer captured the approach some clients notice: "The quality of his craftsmanship is outstanding." See the proof at /#awards.
When to call me
If you can see soft spots, persistent staining, paint blistering along the joint, or gaps between trim and frame, call for an inspection. I’ll come with a profile gauge, a few common mouldings and the tools to cut back and show you the condition. If you want a clear, measured quote, contact me through /contactruss/ and I’ll schedule an inspection that focuses on the least-invasive, most-durable fix.
Can you repair trim without replacing the whole window?
Yes. If the frame and sash are structurally sound I commonly repair or replace only the trim and restore weatherproofing.
Will new trim match the old profile exactly?
I measure the existing profile and either mill or scarf new pieces so the repaired section blends with the original trim.
How do you prevent the same problem from recurring?
I stop the entry path for moisture, renew flashings and sealants, prime all cut surfaces, and set up proper paint protection.