
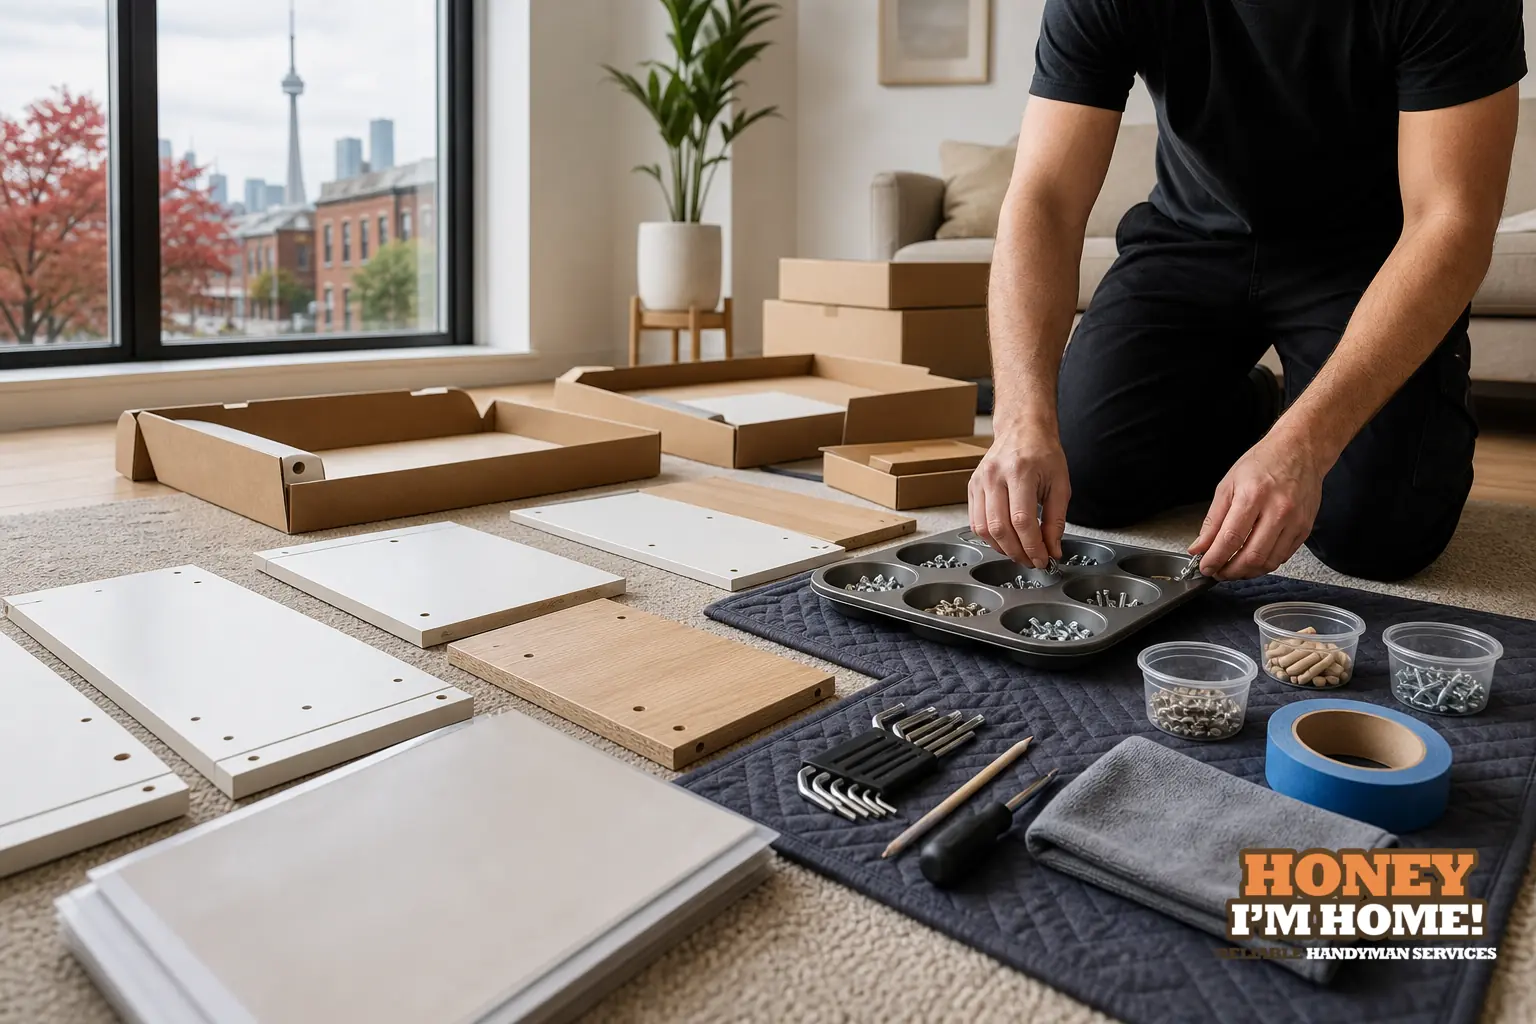
I always unpack and confirm every panel and fastener before a single screw goes in. That quick habit prevents reversed panels, incorrect fasteners, finish damage and the long pauses that happen when I have to hunt down a missing piece. It also makes the build sequence predictable so the furniture fits cleanly in the final location.
Why checking parts first protects the build and the finish
From my experience, the practical gains come down to avoiding rework. Flat-pack kits rely on a specific order: cams, dowels and brackets are sequenced so parts support each other. When a cam is missing or a screw is wrong, the natural reaction is to force something, and that’s how you strip a hole or mar a veneer face.
I start every job by laying panels face-up on a clean surface and sorting hardware into separate trays. Seeing every piece at once makes it easy to spot handed parts, mismatched finishes or panels that have been factory-drilled on the wrong side. If a finished face is installed backwards, correcting it once the unit is glued or the back is attached becomes a frustrating trip back to square one.
My parts-and-hardware checklist — what I inspect and why
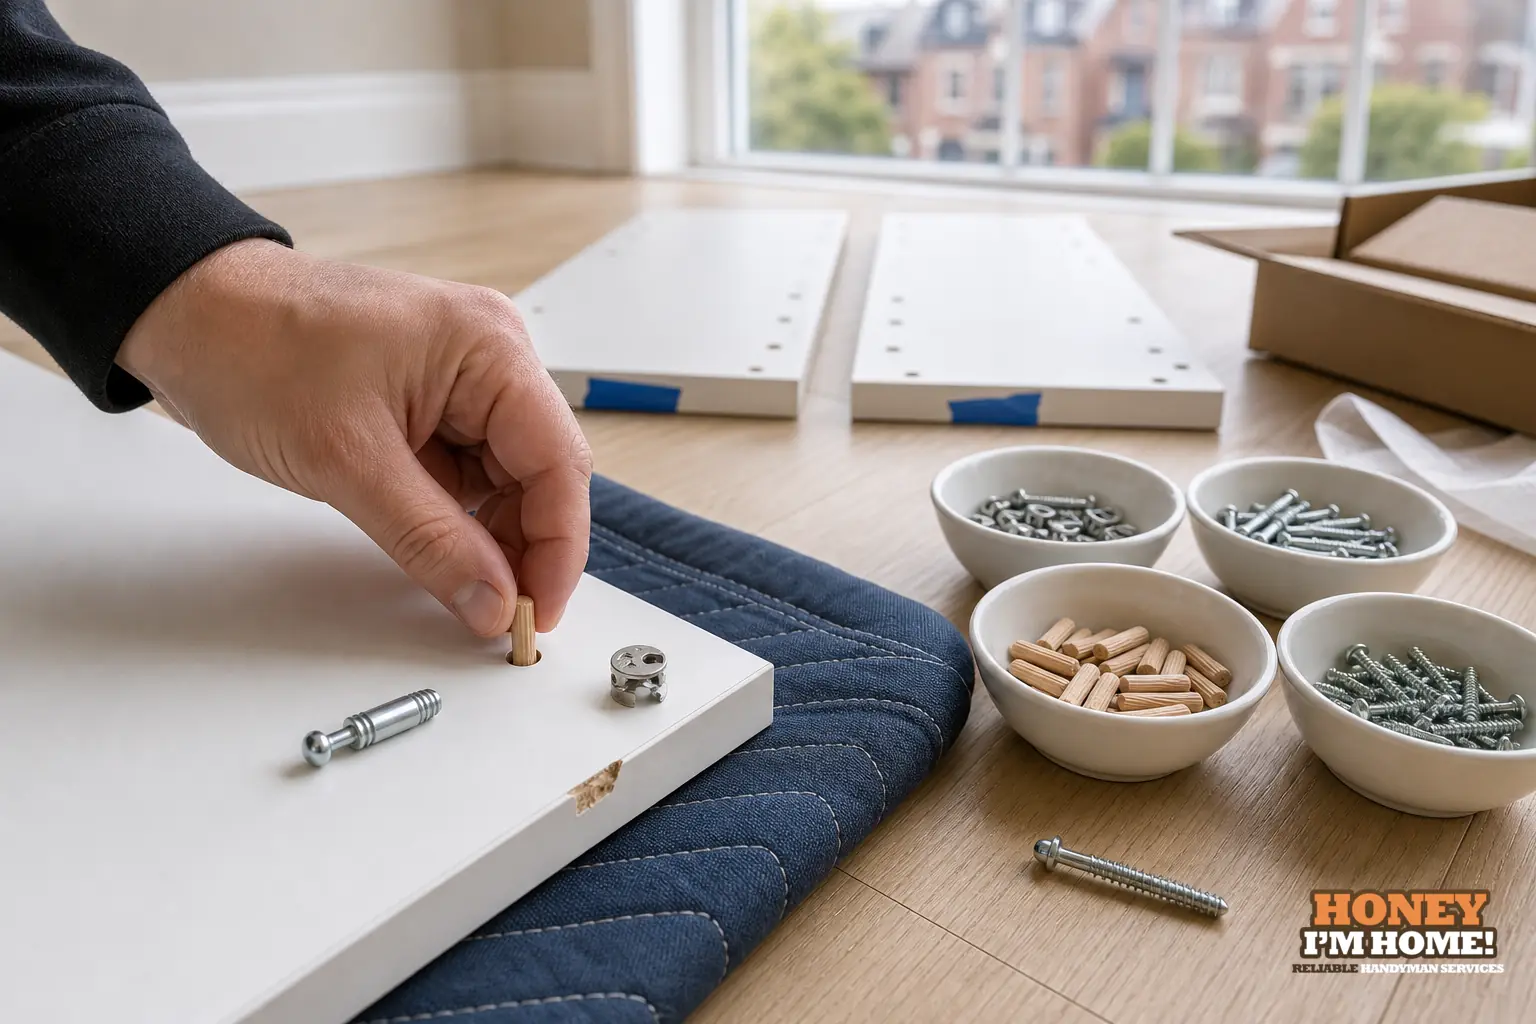
Over the years I’ve refined a short checklist that I follow on every flat-pack job. I don’t treat it like a formality — it’s a practical sequence that reduces risk and speeds the physical assembly.
- Lay out all panels and orient finished faces so I can confirm handedness and grain direction.
- Open and inspect labelled bags rather than trusting the packet count alone; look for bent or mismatched fasteners.
- Match unusual items (cams, metal brackets, plastic connectors) to the diagrams in the instructions and set them with like items.
- Look for shallow or misplaced factory holes and note where a dowel or cam won’t seat cleanly.
- Mark left/right parts immediately with chalk or a small sticky label to avoid reversing them mid-assembly.
- Collect obvious spares and place them in a resealable bag to leave with the homeowner.
That last step — leaving a labelled bag of extras — saves repeat visits for the smallest items and gives homeowners a simple reference for future tweaks.
On-site routines that keep the job moving
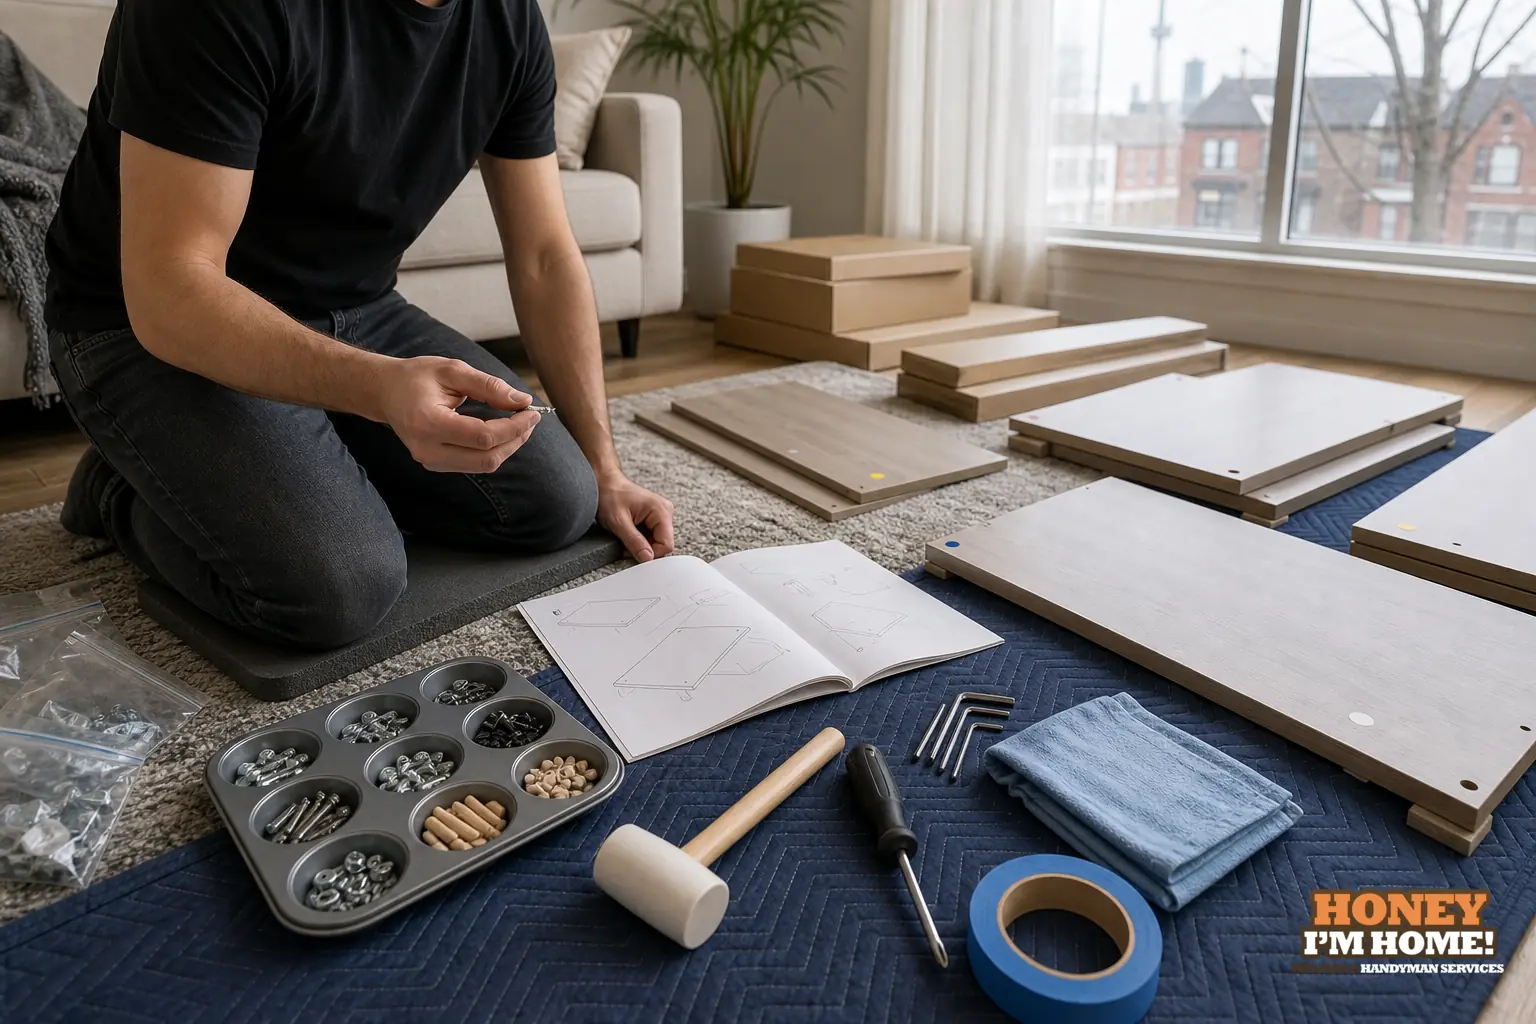
I set a clear workspace: instruction sheet visible, panels supported on a blanket or folding table with edges protected. I keep my tool case closed until the parts check is complete; that habit forces me to resolve missing or damaged items before driving screws.
I also do dry-fits for critical subassemblies. Slotting dowels and loosely inserting cams lets me confirm hole alignment and handedness without committing. If something feels loose or misaligned at this stage, I can adjust on the bench where there’s room to manoeuvre rather than wrestling the assembly upright in a tight hallway.
Common faults I catch during the parts sweep
Certain faults show up regularly, and catching them early changes the approach on site:
- Wrong fastener profile. Two screws can look similar but behave differently in particleboard and can split or crush a hole if mismatched.
- Handed pieces fitted the wrong way. Drawer runners, hinge plates and end panels are often handed and easy to reverse under pressure.
- Finish mismatch between panels. A veneer or laminate face might differ in tone or grain; I flag that before assembly so the homeowner can decide.
- Factory-drilled holes in the wrong location. I note these immediately and plan a workaround rather than forcing misaligned hardware.
How local housing conditions change the way I check parts
In The Queensway I deal with a mix of older detached homes and newer additions. The City’s 2016 profile for the area reports that a majority of dwellings were built before 1960 and that roughly half are single-detached houses. Those older homes can carry several generations of flooring, trim and wall finishes from previous renovations, while later apartments and infill introduce different thresholds and casing details.
Because of that variety, I don’t assume uniform floor heights or casing profiles. I check how a finished cabinet will meet existing baseboards and thresholds and I look under the unit for hidden trim that could interfere. If a baseboard from a mid-century renovation sits proud of the wall, the unit may need a shim or a slightly different mounting location. Noting that during the parts check saves an awkward refit after the cabinet is upright.
What I say to homeowners before I begin
I tell clients I’ll do a full parts and hardware sweep and show them anything that looks off. If there’s a cosmetic mismatch, a missing fastener, or a panel that appears damaged, I present the practical options: proceed knowing the trade-offs, pause to request a replacement, or adapt the assembly on site. I won’t invent fixes; I describe the likely outcomes and we decide together.
When a homeowner prefers I manage the supplier conversation, I can document the problem and advise on the next step. If you’d like that kind of hands-on handling before the build, check the services I provide at /services/home-tlc-furniture-assembly-and-punch-lists/ or get in touch directly via /contactruss/.
Tool choices that follow the parts check
After the sweep I select tools so the hardware behaves predictably. I often start cams and delicate screws with a manual screwdriver to feel resistance, and I reserve power tools for through-bolts and long screws. For particleboard I avoid overdriving and use the right head size to prevent stripping. If a fastener looks soft or the pilot hole shallow, I use a hand-driven approach rather than forcing the issue with an impact driver.
I carry a small selection of compatible fasteners for last-resort adaptations, but I always show the homeowner any substitution before I use it. Recording the original kit condition with a quick photo is a simple step I take when there’s any doubt, so the homeowner has a clear reference for supplier queries.
When the parts check finds a real problem
If a part is missing or damaged beyond straightforward repair, I document it, discuss options with the homeowner, and outline the practical implications of each choice. Sometimes a replacement from the supplier is straightforward; other times we adapt with a slightly different fixing or a trim change. I avoid promising replacements; instead, I explain the options so the homeowner can decide the right path.
How do you handle leftover hardware?
I bag and label extras and leave them with the homeowner, noting what the parts are for and where they belong.
Should I inspect a kit myself or have a pro do it?
If you’re comfortable following diagrams, you can inspect a kit; a pro can resolve mismatches and speak directly to suppliers when needed.
What if a panel finish is visibly different?
I show the homeowner the difference, explain the likely visual outcome, and we decide whether to proceed or request a replacement.