
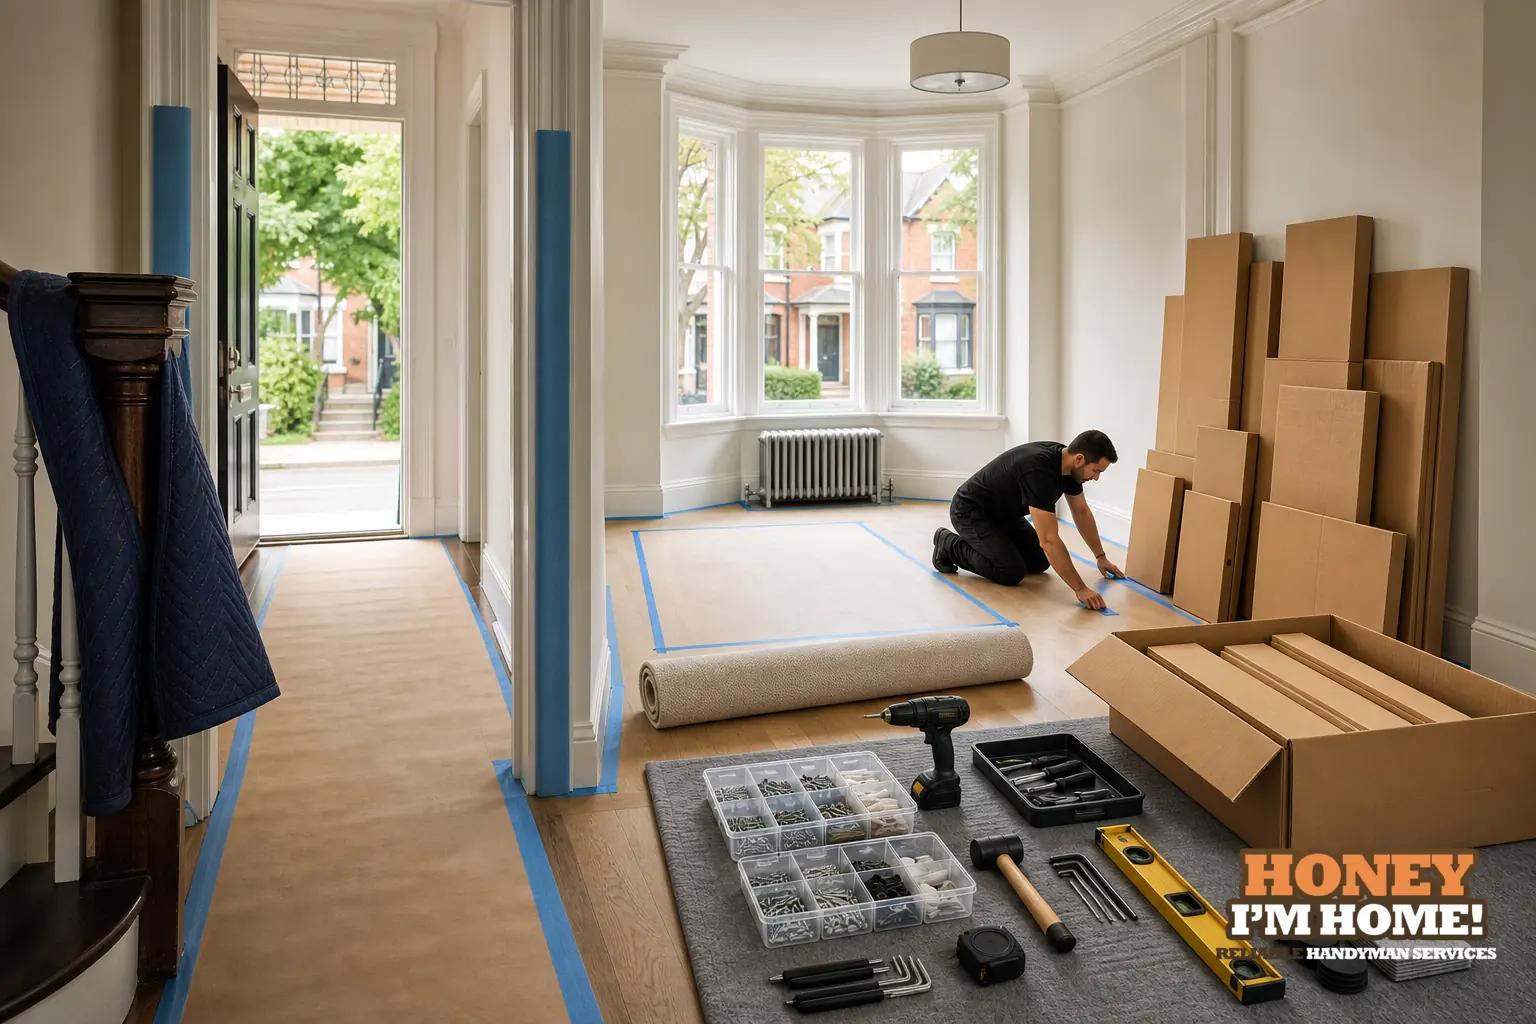
Clear a safe work area and a clear path from the entry to the finished spot, group boxes with their instruction sheets, label loose hardware, and protect floors and original trim. Send me photos of the delivery point and the room so I can confirm access and any special handling for older finishes before I arrive.
Day-before tasks that save work on assembly day
I run a simple checklist the day before I arrive. Move small furniture, lamps and breakables out of the footprint and stack them away so we have room to unfold panels and lay parts flat. Roll up or tape down loose rugs so they don't bunch underfoot. If you can, gather all boxes and keep the instruction manuals with their respective hardware packs.
Label loose screws and fittings in small bags and keep them with the matching instructions. If the manufacturer used numbered bags, leave those attached to their pages. That small sorting step trims a lot of wasted time while I’m tightening the last bolts and makes missing parts obvious early.
Photos are worth extra planning. A clear shot of the delivery drop, the front door or entry vestibule, and a picture looking down the hallway toward the final room lets me see turns, stair landings and low clearances in advance. I’ll tell you if I need protective runs, extra hands, or a different carrying plan before I come.
Protecting floors, trim and built-ins
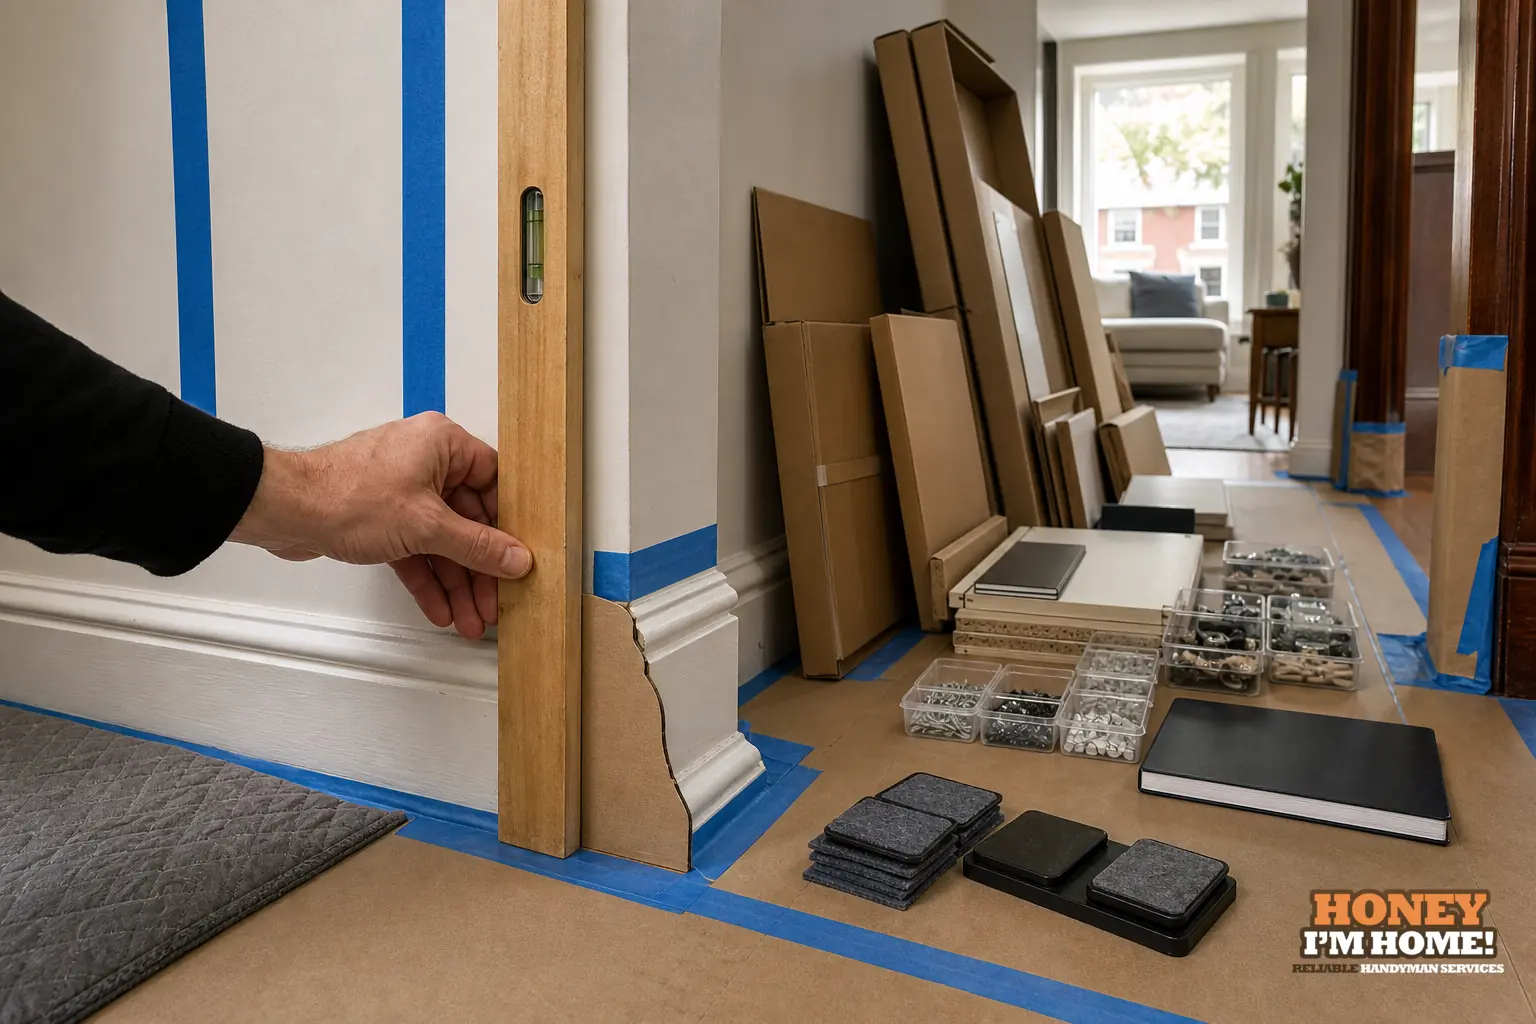
Protecting finished floors and original woodwork is a priority for me. I always bring protective runners, corner pads and scrub-resistant drop cloths, but you can speed the job by placing a runner or pieces of cardboard along the route where heavy parts will pass. Use tape suited for your floor finish so the protector stays put without damaging varnish or paint.
If you have original baseboards, picture rails or other period mouldings, point them out in photos or when I arrive. Older trim often has thin edges or paint that chips easily; I plan carrying lines and use soft straps or sacrificial pads where panels pass close to mouldings. When preserving sound period material is practical, I’ll choose less invasive anchor points or add backing to spread load instead of pressing hard against historic trims.
Access, handling and what I ask you to move
Think of the route from door to placement as a continuous work surface. Clear hallway clutter—shoe racks, umbrella stands and freestanding coat trees are common obstacles. Remove only simple, removable doorstops and hall runners that could snag; I’ll handle any trim or threshold adjustments that require tools or a careful eye. Don’t attempt permanent shifts to thresholds yourself.
Large furniture moves are case‑by‑case. If the path is tight, I’ll assess whether panels come apart safely for transport or whether we need to bring extra hands. I won’t force pieces through; I’ll suggest dismantling methods or a different layout to avoid damage to the item or your finishes. Let me know about narrow stairs, low light or fragile banister caps so I can bring the right pads and straps.
What I inspect on arrival and how I handle surprises
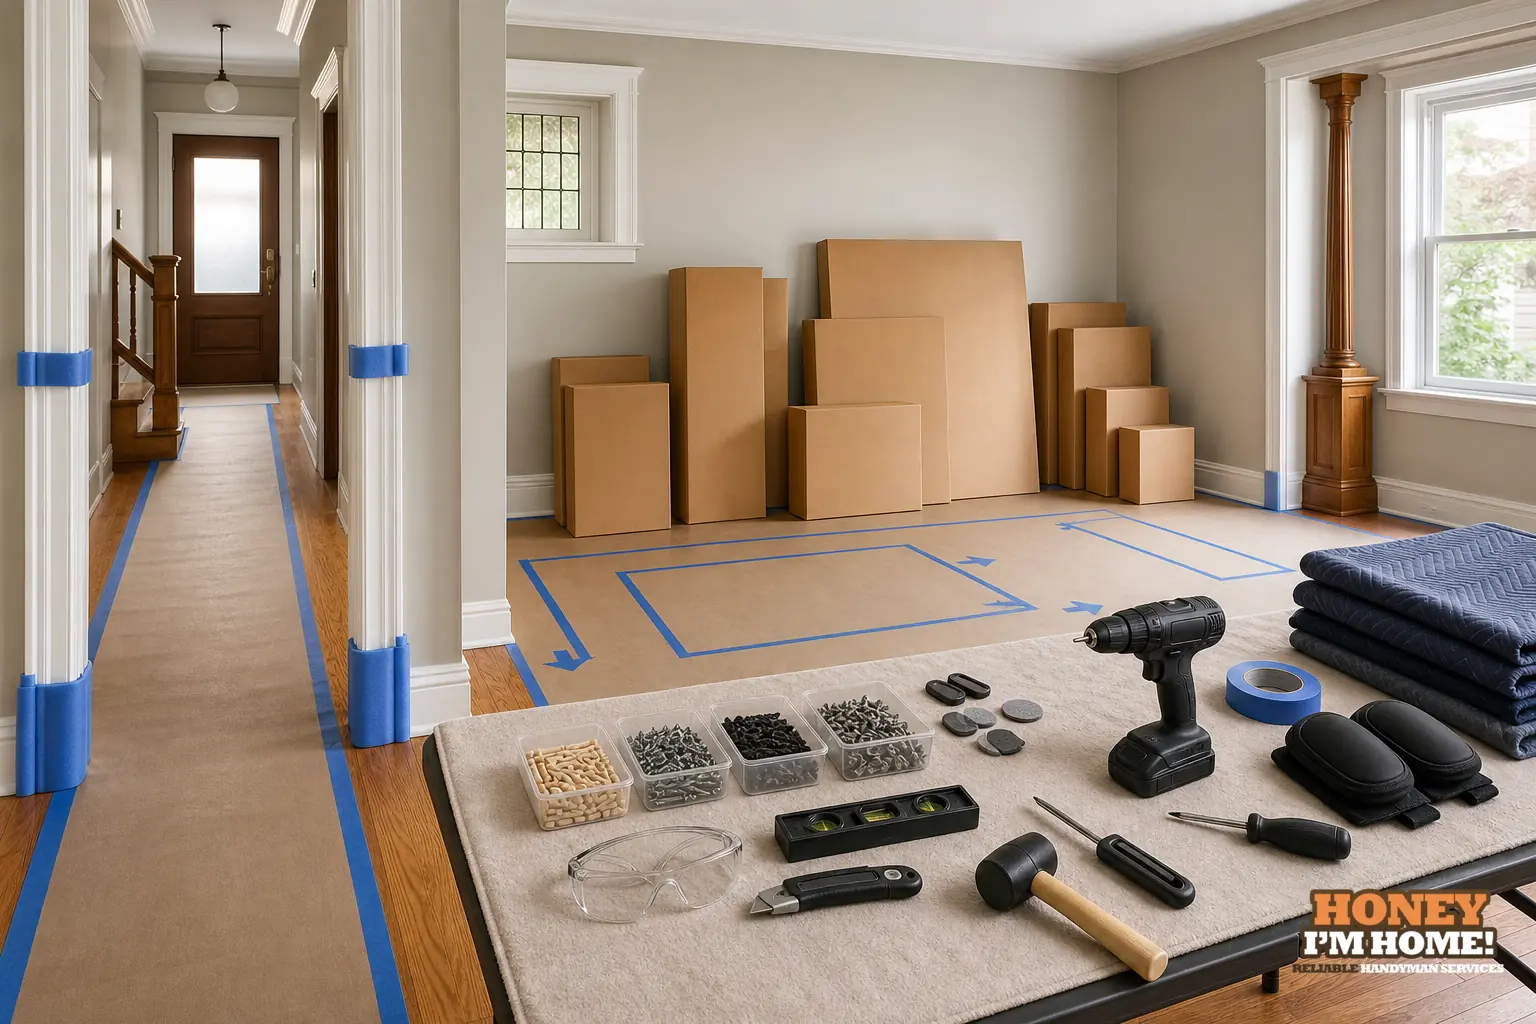
On site I check three things right away: the workspace and how much room we actually have, the path from the entry to the final location, and any nearby original surfaces that need extra care. If floors look wet or muddy I lay waterproof protection first. If photos suggested a tight doorway but it proves worse in person, I pause and discuss options rather than forcing the piece.
If a hardware pack is missing or an instruction is unclear, I sort the parts and call you. Most fixes are straightforward—re-sorting pieces, using an equivalent fastener I carry, or confirming an alternate method with you. I never hide makeshift fixes; I’ll describe the choice and let you decide how to proceed so finishes stay intact.
Tools, supplies I bring and small things for you to have ready
I bring common hand and battery tools suited to flat-pack furniture and framed units, plus protective materials and an assortment of fasteners that handle typical omissions. You don’t need to buy toolsets unless the manufacturer specifies an unusual fastener or bracket; I’ll flag that beforehand if needed.
If you can have a stepladder and a bright flashlight handy, those help with high cabinets or poorly lit corners. Decide ahead of time whether you want packaging removed or left for recycling and whether leftover screws should be saved. Clear preferences make the clean-up smooth and quick.
How older homes affect assembly decisions (practical Swansea note)
I work in a lot of houses that were built in the late 19th and early 20th century, where workers’ cottages and 1880s row housing sit alongside two‑storey houses, bungalows and semis from the 1905–1935 period, plus some Tudor Revival and later infill. That mix means wall assemblies, mouldings and floor layers can change from one street to the next in the same neighbourhood.
Because of that variety I check what’s original and what was added later before opening walls or removing finish carpentry. If a wall is plaster over lath, or the skirting and picture rail look original, I aim for less invasive anchoring and add protective backing where needed. When preserving sound period material is practical, I opt for surface-friendly fixes and discuss visible versus hidden fastenings with you before I make any holes.
Final placement, anchoring and the tidy-up
Before I fasten a tall or heavy unit permanently I confirm the final orientation with you—alignment, clearance for nearby outlets, and how visible you want the fixings to be. For stability we select anchor points that respect original trims; if the anchors would show, I’ll point that out so you can choose less visible options.
I finish by testing doors and drawers, checking that hardware is secure and making sure the unit sits flat and stable. I broom the immediate area and stack packaging neatly for removal or recycling if you prefer. For small follow-up items like paint touch-ups or a scuffed trim, I can make a note and discuss a separate small job from my Home TLC list at /services/home-tlc-furniture-assembly-and-punch-lists/.
Quick, practical checklist to run through
- Clear the route from the entry to the placement room and move small furniture out of the footprint.
- Group boxes with their instruction sheets; label any loose hardware in bags.
- Lay down protective runners or cardboard on floors where heavy panels will pass.
- Remove simple, removable doorstops and loose runners; I’ll handle any trim/threshold adjustments if needed.
- Confine pets and keep children out of the work area for safety.
- Send photos of the delivery point and room if you can, and tell me about any older trim or original finishes.
If you want me to look at photos and advise on protection or anchoring before booking, get in touch through /contactruss/. I’ll review the images and suggest the best approach for preserving original finishes while getting the job done.
Do I need to disassemble the item before you arrive?
Not always. I assess whether the item comes apart safely for transport based on the photos and the entry path. If dismantling makes moving easier and preserves finishes, I’ll do it on site and reassemble in the final location.
What if my skirting or moulding looks fragile?
Tell me if you have original or fragile mouldings and I’ll plan less invasive anchor methods and sacrificial pads. I’ll point out any visible fastenings so you can decide before I drill or fix anything permanently.
Will you remove packaging and leftover screws?
I can remove and recycle packaging and leave leftover hardware in a labelled bag if you want. Tell me your preference in advance so I bring the right disposal supplies and leave the job tidy.